RUSTIC BARN ASSEMBLYPlease read these instructions completely before building. We recommend using a GEL SUPER GLUE for best results when gluing this model, as the material in some places is porous, and it is the type of glue that works best. Dry-fit parts together before gluing to get the best results. You may need a hobby knife as well in some cases.
|
|
|
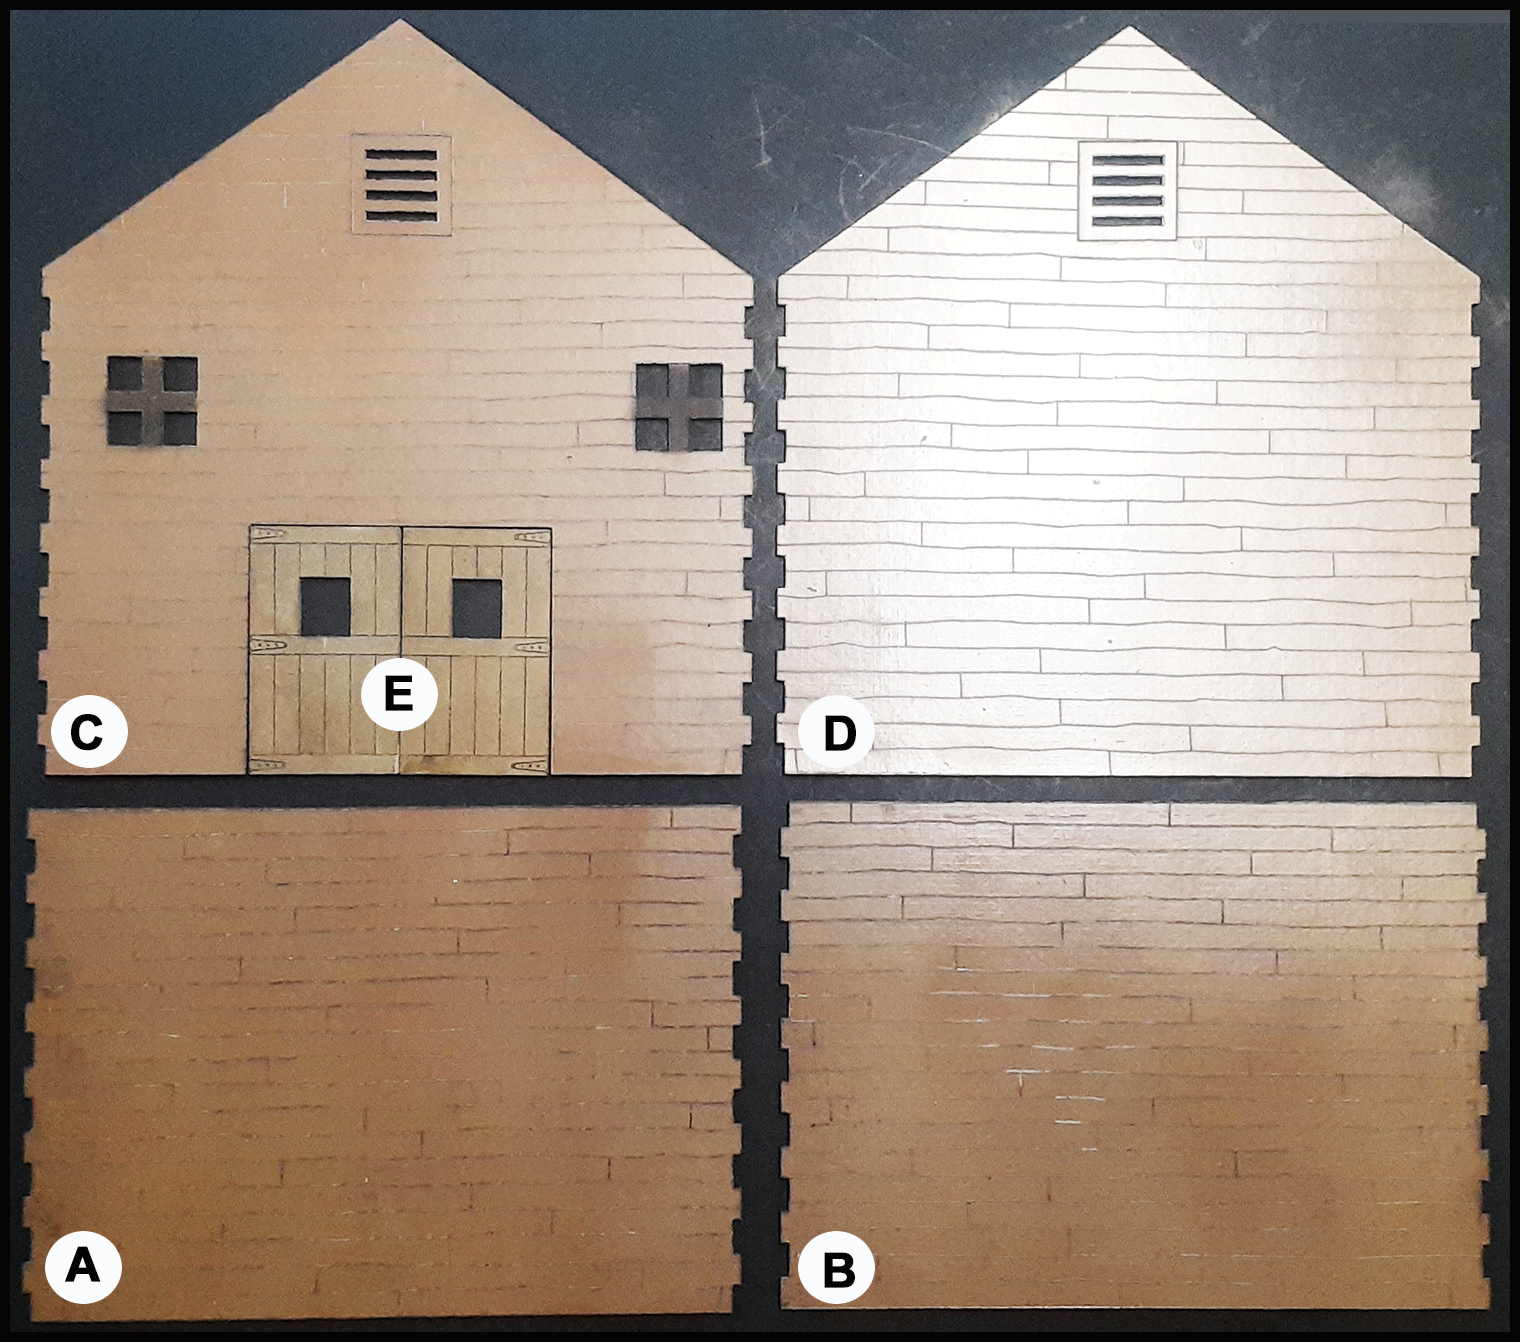
SHEET #1 - BARN A/B - Barn side walls
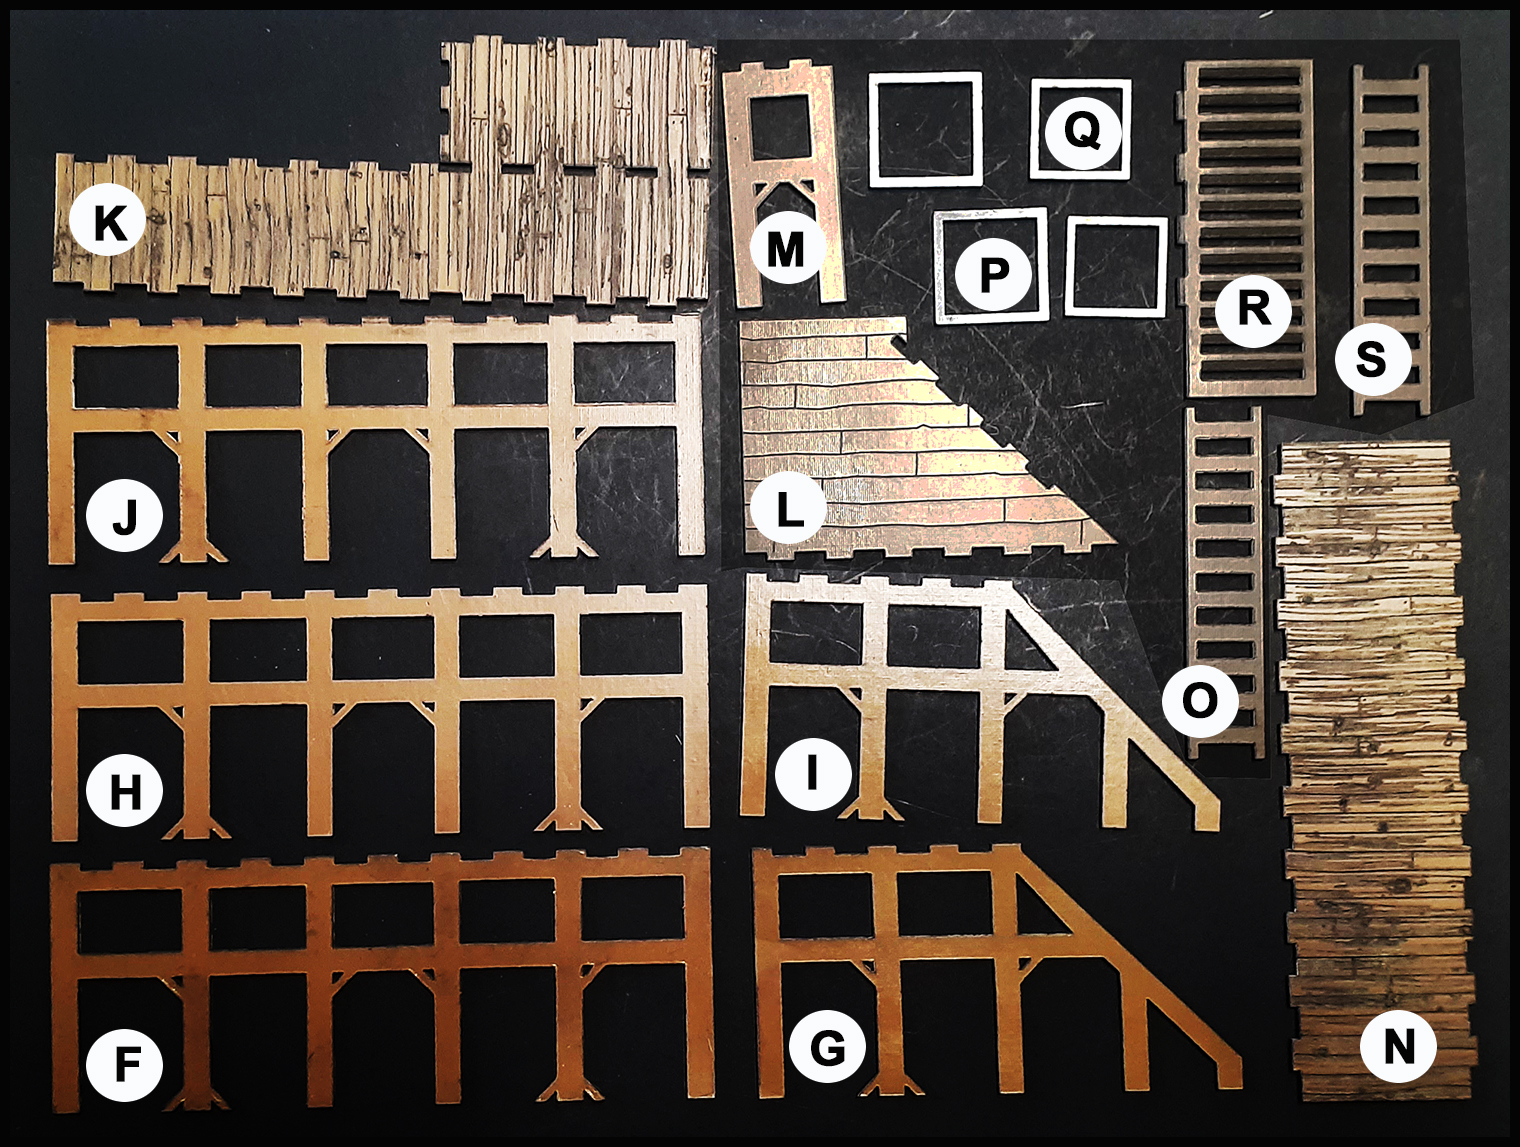
SHEET #2 - BARN INTERNAL STALLS
SHEET #3 - BARN ROOF
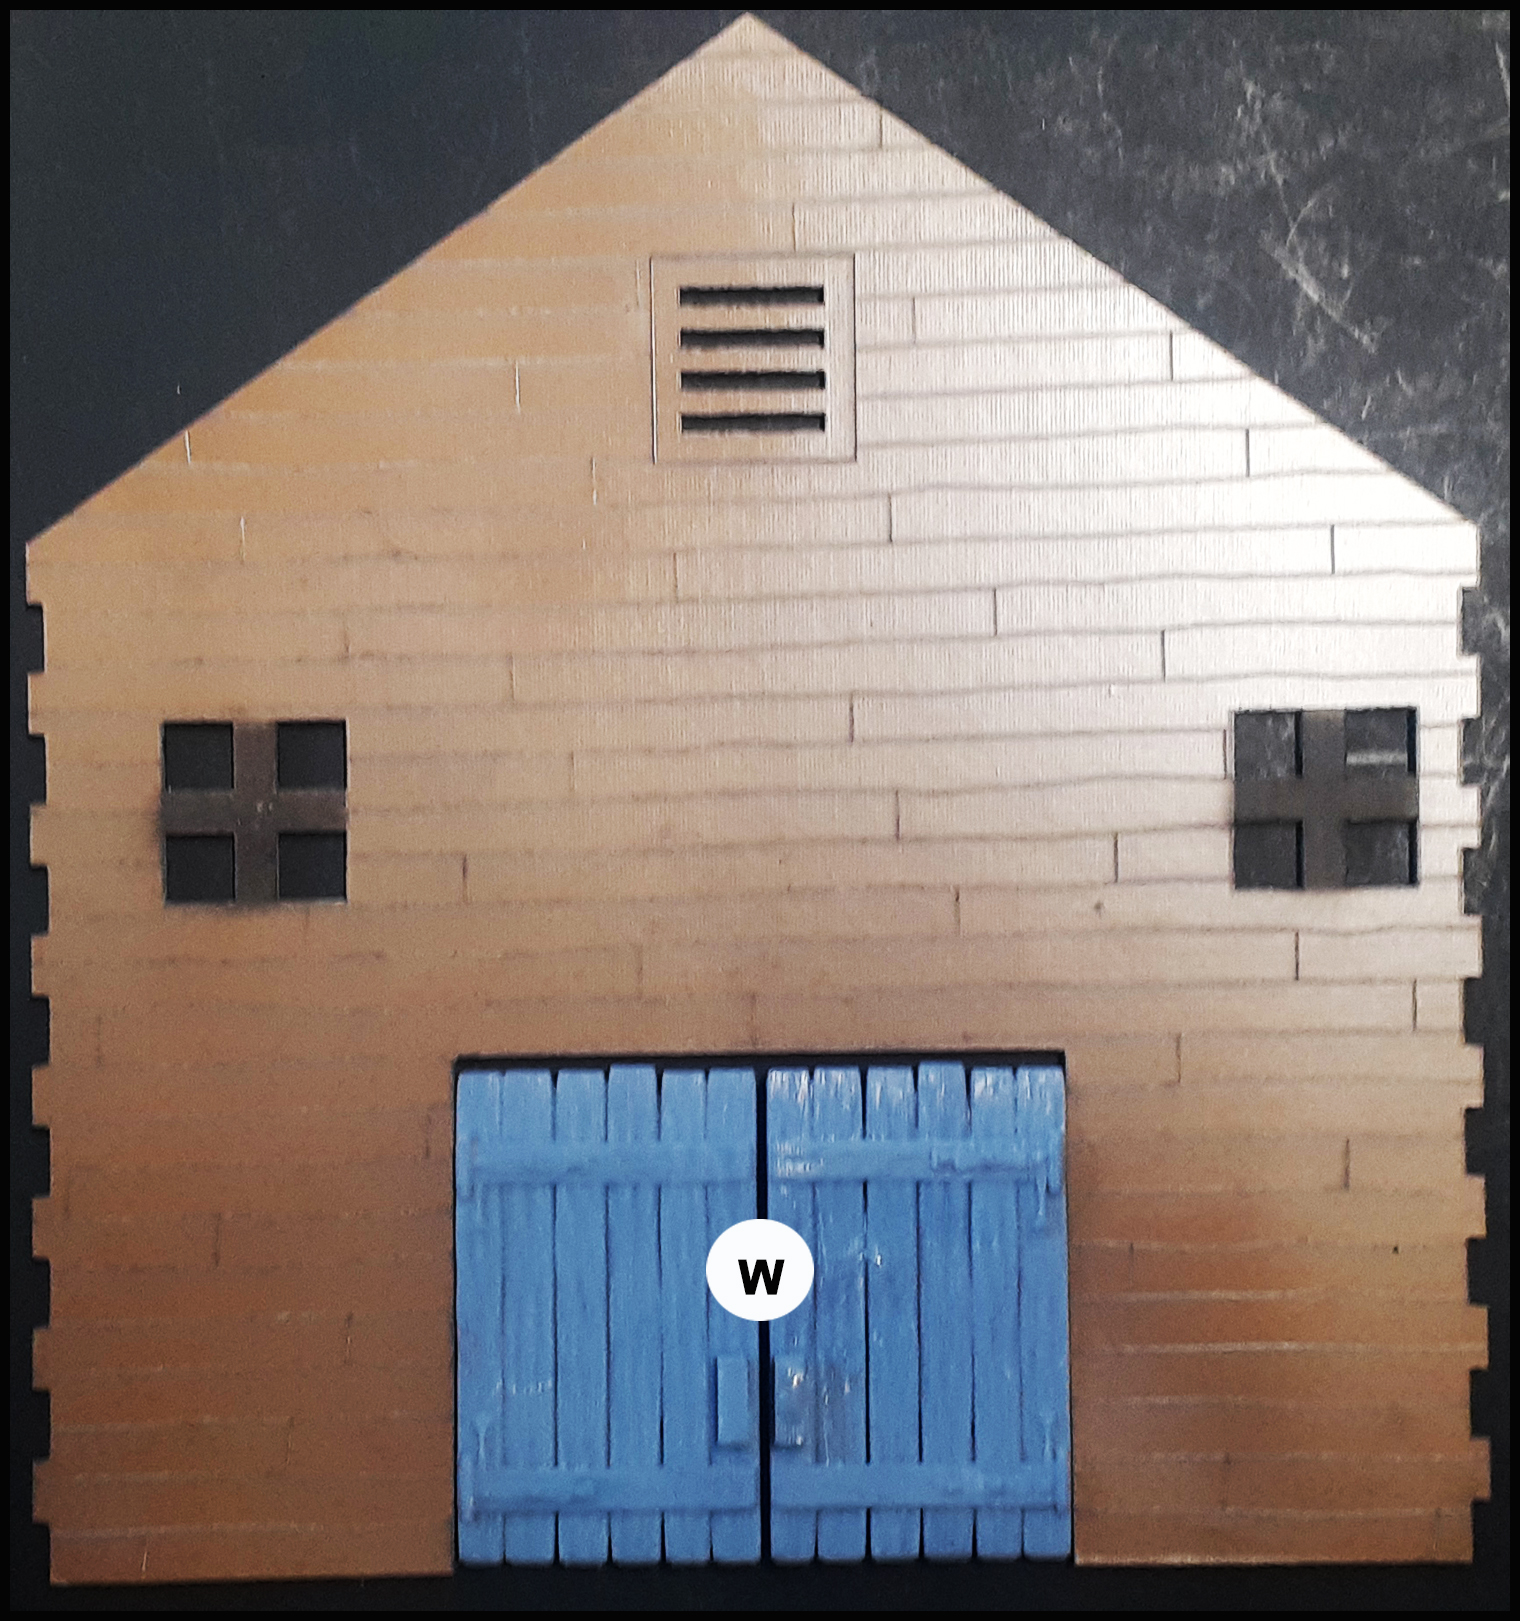
SHEET #4 - Doors W - Optional resin doors!
|
|
|
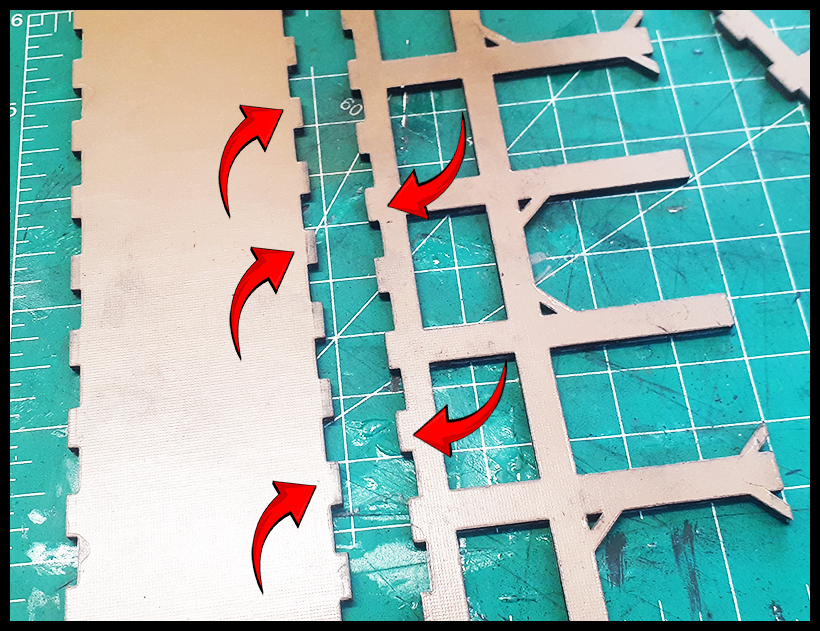
Locate from Sheet #1 A, B, C, D & F (Barn floor, not shown on sheet). |
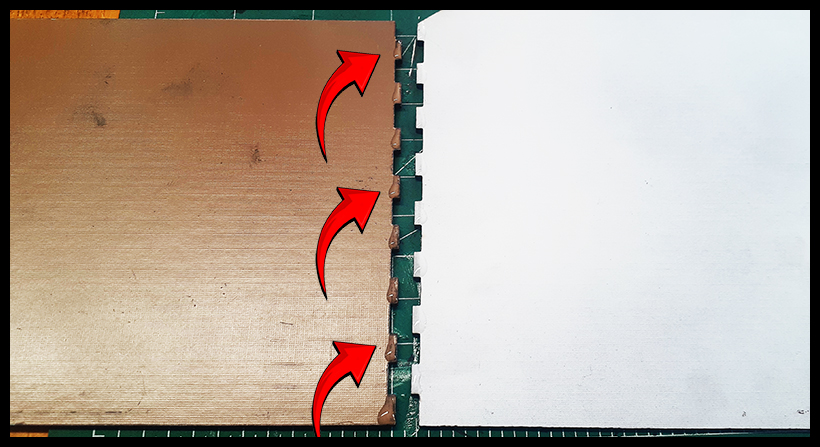
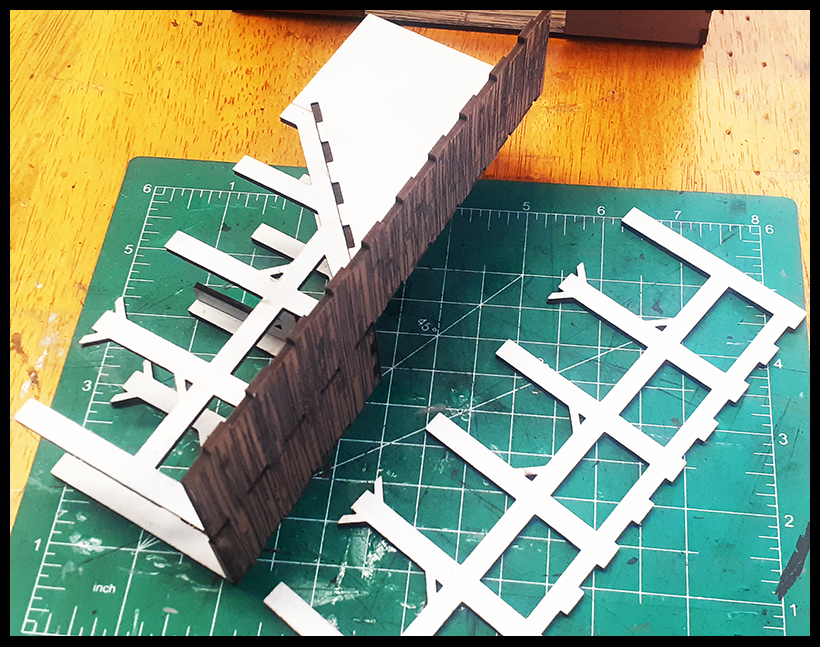
Add glue to each tab as shown above, Barn side & back walls. |
|
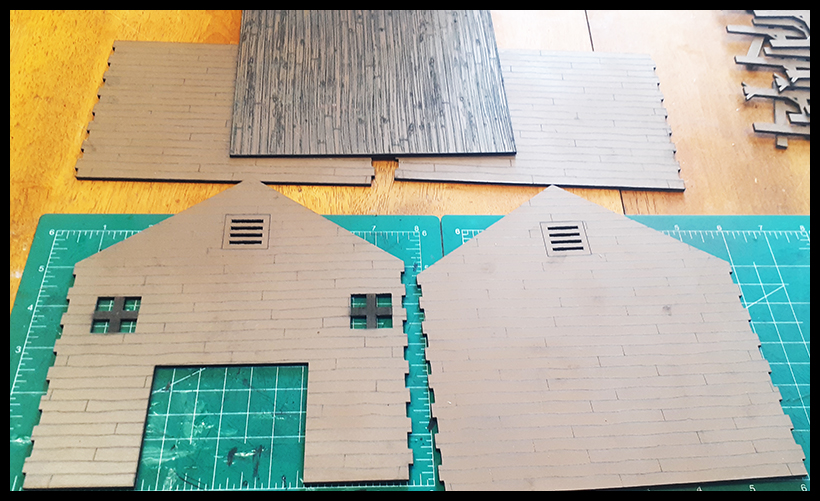
Press the wall sections together via the tabs and let dry.
|
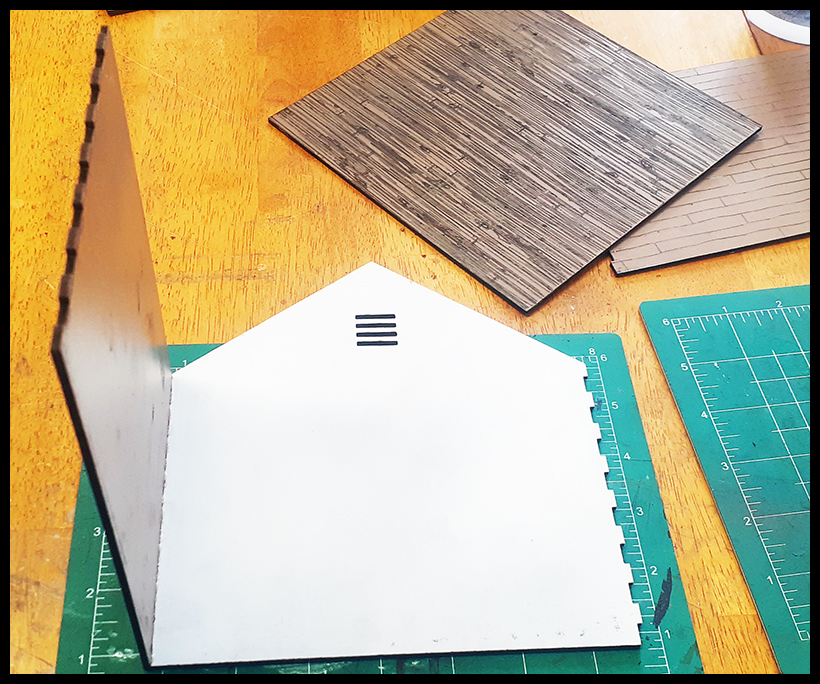
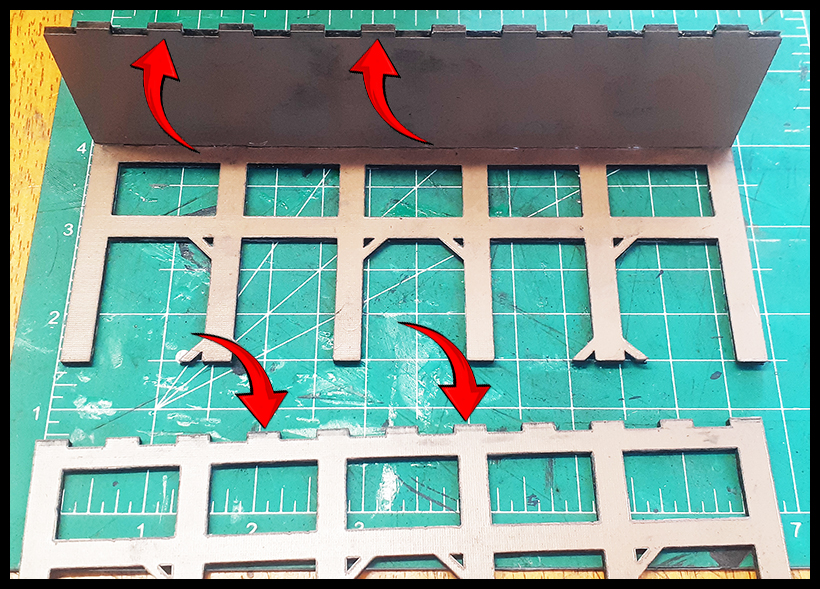
Repeat the last steps for the second side wall section. |
|
Add glue to each tab section on both side wall & front wall tabs. Press into place and let dry.
|
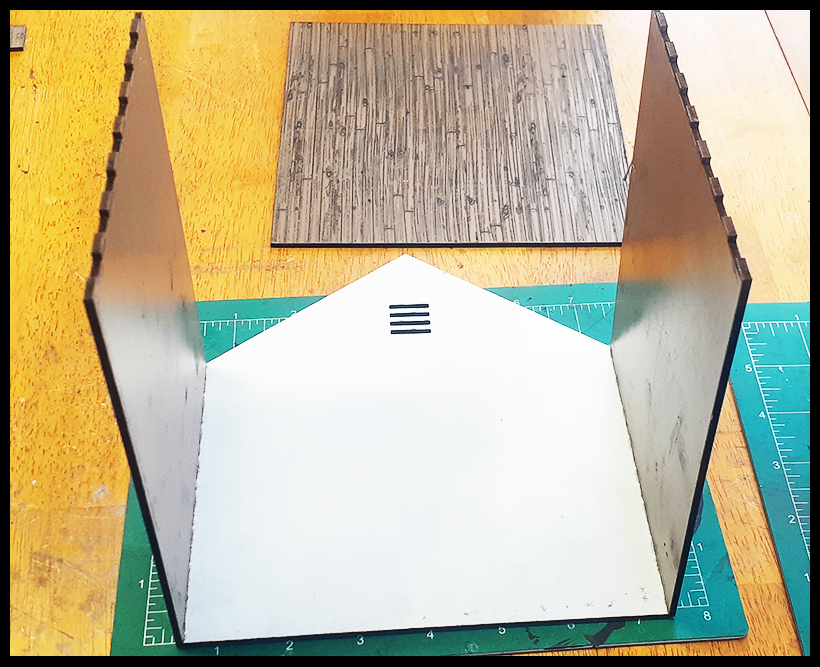
It should look as pictured above once the previous step has been completed. |
|
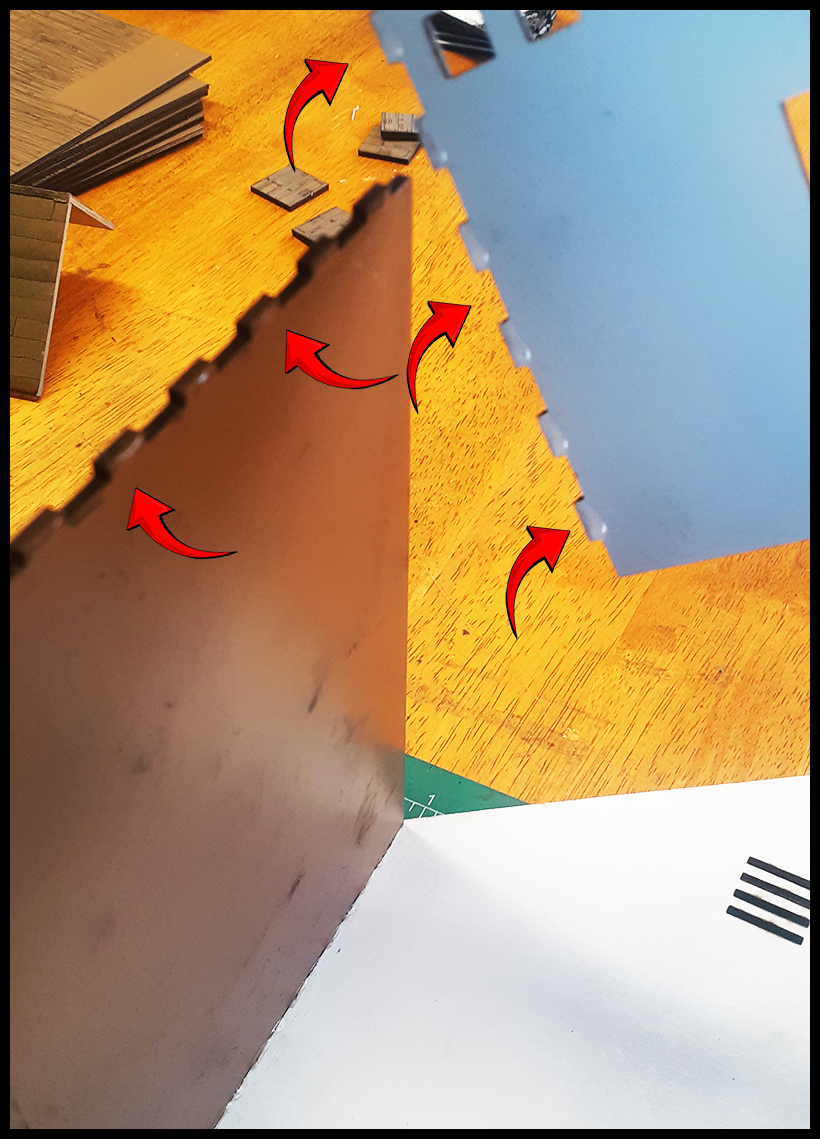
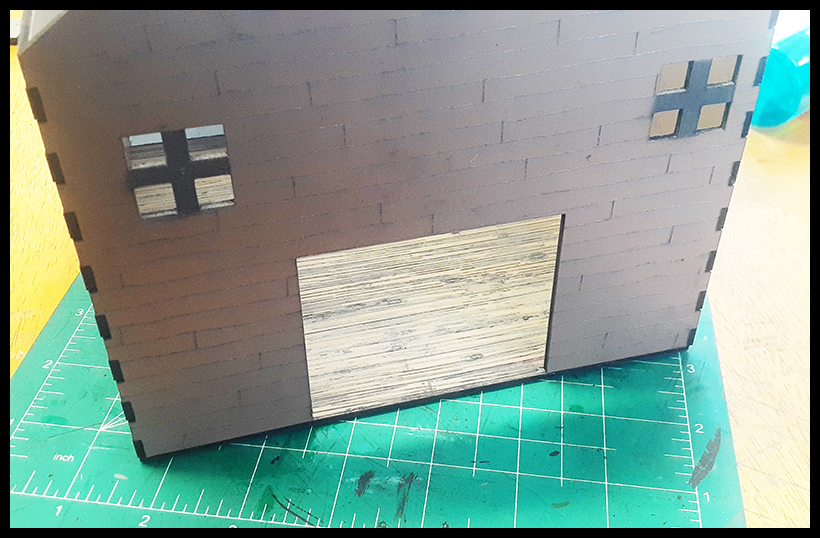
Place the Barn building onto the Barn floor, and line it up with the side of the floor. Mark where the door will be once glued into place. This will mark the area you do NOT want to put glue on the floor edges. |
Next, add glue onto the edges of the Barn floor, EXCEPT where marked where the doors will be located. |
|
Next, place the barn back wall onto the table and line it up with the floor. Gently raise the floor to the bottom of the Barn and line it up with the remaining walls.
|
Stand Barn up and gently press from top down to secure the Barn in place on the Barn floor. |
|
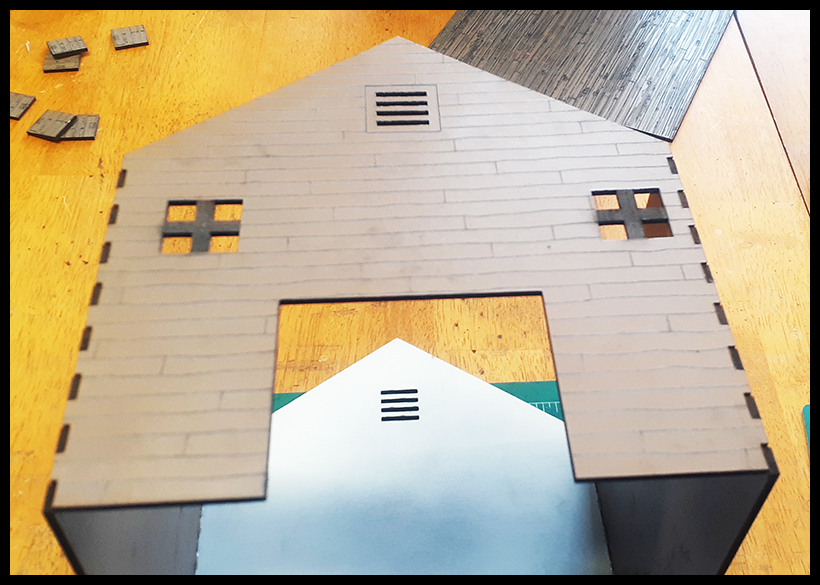
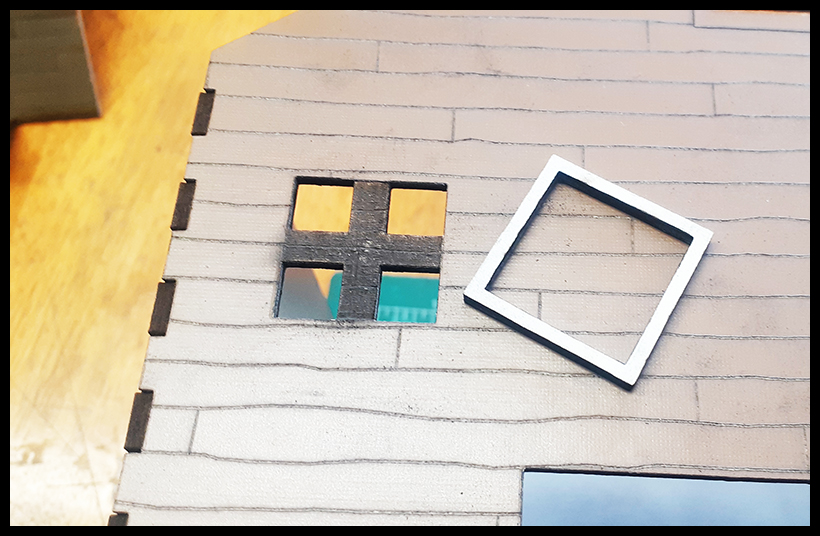
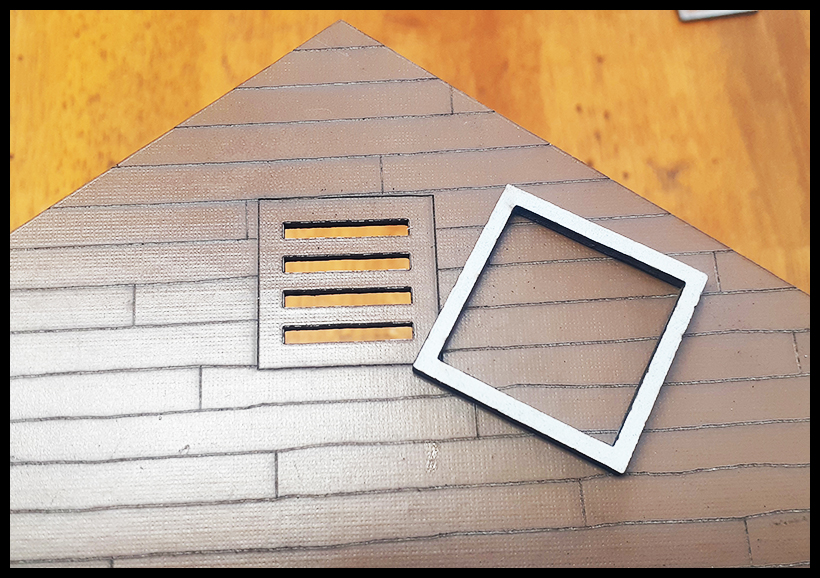
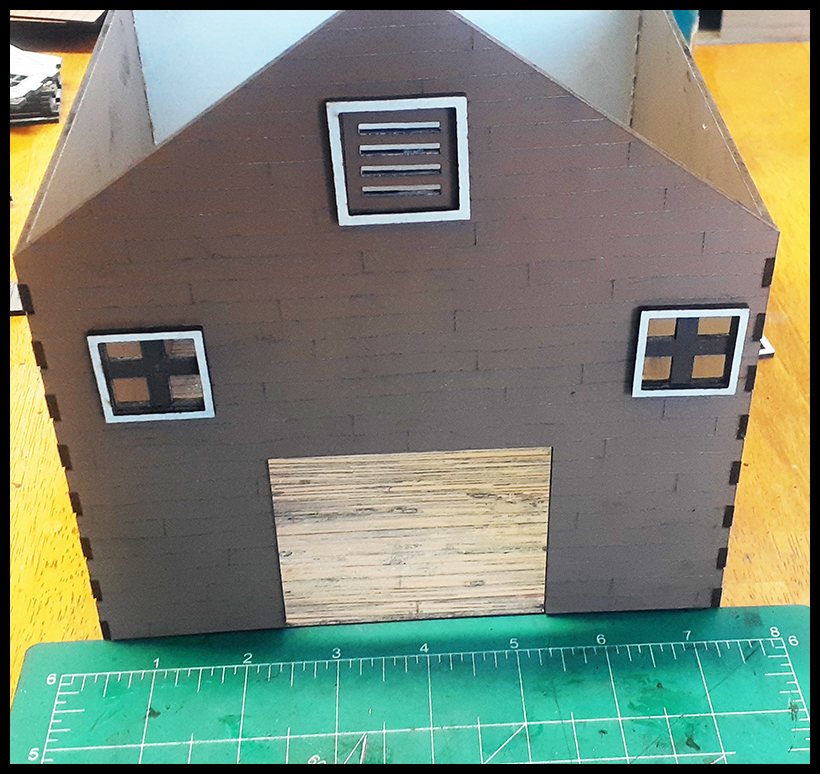
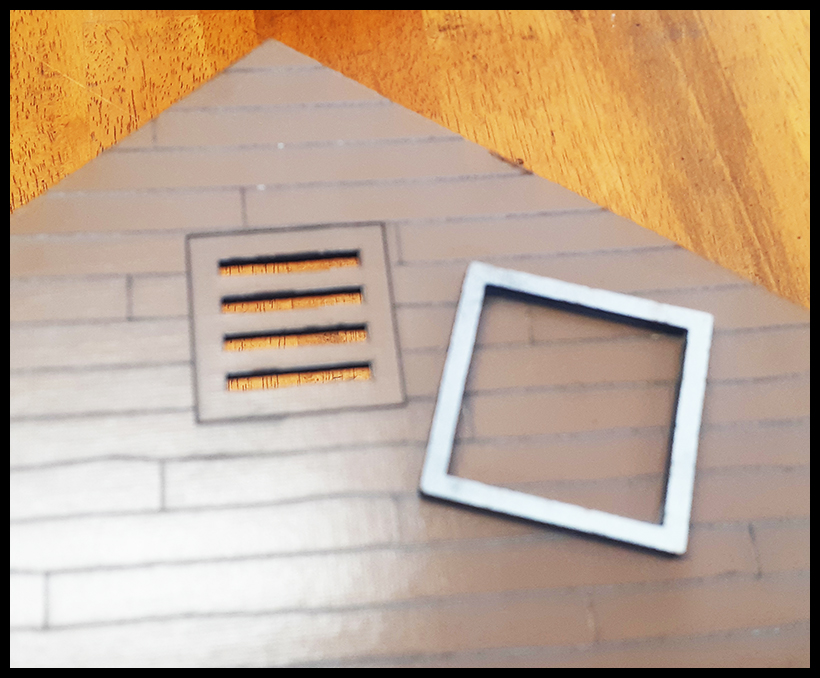
Next, locate the window frames and glue them around the windows.
|
Locate the larger window frames and repeat the previous step. |
|
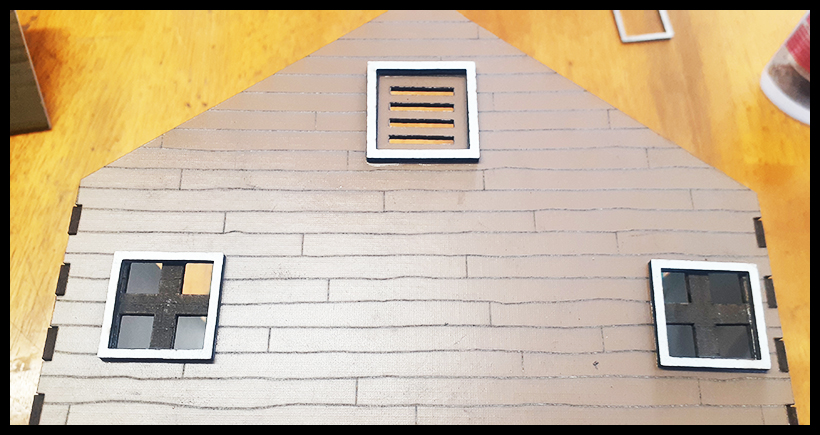
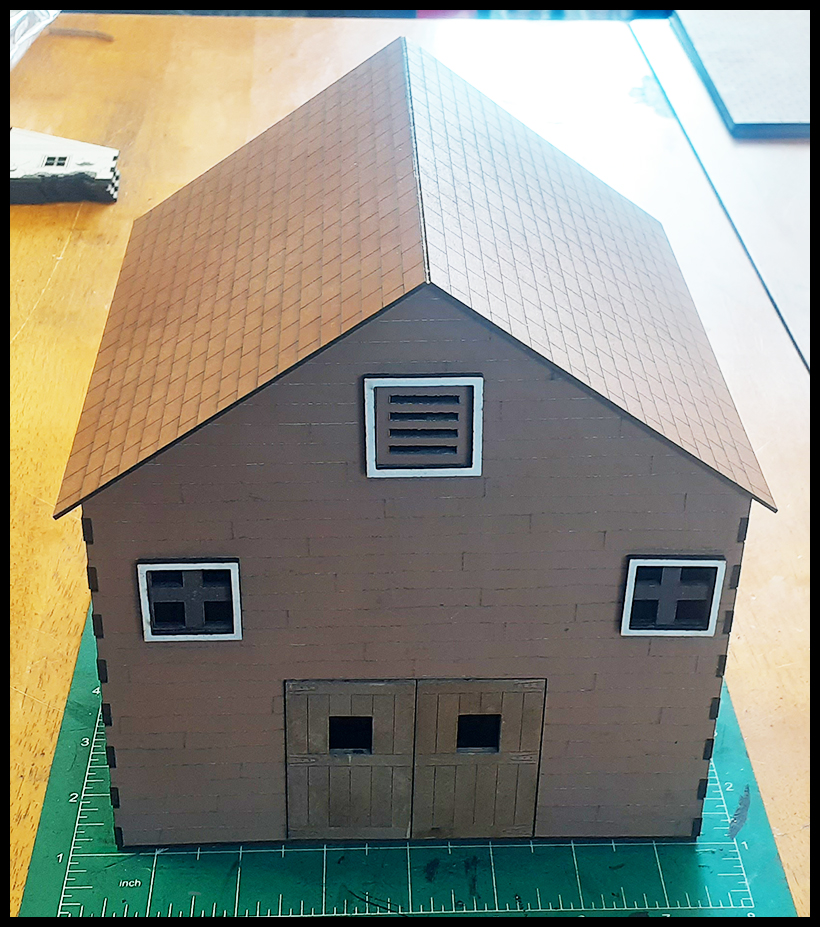
It should look as pictured above once completing this step. |
Set the Barn to the side.
|
|
Locate the F/G/H/I/K/J/L/M/N and ready them for assembly.
|
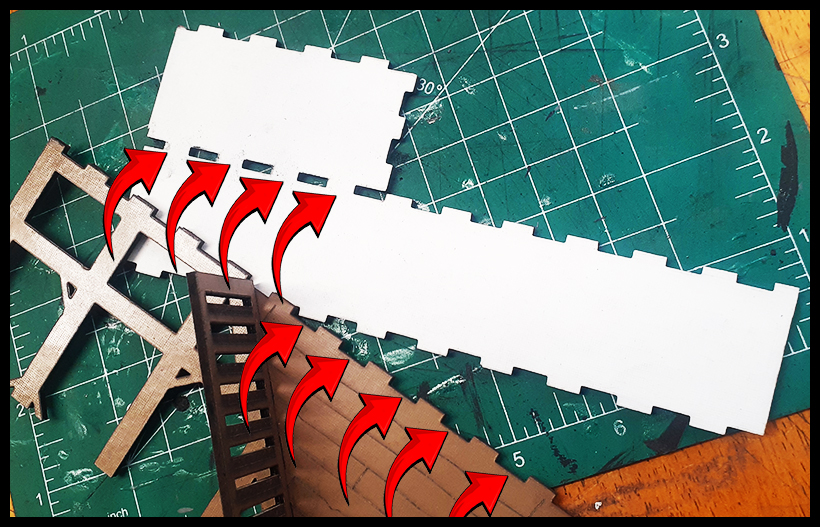
As seen above, glue sections “G” & “I” together. |
|
Next, add glue to each tab and glue together as shown above.
|
Add glue to the top area of the wall on the previous glued-together section to ready for the floor topper seen in the picture above. |
|
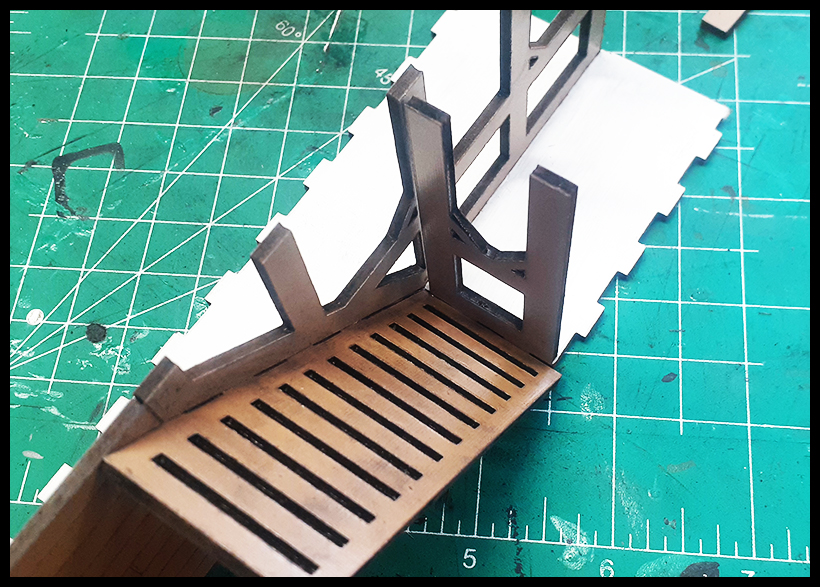
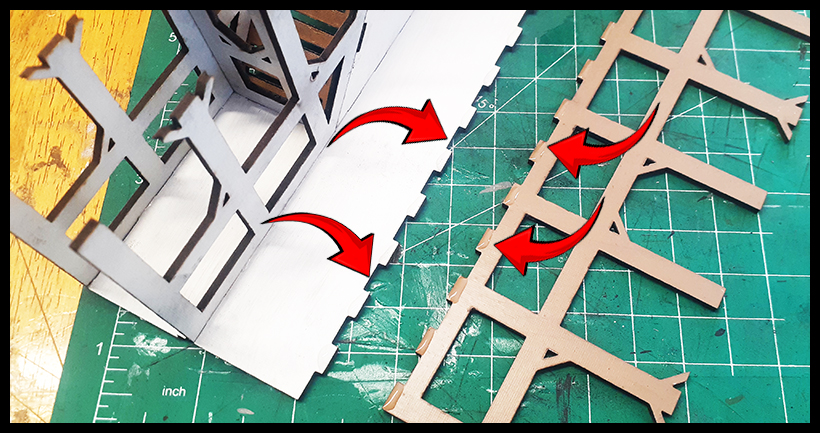
Add glue to the floor topper between tab notched areas as shown above.
|
Next, gently press the stall/stairs section into place and let dry. |
|
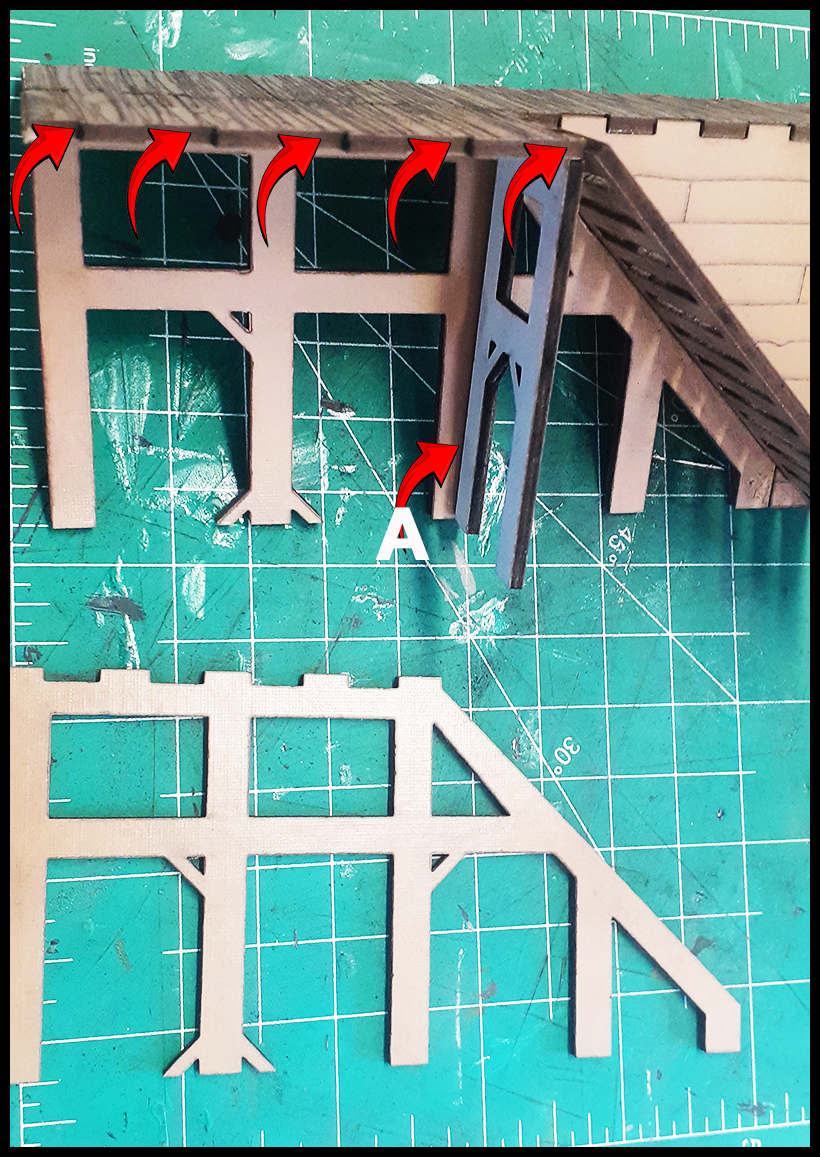
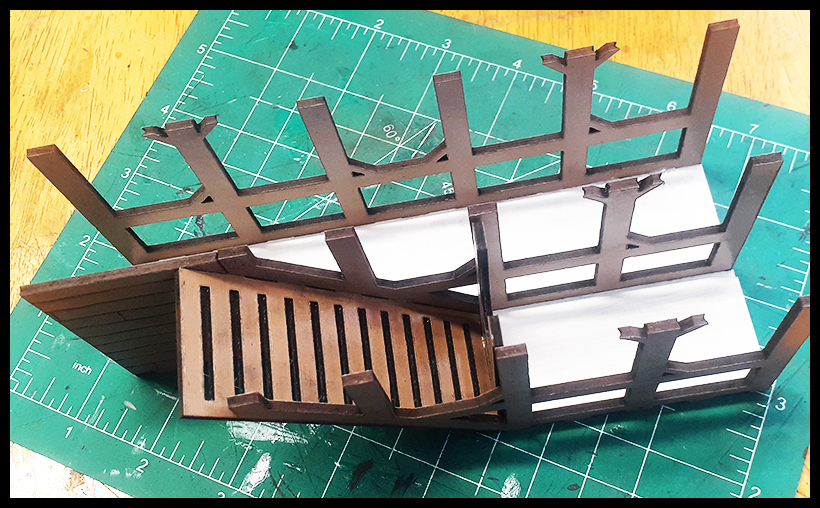
Gently press “H” frame into place as seen above. |
In the picture above, note the “A” area. Make sure to line up straight the”H” frame with the stall frame. Add glue to the notched and tab areas above on the stall & stall stairway frames as above.
|
|
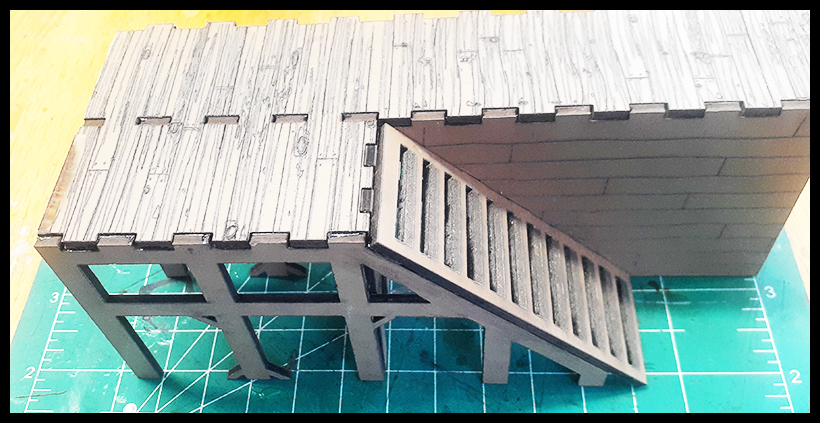
Once complete, the stairs stall should look as pictured above.
|
Glue the final stall frame to the stall.
|
|
Add glue to each tab and notched area on the Stall and stall frame.
|
Press into place gently and let dry. |
|
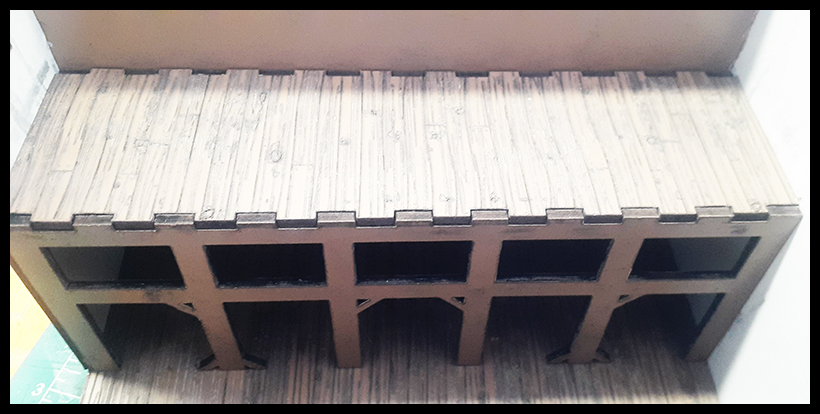
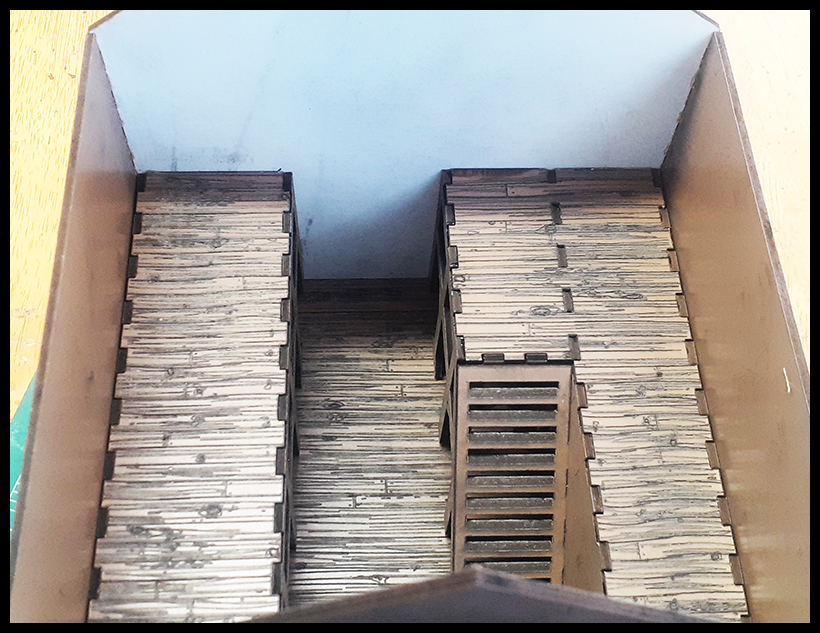
Once dry, this section can go into the Barn as shown above.
|
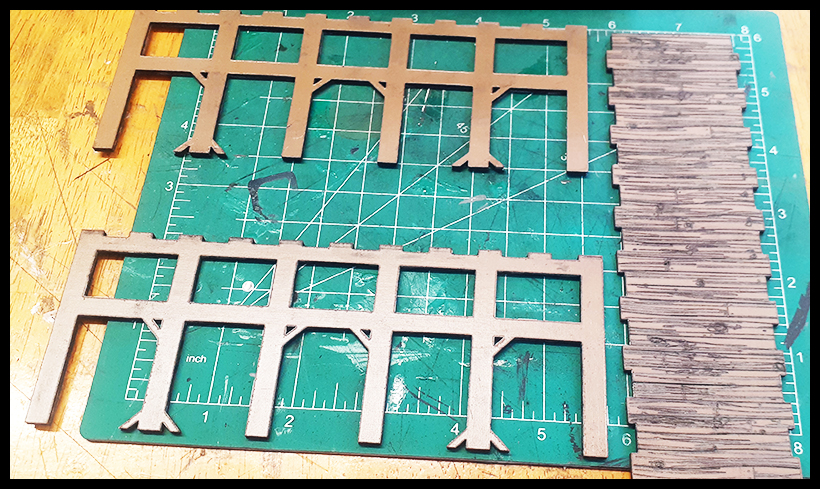
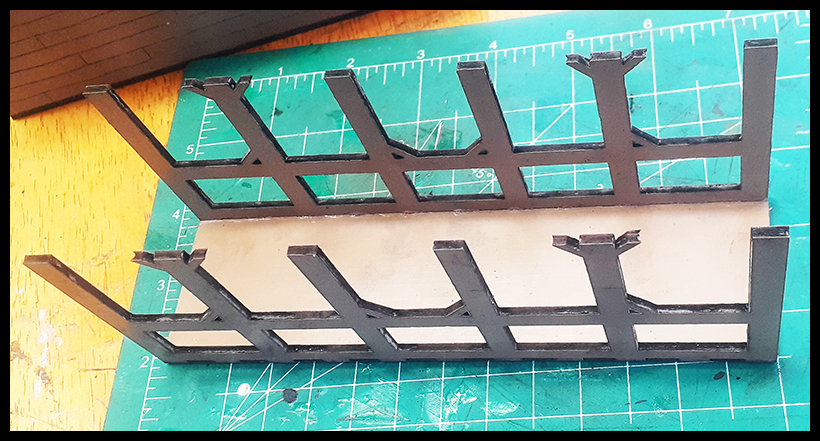
Locate the Stall pieces (H/J/N) as shown above. |
|
Add glue as shown above to each tabbed area. Glue together and let dry.
|
Repeat for the second stall frame. |
|
It should look as pictured above once complete.
|
Once dry, this section can be added to the inside of your Barn for further stalls. |
|
This is one of the configurations you can do.
|
Add your ladders as you desire. |
|
Glue the final larger window frame around the back window of the Barn. |
Add your doors as you wish, and remember there are resin doors as an option included!
|
|
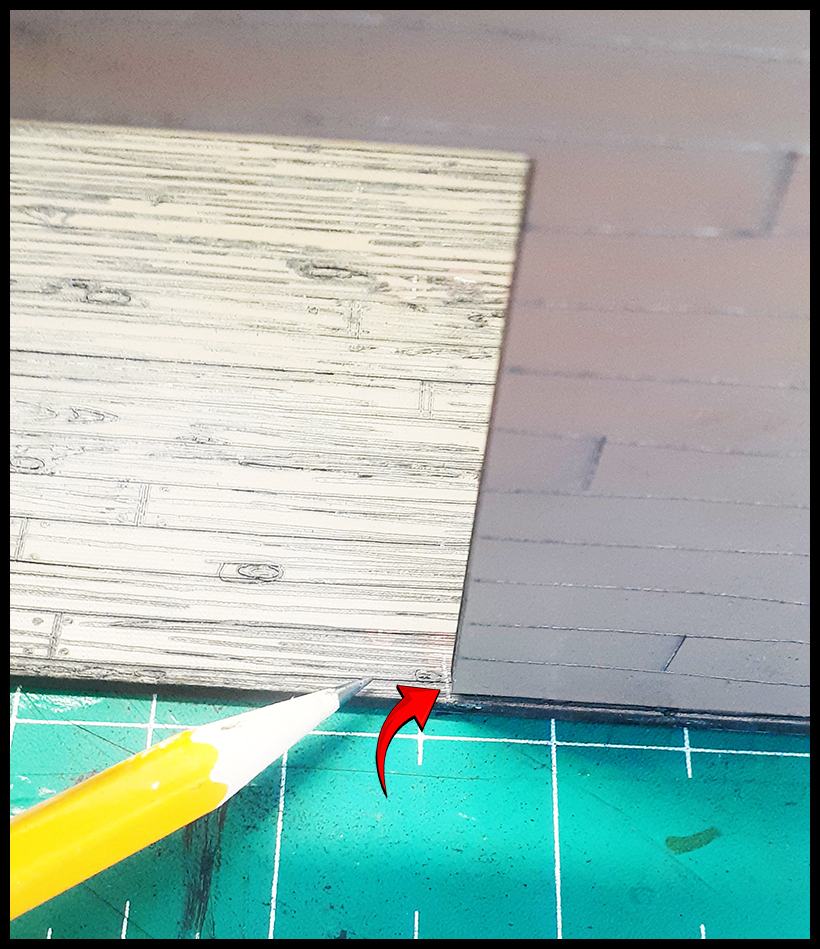
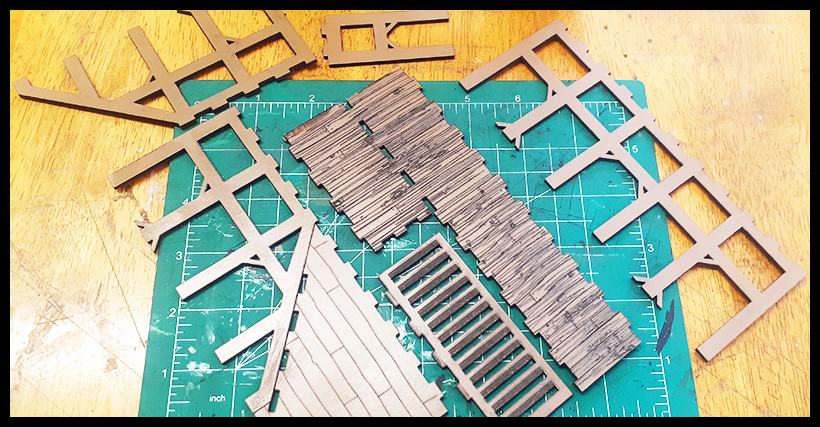
Now onto the Barn roof. Locate the roof sheet #3 items for this step.
|
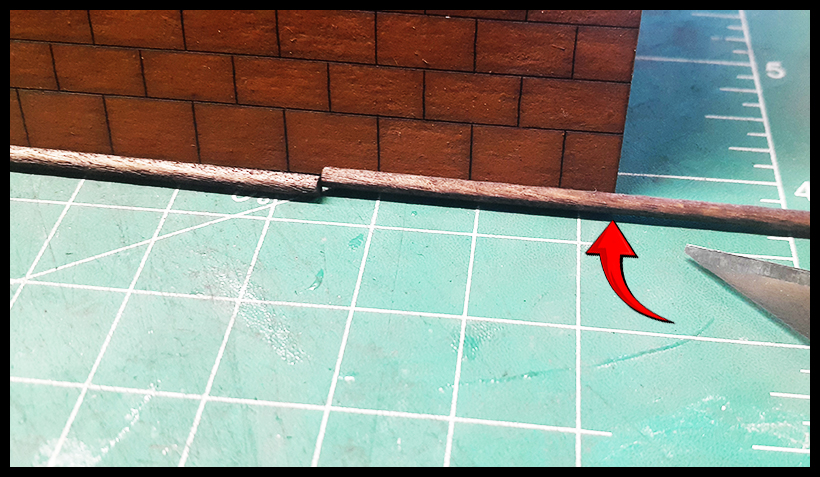
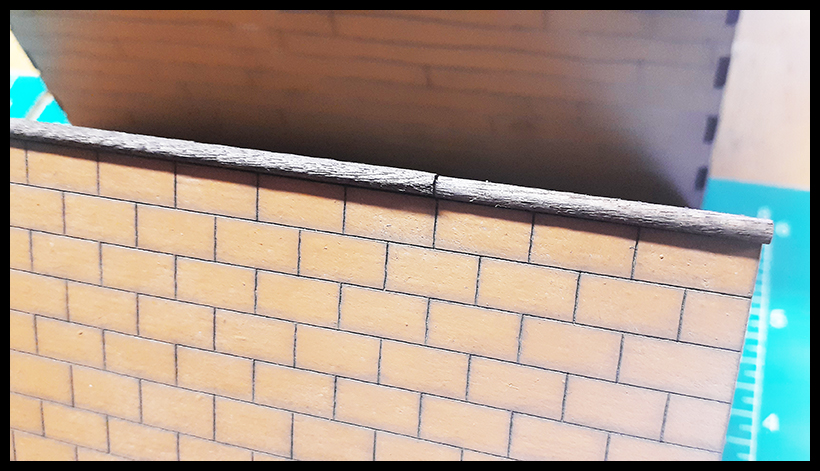
Line up the roof post with the roof and cut the extra away as shown above. |
|
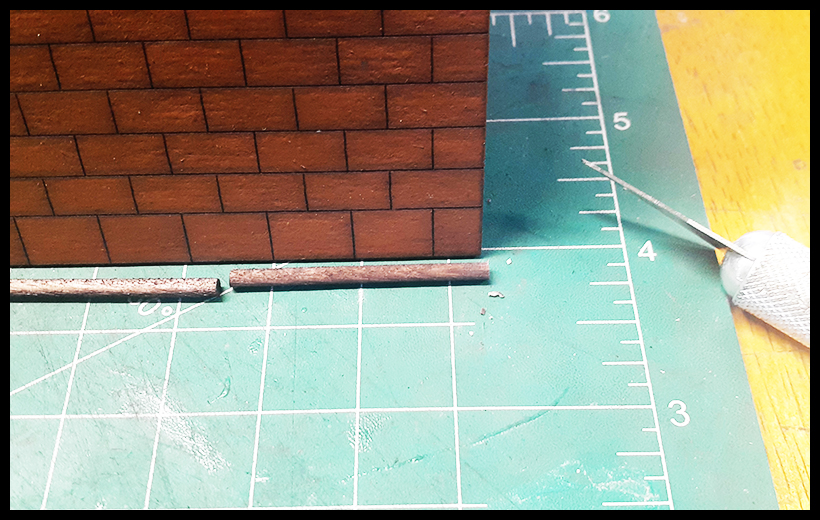
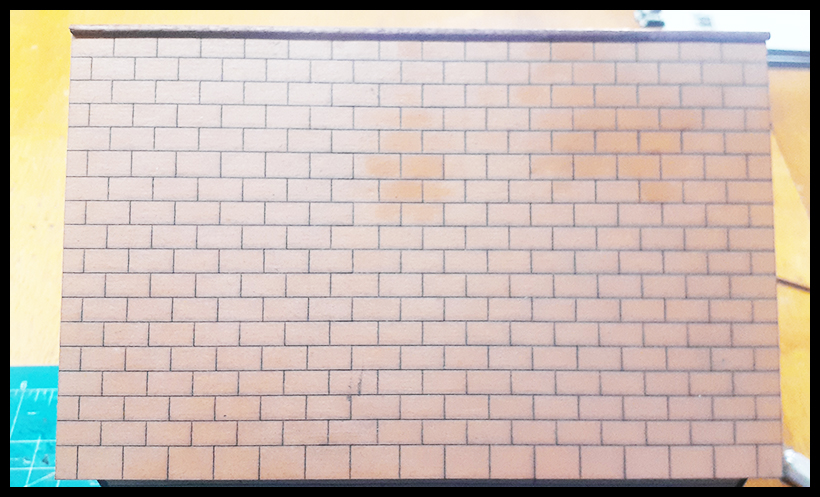
This is what you should have once complete with this step.
|
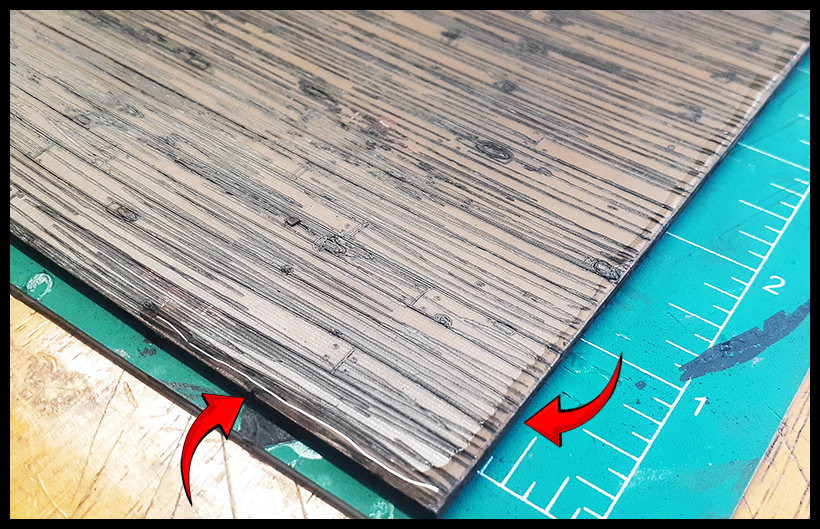
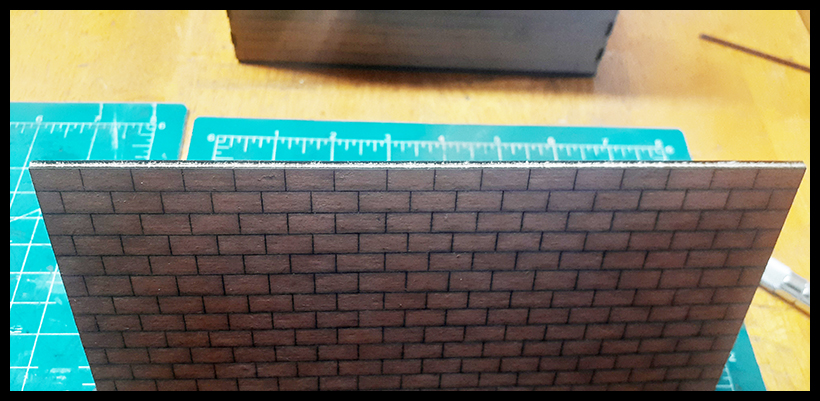
Now fold your roof section as shown above. |
|
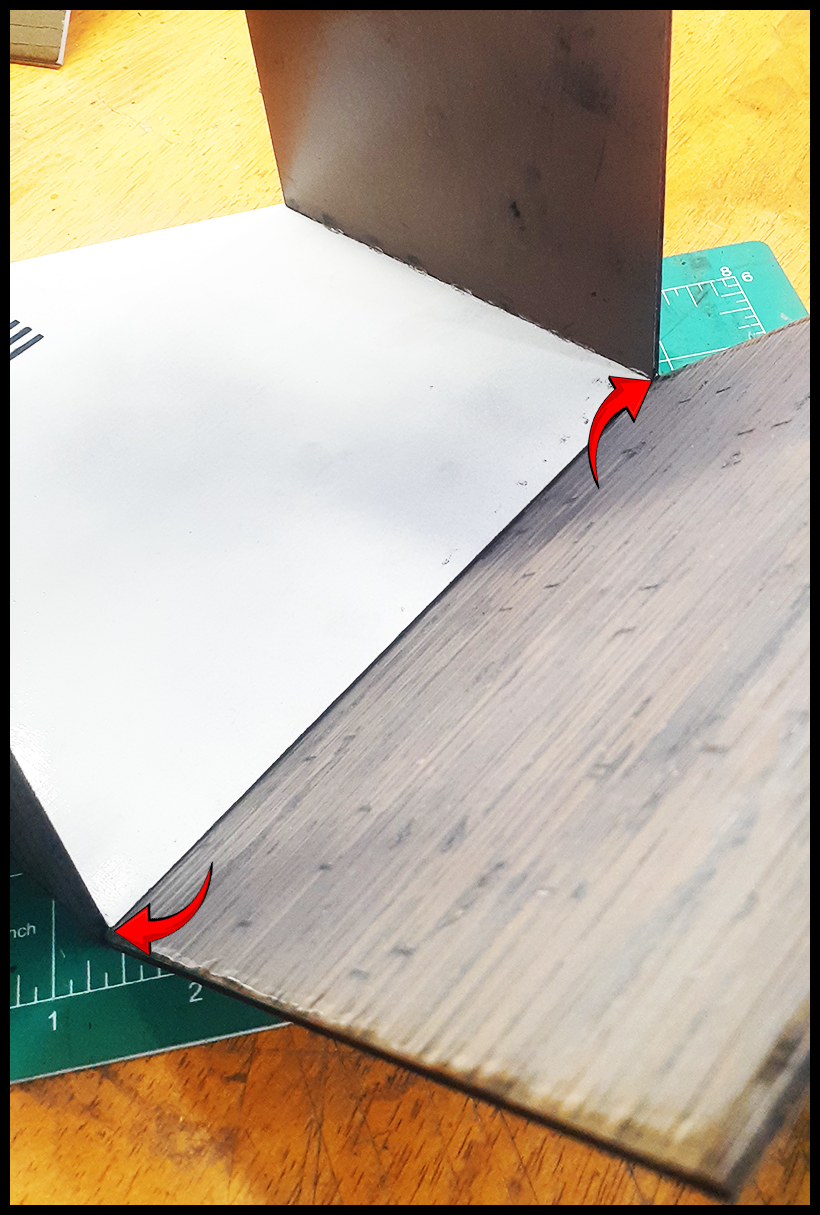
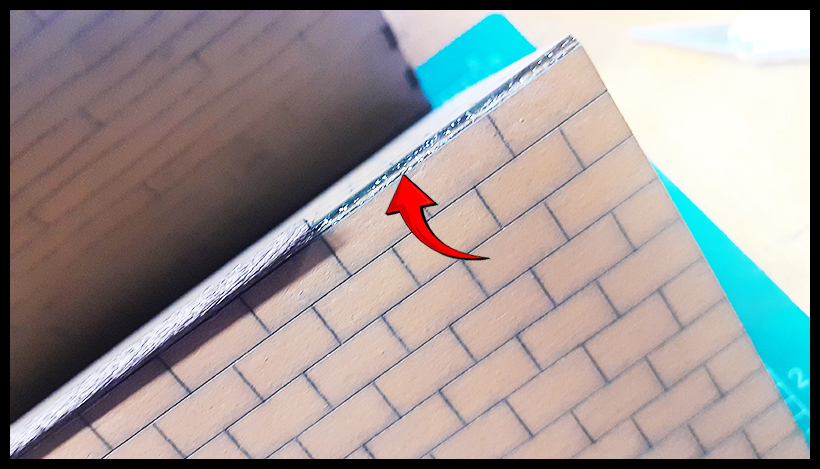
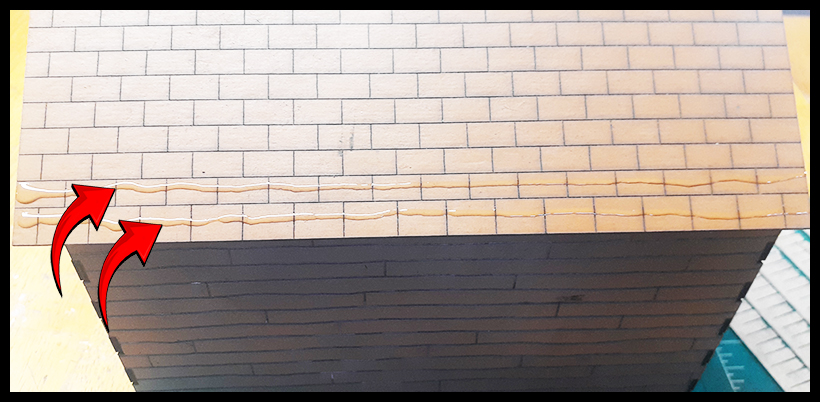
Run a bead of glue into the fold as shown above to ready it for the roof post.
|
Attach the roof post into the fold area of the roof and quickly place on top of your Barn. |
|
Hold into place on the roof and let dry. This will now keep the shape of the Barn pitch for easy placing and removing of the roof. |
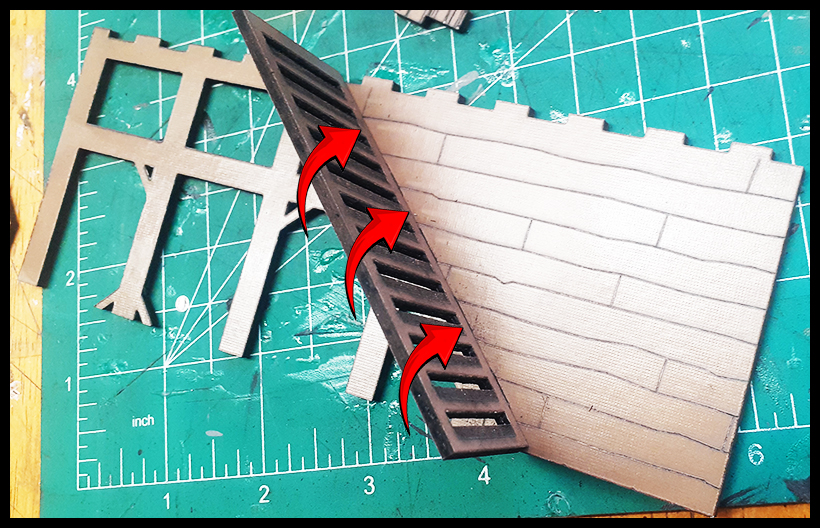
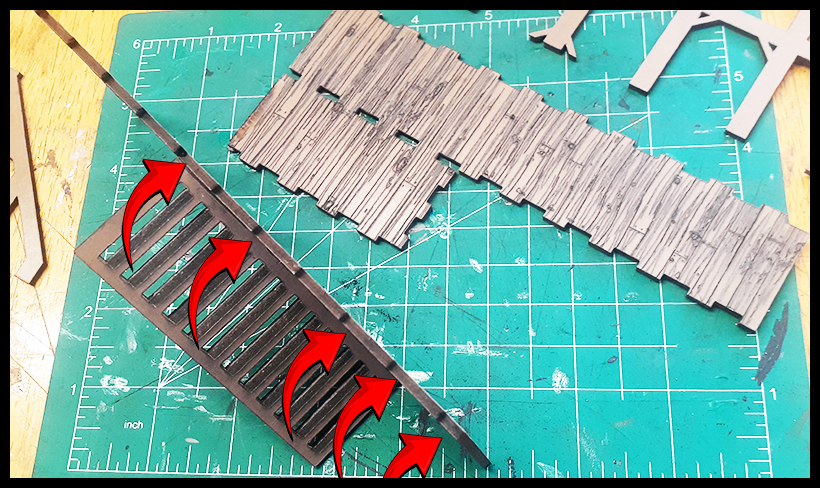
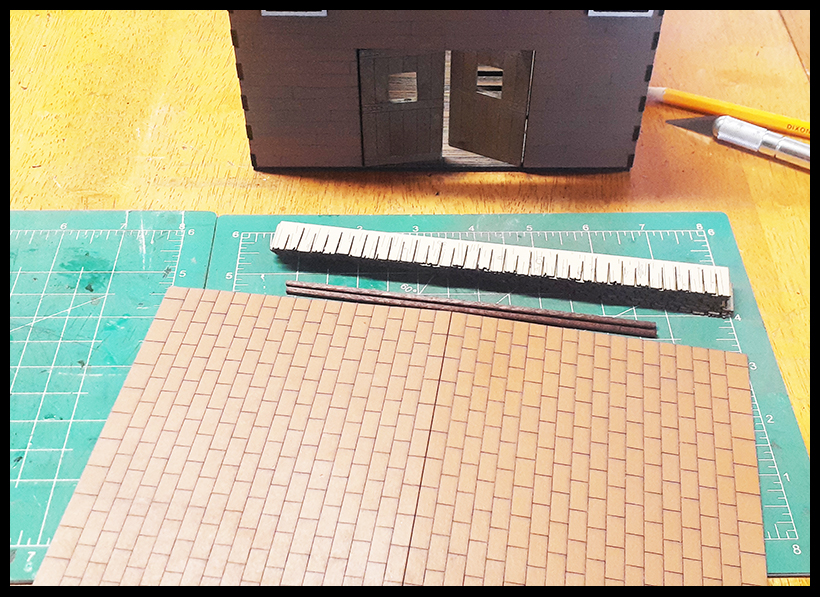
Now onto the adding of the shingles. Run a bead of glue onto two rows of the Barn roof. Place a row of shingles into place and gently press until dry. Now add a bead of glue to the second row on the roof and the upper top of the Barn roof and repeat until complete.
|
|
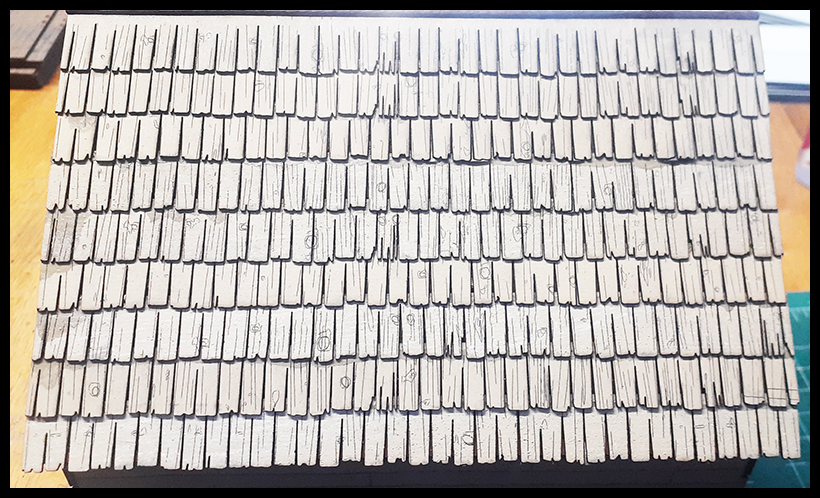
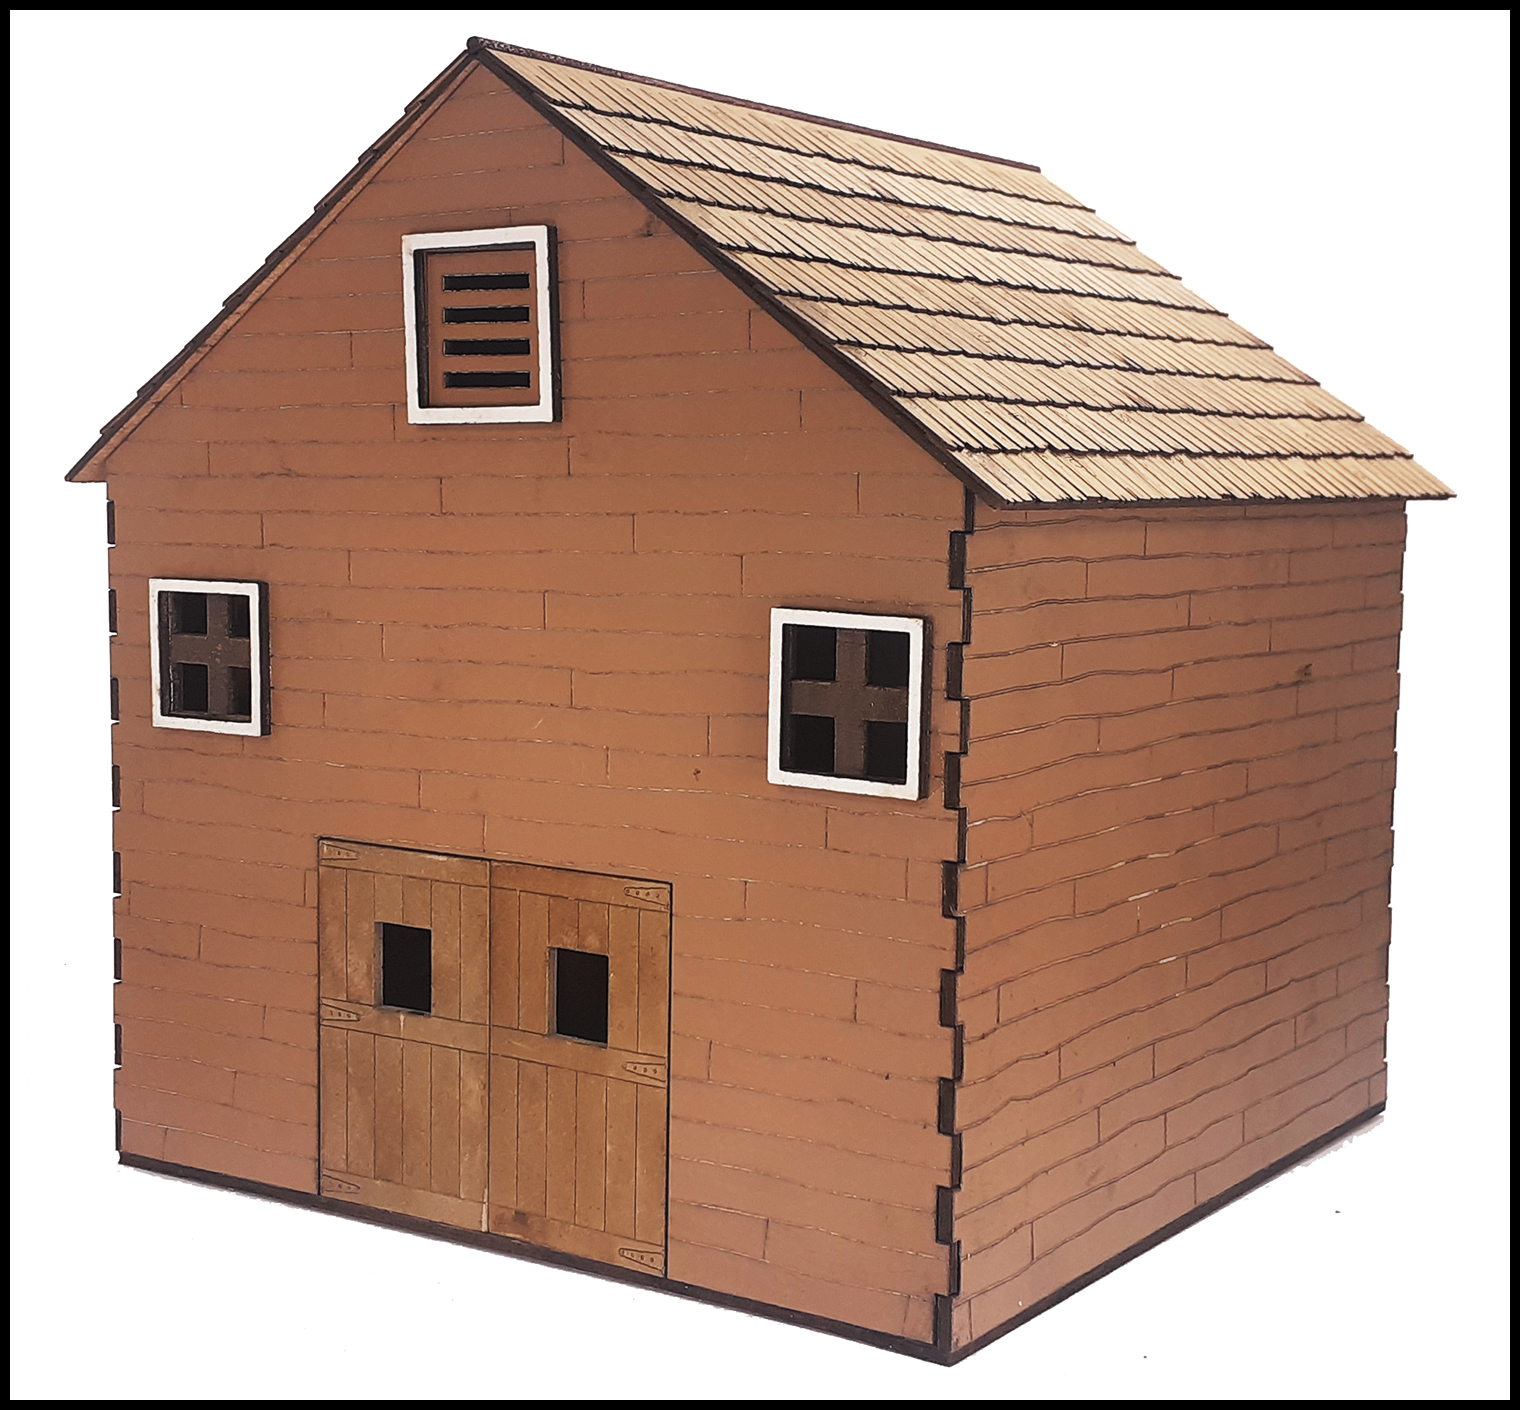
This is how it will look once complete. You can cut away some of the shingles to add more character if you wish. Or just leave it the way it is, either way it should look great!
|
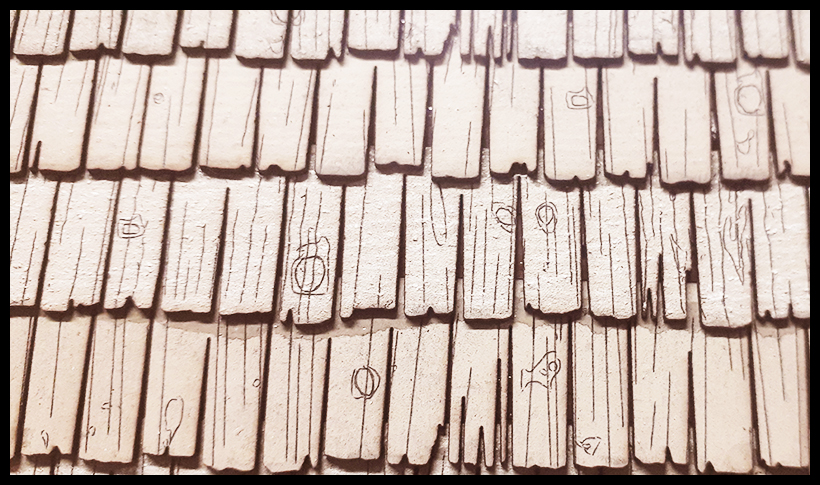
A closer look at these planked barn shingles. |
|
And here it is - Complete for outer and inside game play- ENJOY! |
|