SINGLE STORY BUILDING #1 ASSEMBLY
|
|
|
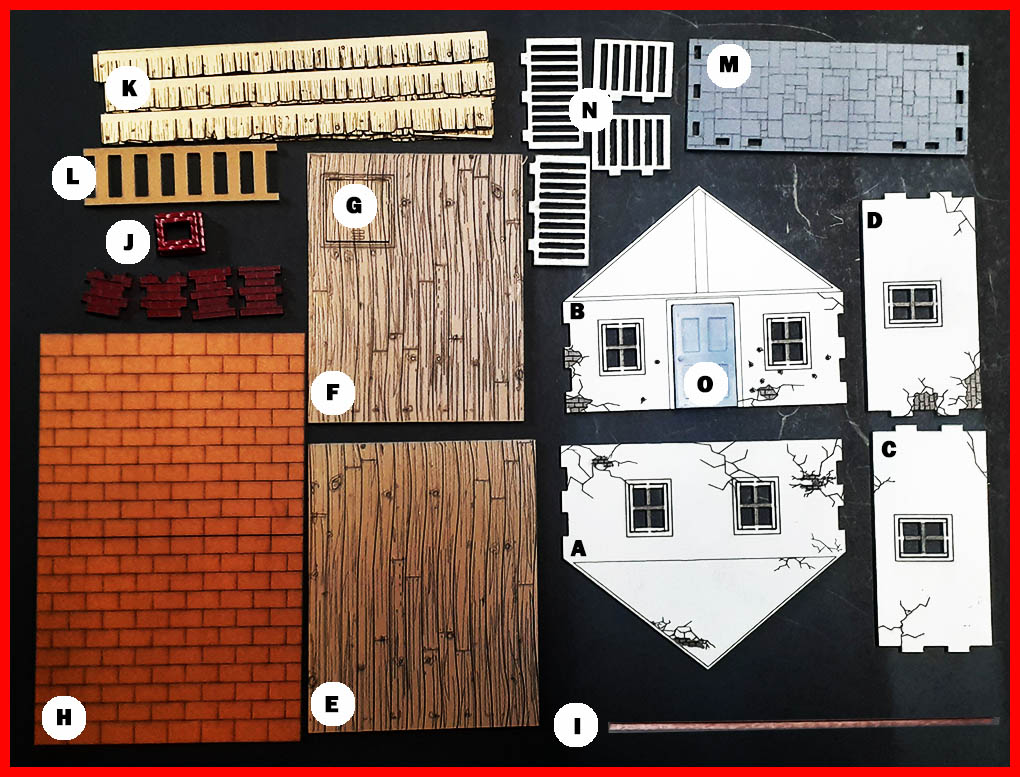
SHEET #1 - SINGLE STORY BUILDING HOUSE #1 A/B - Front & back walls |
|
|
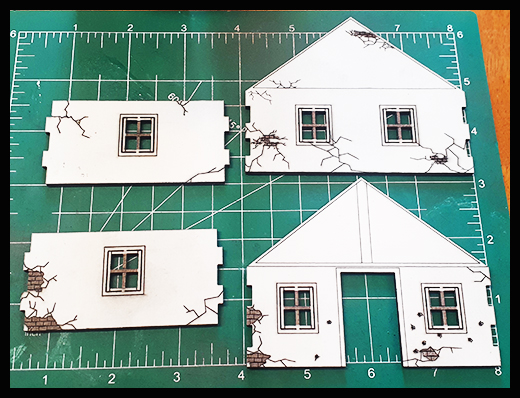
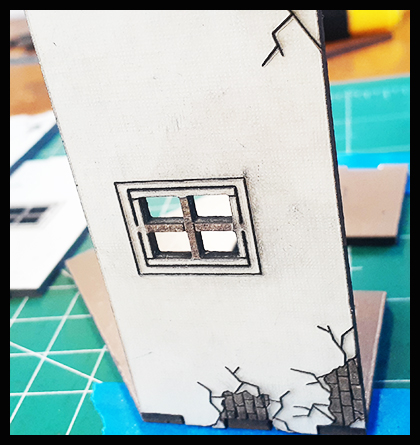
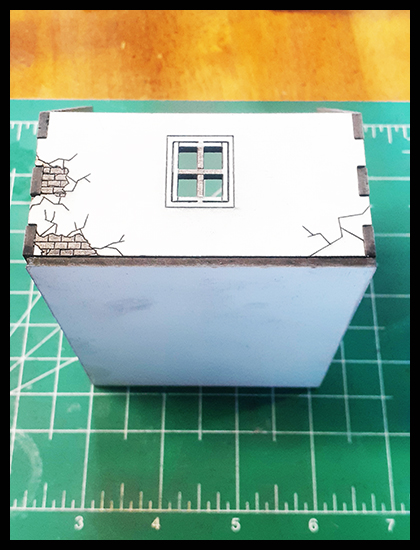
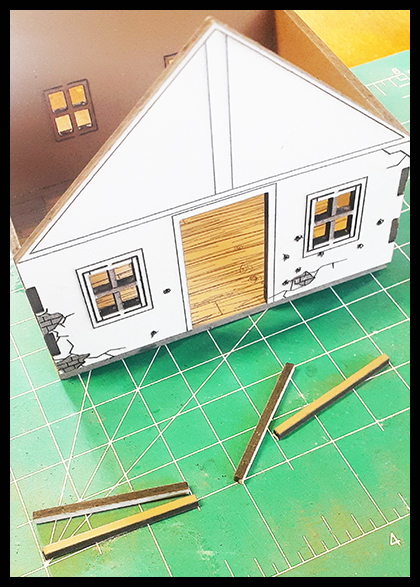
Locate the above house walls (A,B,C,D). Familiarize yourself with the walls. You will notice various details on the walls, and some may go better together than others. Make sure to position the side walls "right side up" with the windows higher from the bottom than from the top. So the shorter wall space should be above the windows.
|
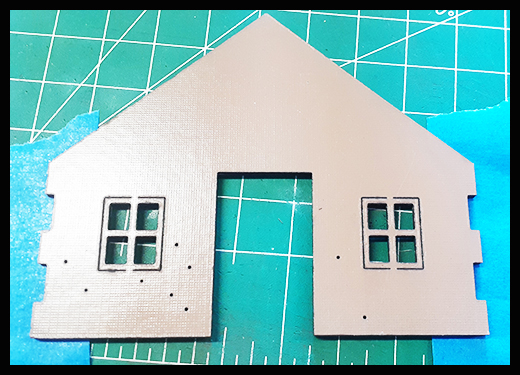
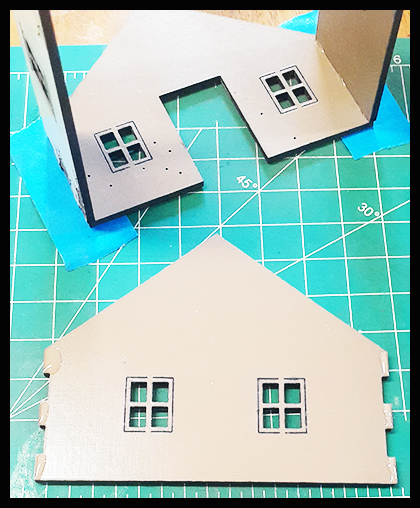
Flip the wall with the door entrance. In the picture above you will see in this build we are using “blue-tape.” It is not required, but can make it easier to assemble. |
|
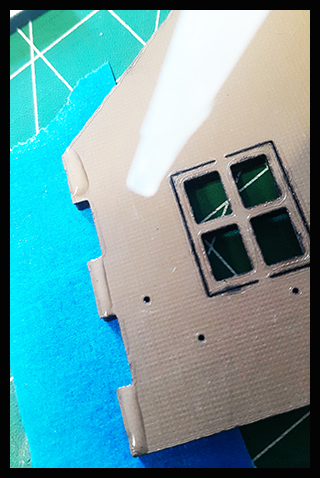
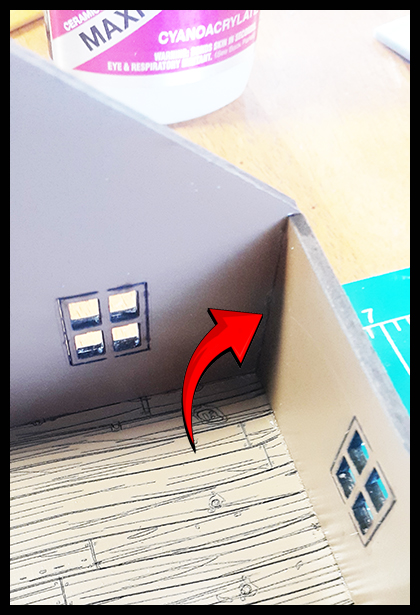
Add glue to the tabbed areas of each side wall that will be glued to the front wall. |
Now choose the side wall you wish to attach and glue the two walls together. Gently press them in the tabbed areas and let dry. |
|
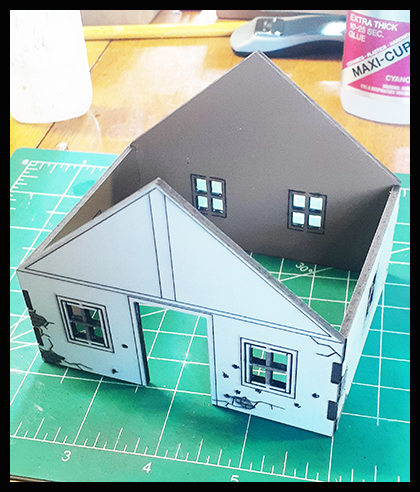
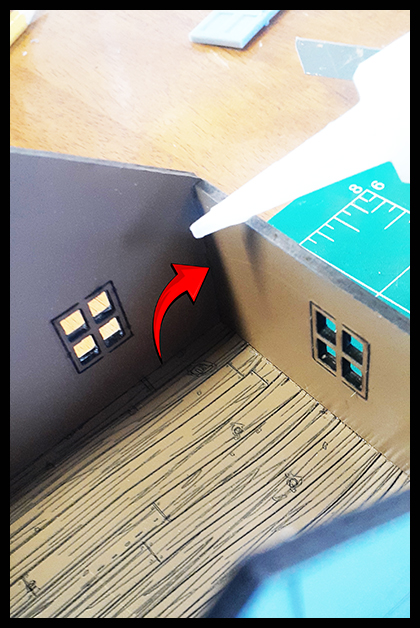
It should look something like the above once complete. Repeat for the second side wall attachment. |
Locate the rear wall of the house and repeat the same steps to attach it to your already assembled walls.
|
|
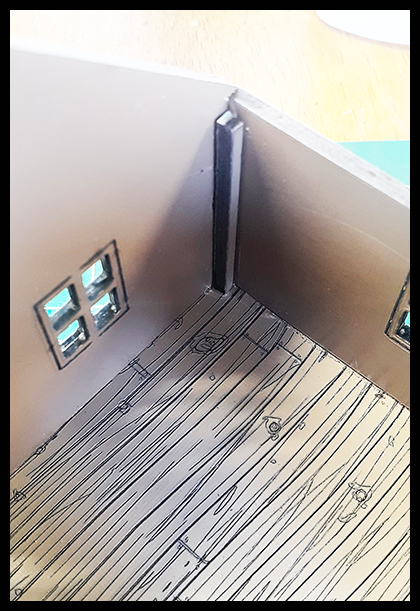
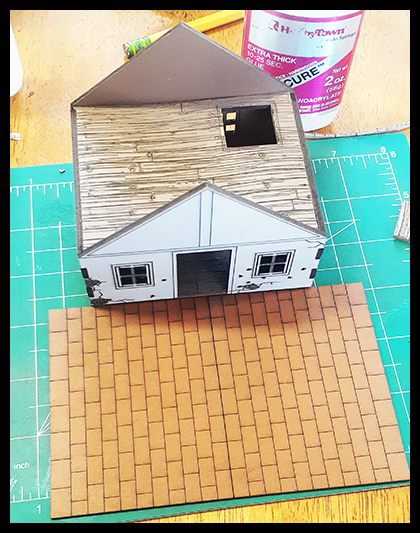
This is the completed walls assembly. |
Remove blue tape carefully if used.
|
|
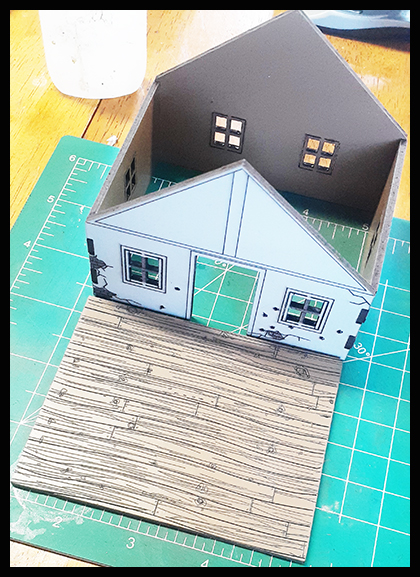
Now your house is ready to add the floor.
|
Locate the house floor section. |
|
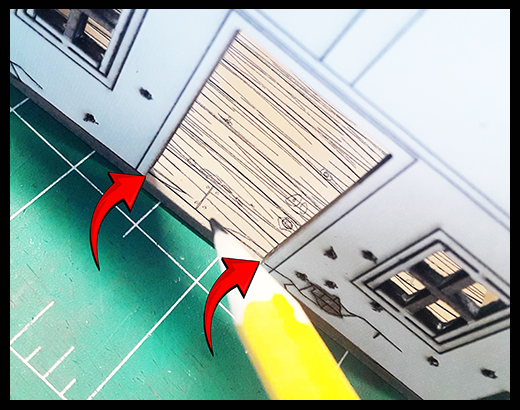
Place the house on top of the floor (NO GLUE) and mark the location of the door opening so you DON”T add glue to this section. |
Add glue to the outer area of the house floor except where marked for the door opening. Line up the bottom of the building and floor and gently press the floor to the bottom of the building to get into place.
|
|
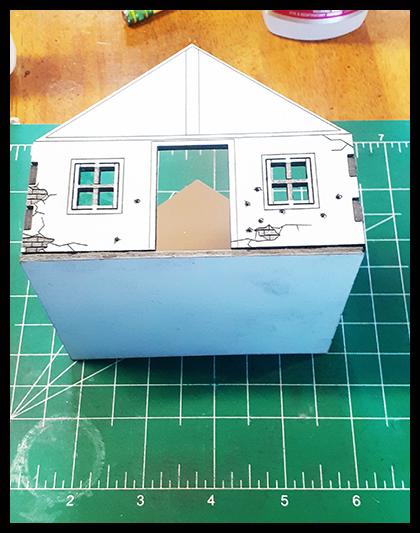
You can place it on its side to make sure all walls line up with the floor. Once in position, press to secure and let dry.
|
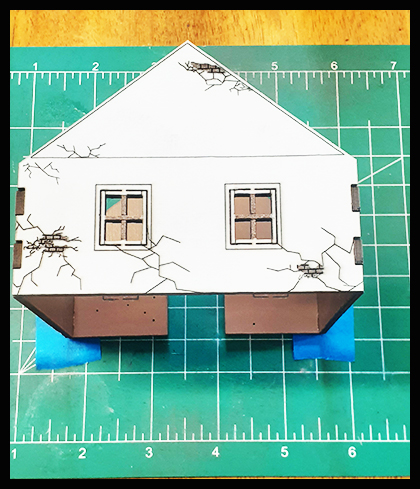
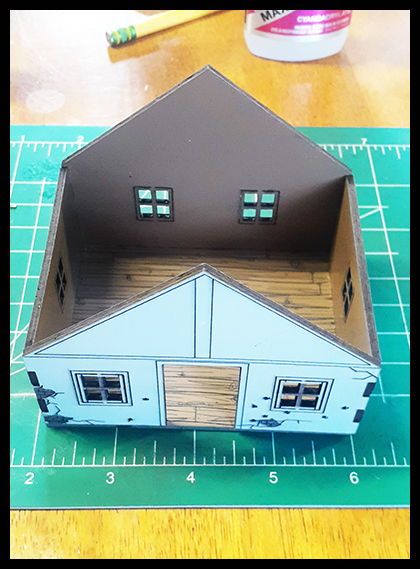
It should look like the above once complete. |
|
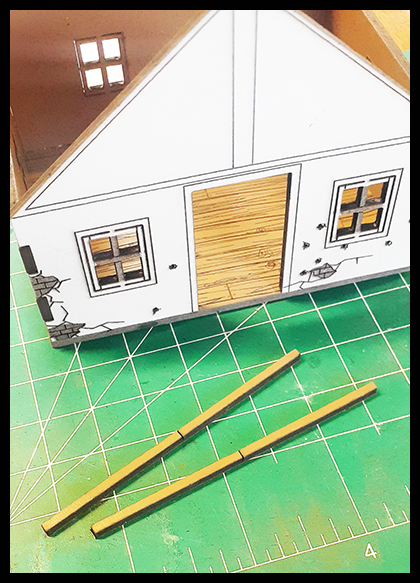
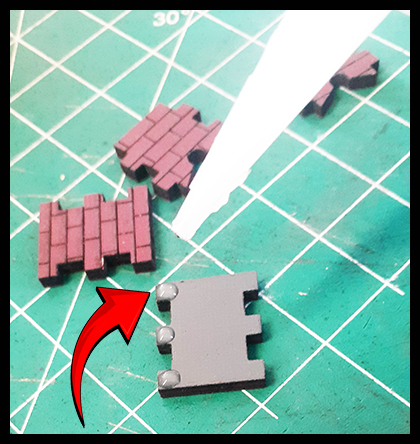
Locate the resting post in your kit. These may be already cut in your box. |
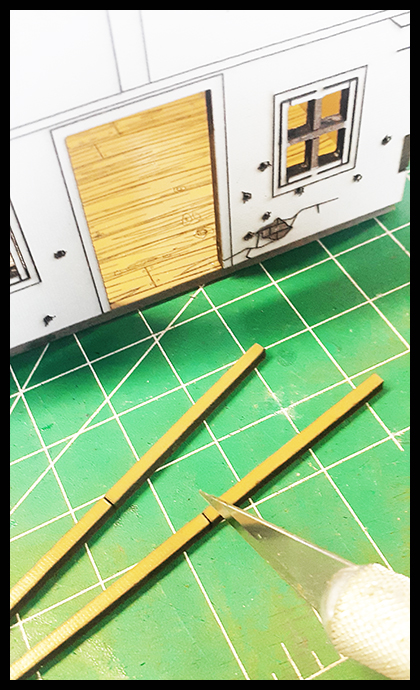
If they are not already cut, use a sharp hobby knife and cut them at the marked spot. These are for your attic floor to sit on. |
|
They should look like this once complete. |
They will be glued in each corner as shown above.
|
|
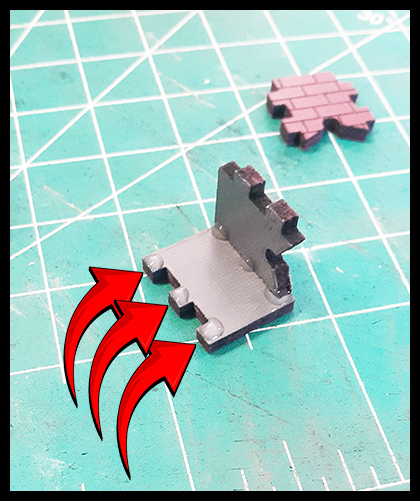
Add a bead of glue to each corner as above for the resting post.
|
Carefully attatch each resting post by pressing gently but firmly into place and let dry.
|
|
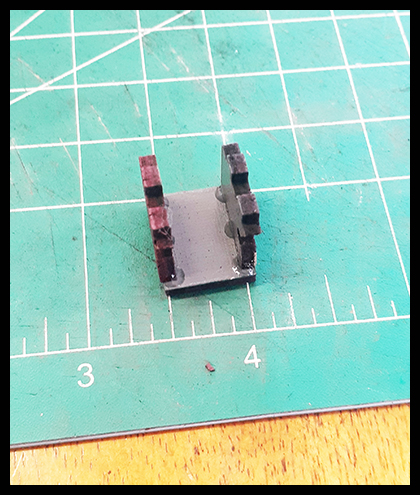
They should look like this once complete. |
Once the resting posts are completely dry, do a dry-fit for the attic floor. The floor may have to be trimmed to fit. |
|
Place a metal ruler on the edge and cut once you have determined how much needs to be trimmed to have a proper fit. Again, this may or may not be necessary. |
It should look like this once complete. |
|
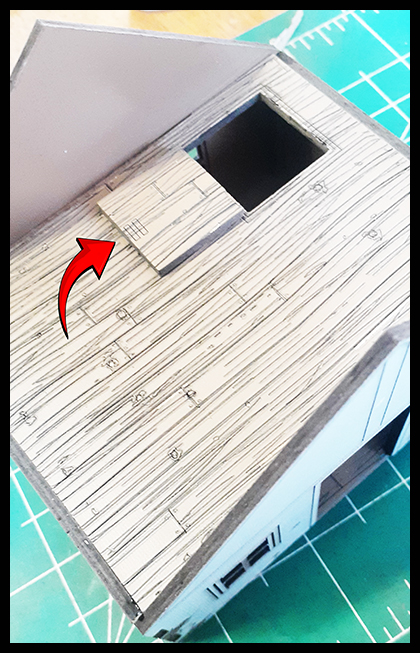
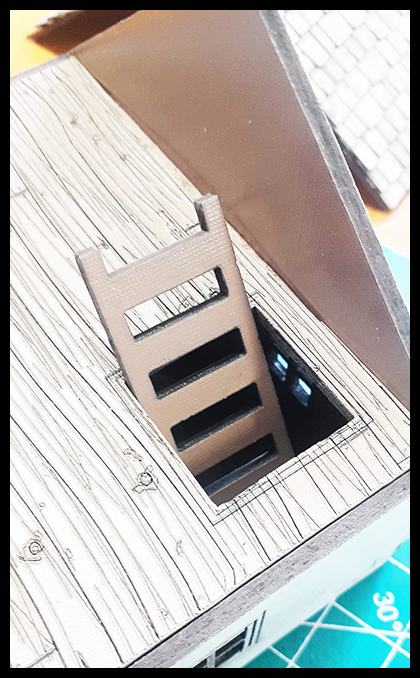
Next add the trap door for the attic. You can leave loose or glue into place as you desire. |
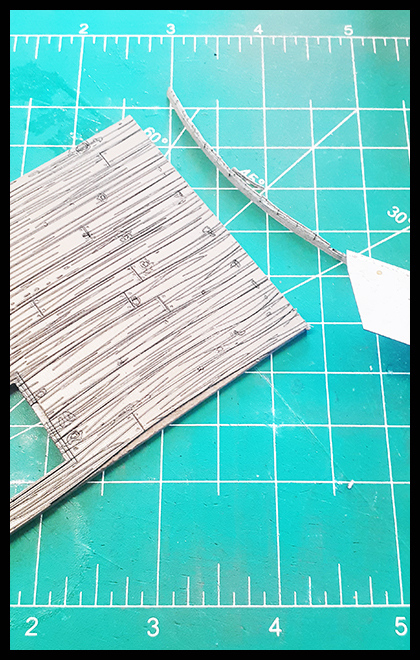
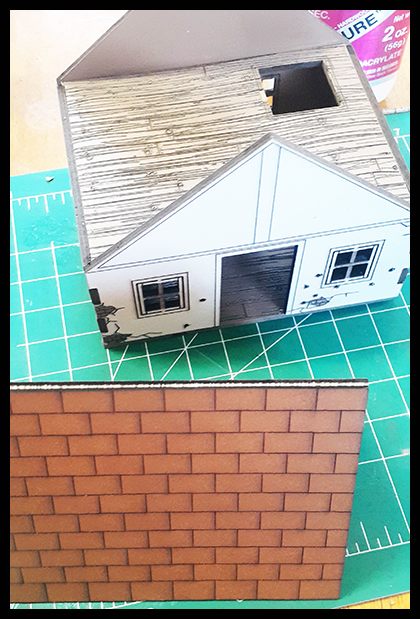
Locate the roof section and shingles/roof post. |
|
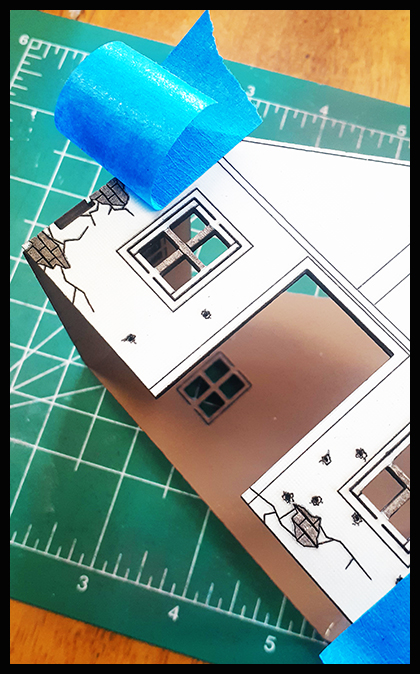
Carefully fold the roof section as seen above.
|
Do a test fit on the roof to get an idea of how the roof should sit on top of the house. |
|
Place the roof section onto the house, and run a bead of glue to the top of the house. |
Next place the roof on the house. |
|
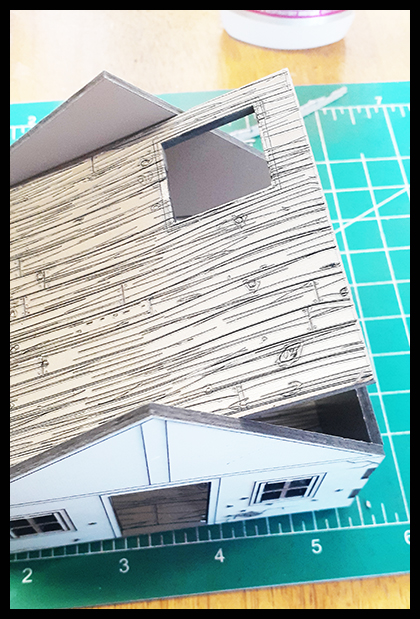
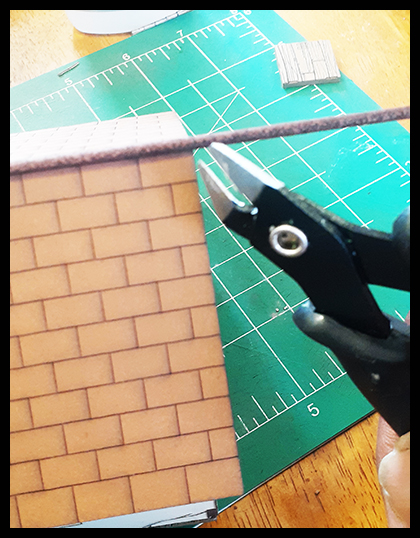
Now is the time to gently but firmly place the roof post into position and let dry on top of the house so it sets the shape of the roof. Carefully cut away as above the extra roof pole extension. |
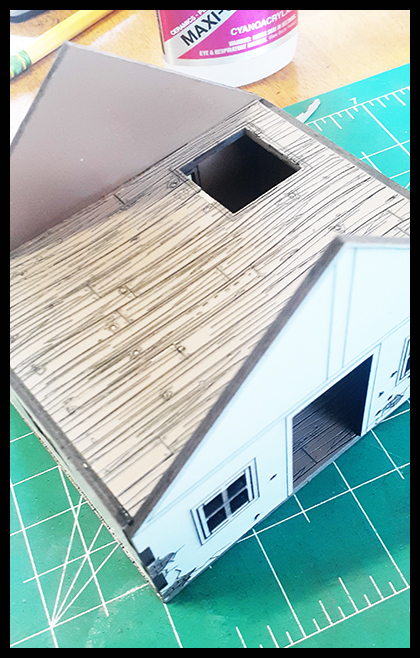
It should look like the above once complete. |
|
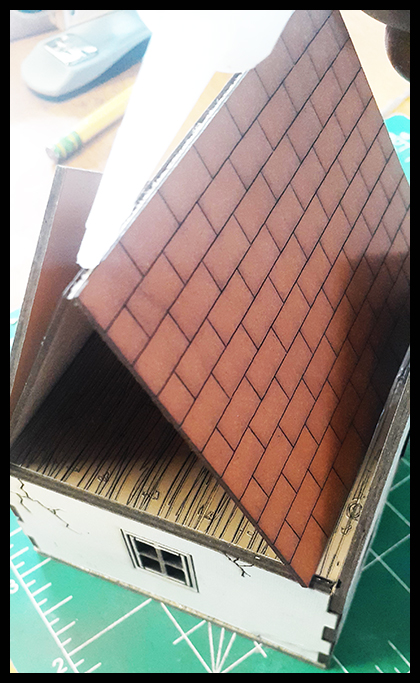
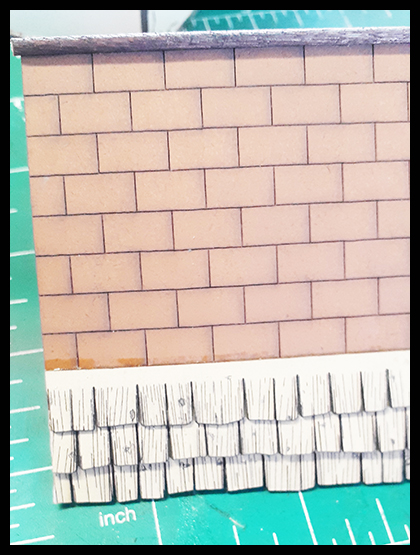
Locate the shingles for the roof next. The roof has a pattern on it to use as a guide for placing your shingles. Every row line is for a row of shingles from bottom to top. You add the shingle to each row as shown in the next steps. |
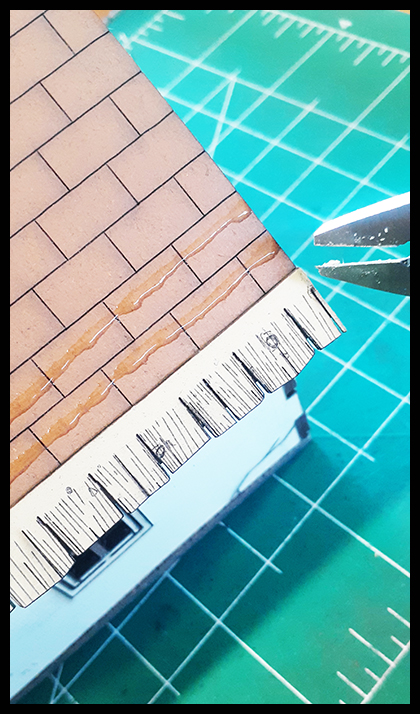
Run a bead of glue as above. Again, gel super glue works best as it does not run like with thinner counterparts. You can use a PVA (Elmer’s glue) but it takes longer to dry and can warp the roof when drying, so you would have to reshape the roof once dry. |
|
Carefully place the first row of shingles to the first line as above on the bottom edge. Once set, cut any excess and set aside for the next row. |
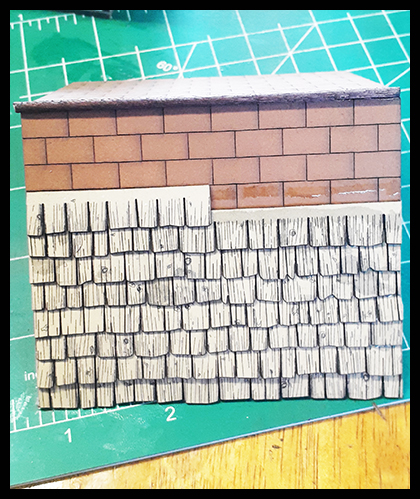
Repeat this step until the roof is complete. |
|
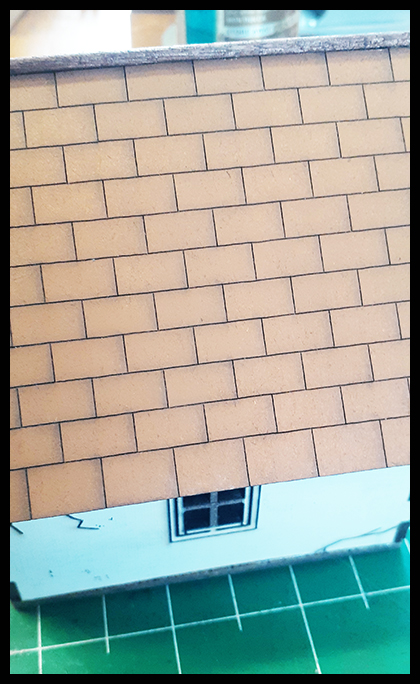
Looking good so far! |
Almost there. This takes a little time but well worth it as the results are nice. |
|
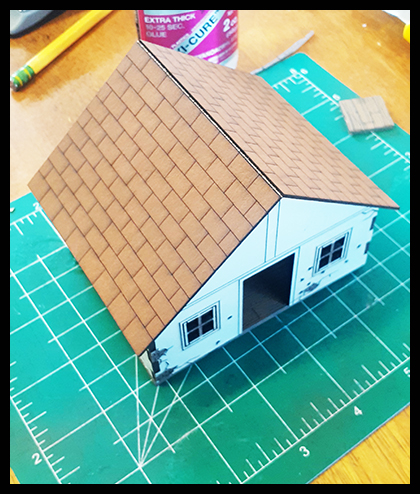
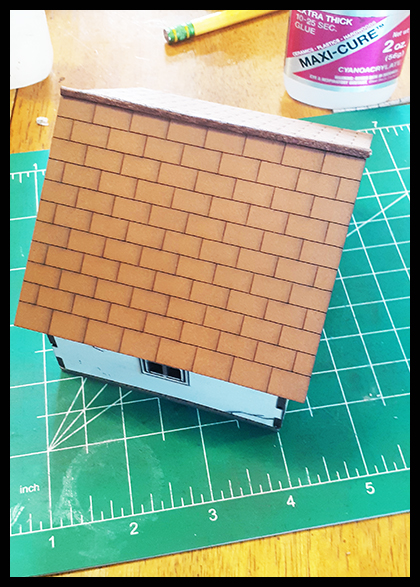
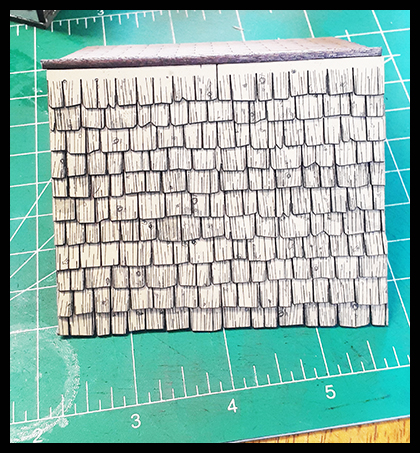
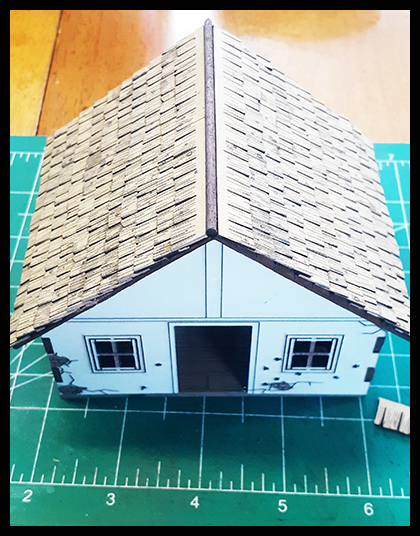
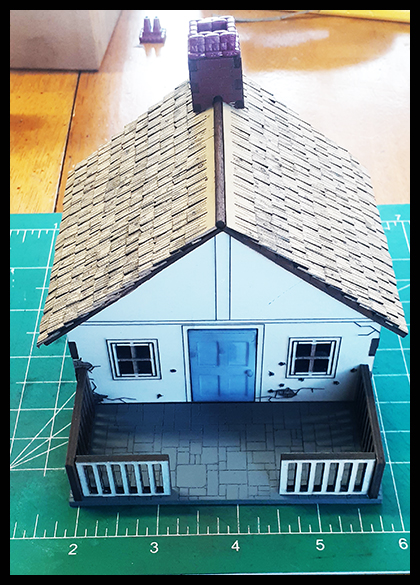
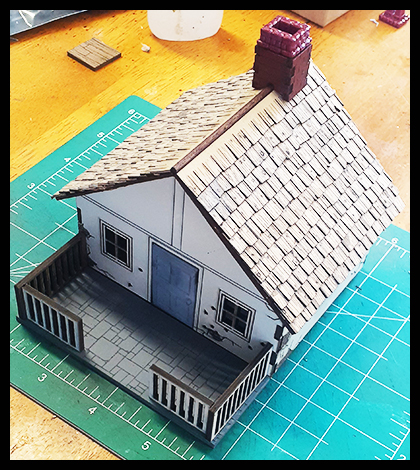
This is how it should look once complete. |
Now repeat on the other side until both sides are complete. |
|
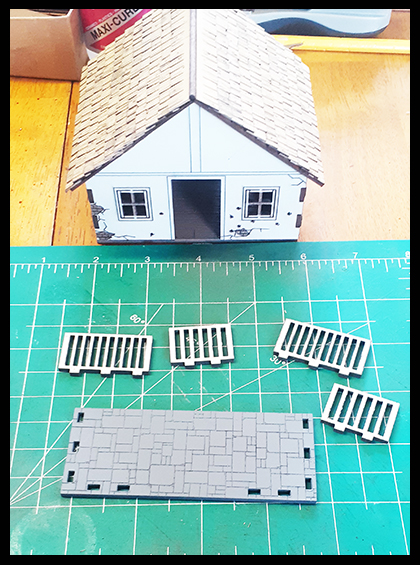
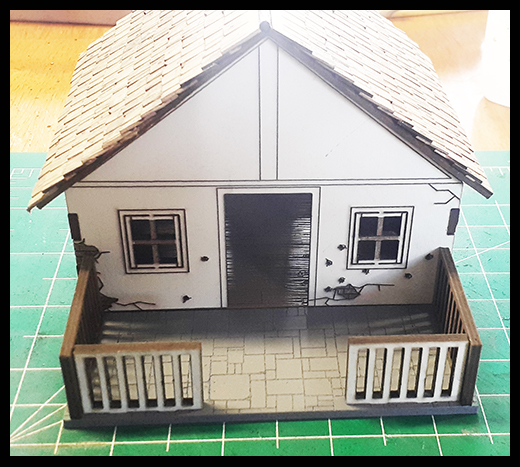
Now onto the terrace. |
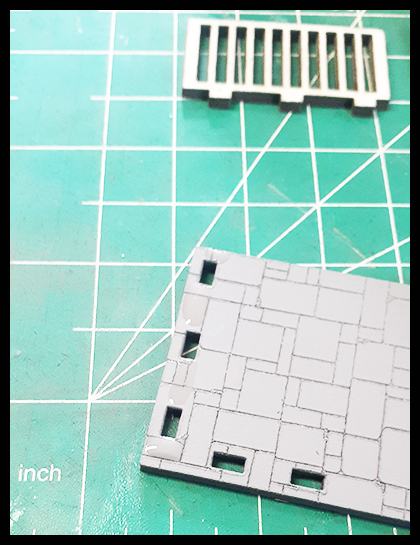
The terrace has notches for each of the railings. Do a dry run to get a feel of how these are to be attached. |
|
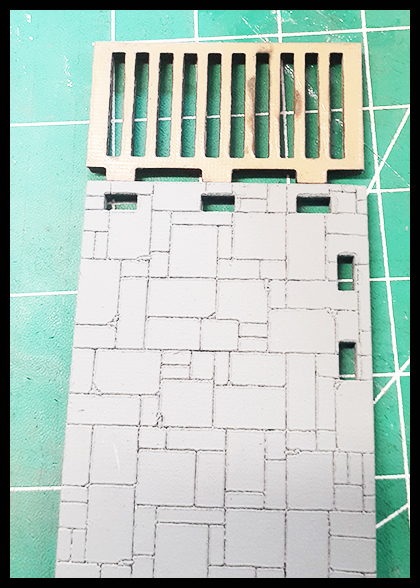
Add glue to each of the blank areas between each tab where the railings will be attached. Also run a bead of glue to the areas where the railings will connect to each other. |
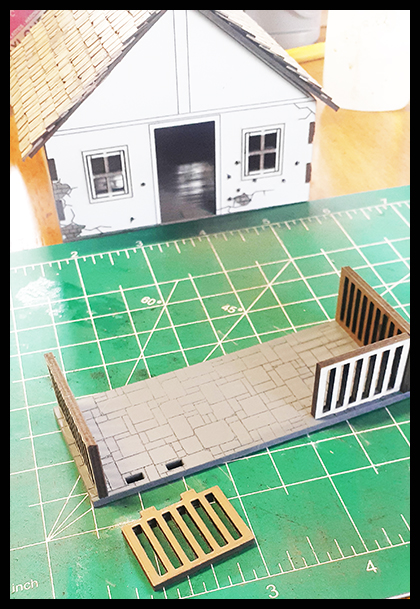
This is how it should look as it is being assembled. |
|
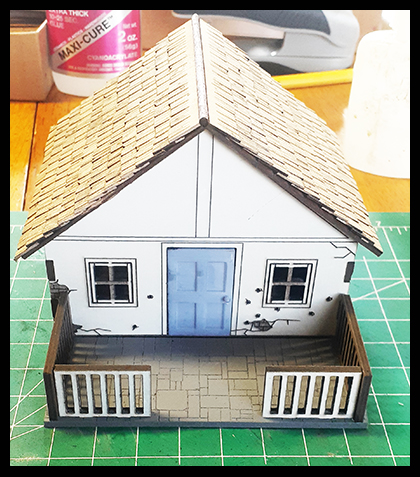
And it is complete. |
|
|
|
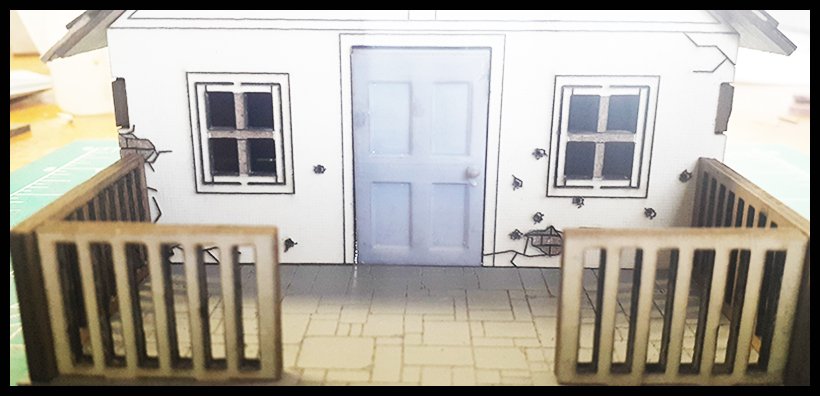
You add your door by gluing it into place or leaving loose to show the house with an open door, your choice. |
|
|
|
|
|
|
|
|
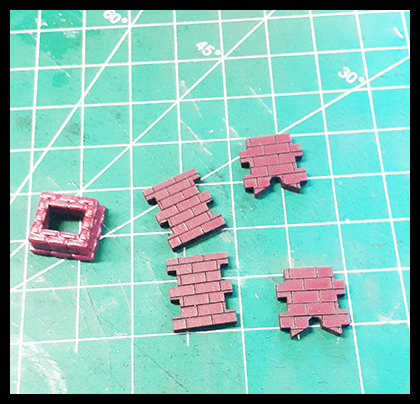
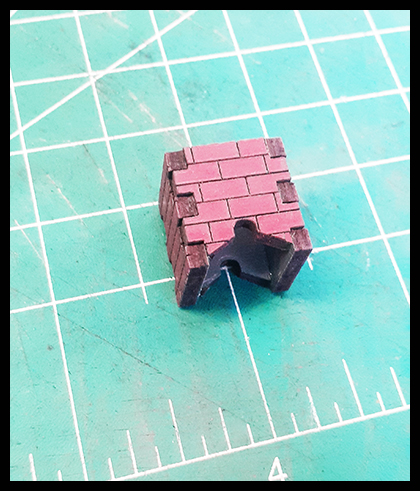
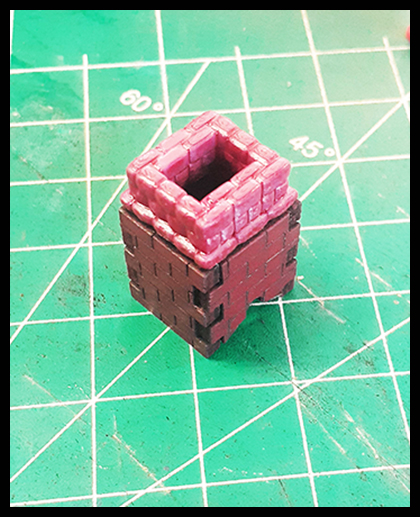
Lower section complete. |
|
Glue the top of the chimney on. |
Once dry, add it to your house as above. |
|
|
|