SHINGLED ROOF ASSEMBLYPlease read these instructions completely before building. We recommend using a GEL SUPER GLUE for best results when gluing this model as the material in some places is porous, and it is the type of glue that works best. Dry-fit parts together before gluing to get the best results. You may need a hobby knife as well in some cases. |
|
|
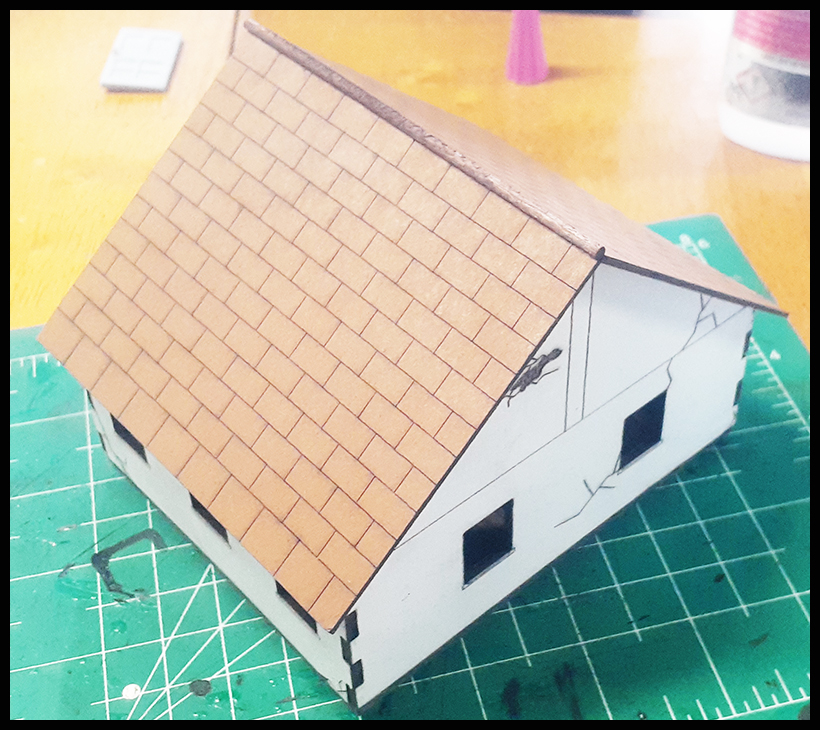
As stated above, when building the shingle roof it is best to use a GEL SUPER GLUE as it will not run much so will stay in place very well when getting the shingles in place for the roof. |
You will begin to add the shingles to your roof once the roof has been assembled and sits on top of your building. |
|
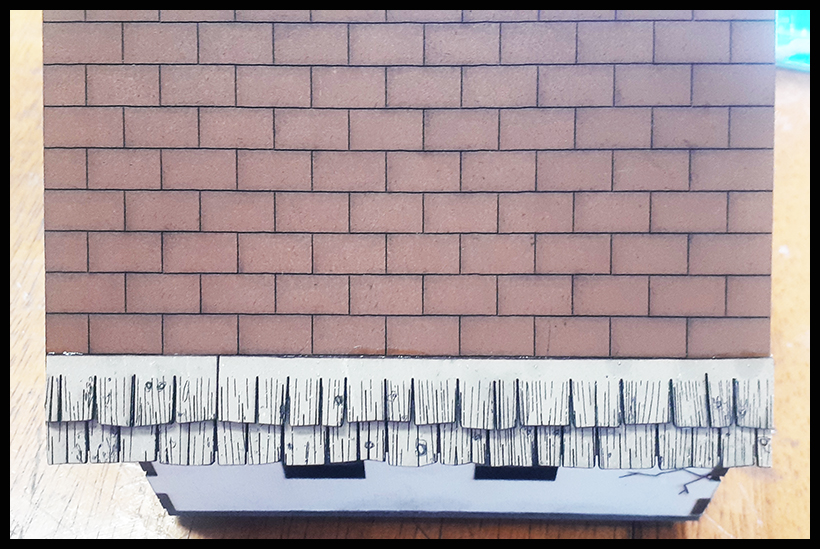
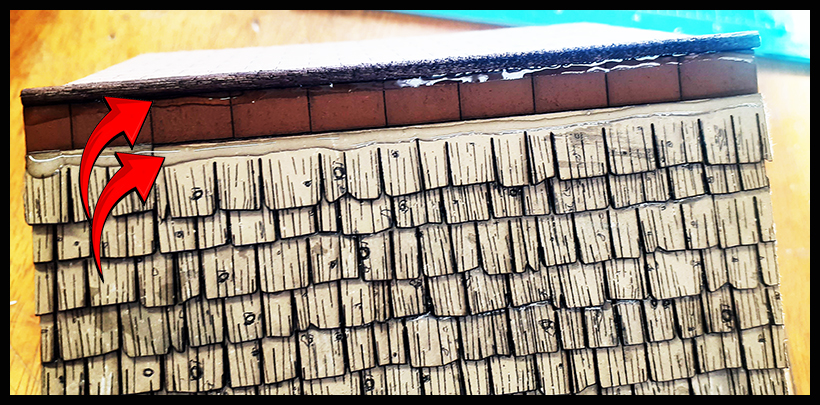
Note that each roof has a pattern on it. Each line running across the roof is for a shingle to be glued on the roof & to overlap the one before it. Start at the bottom of the roof and work your way up. |
Add the first row of shingles to the roof by adding glue to the first row on the roof then the shingles as above. |
|
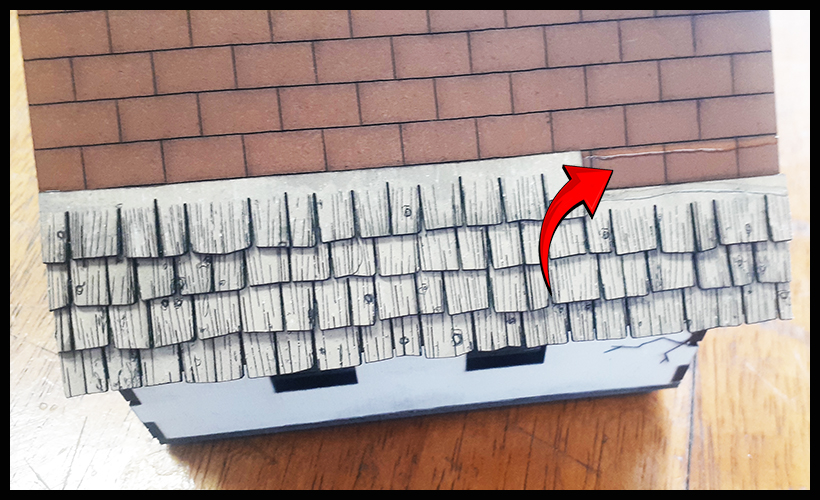
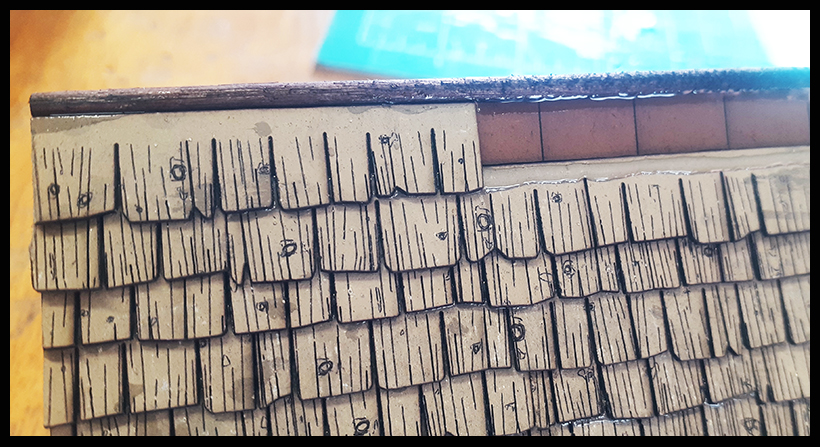
If there is extra hanging off the roof, cut the excess and use that piece to start the next row of shingles. Keep doing this until complete. |
Glue the shingles by running a bead on the roof and the upper part of the shingle below it. |
|
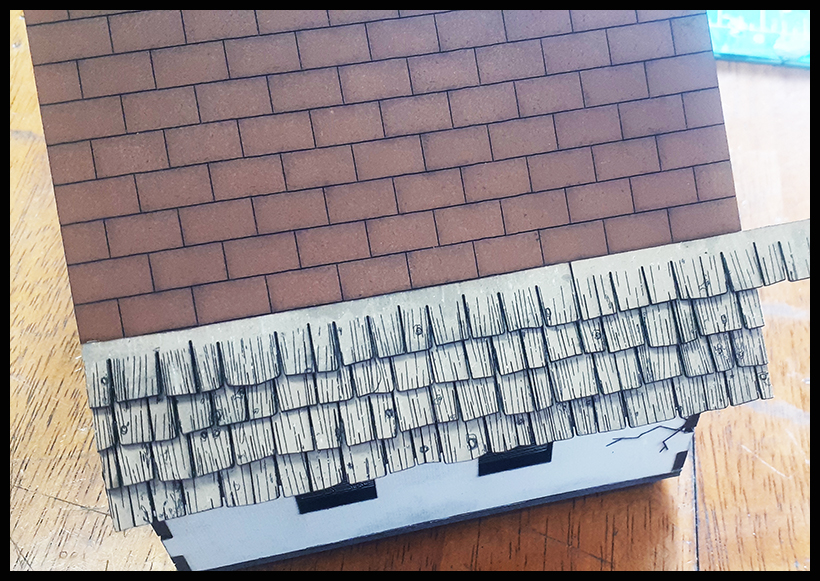
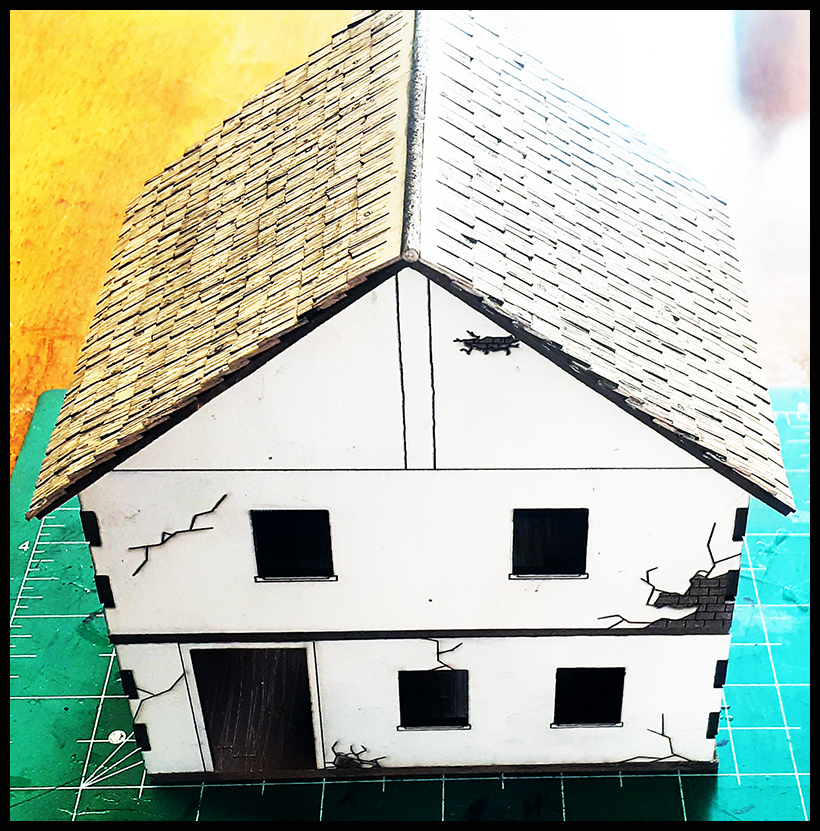
Again, when you have extra that you cut off at each edge, use that piece to start the next row. Modeling tip: you can cut some shingles to show missing shingles or glue some on top of others to show repairs being done. |
Once complete, you can spray it with a matte finish and paint some different colors for variation, and stain it with a paint stain for even more detail - enjoy! |