RUINED TWO STORY BUILDING ASSEMBLY
|
|
|
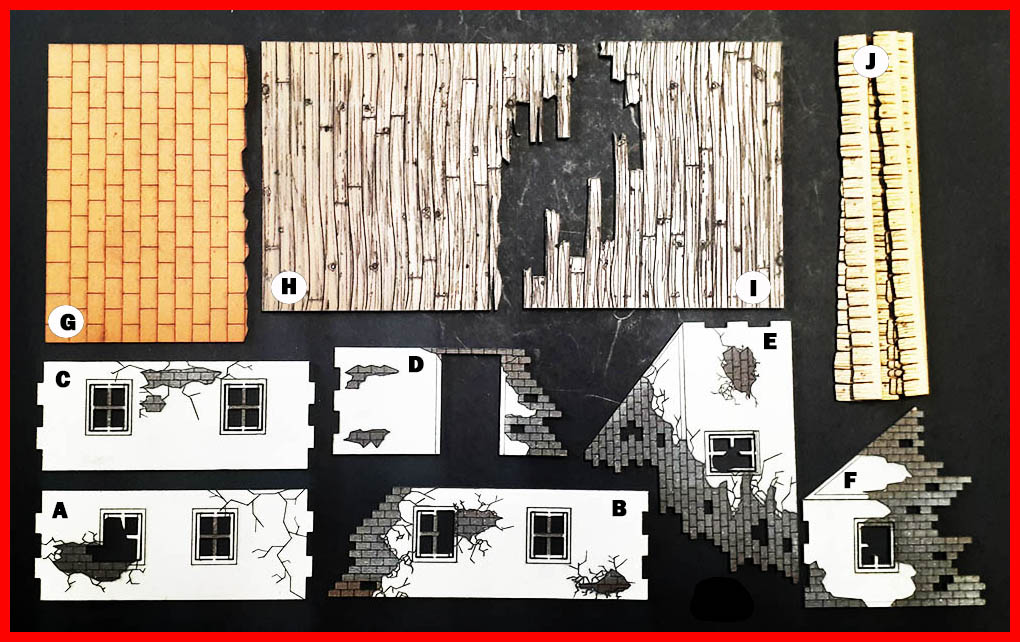
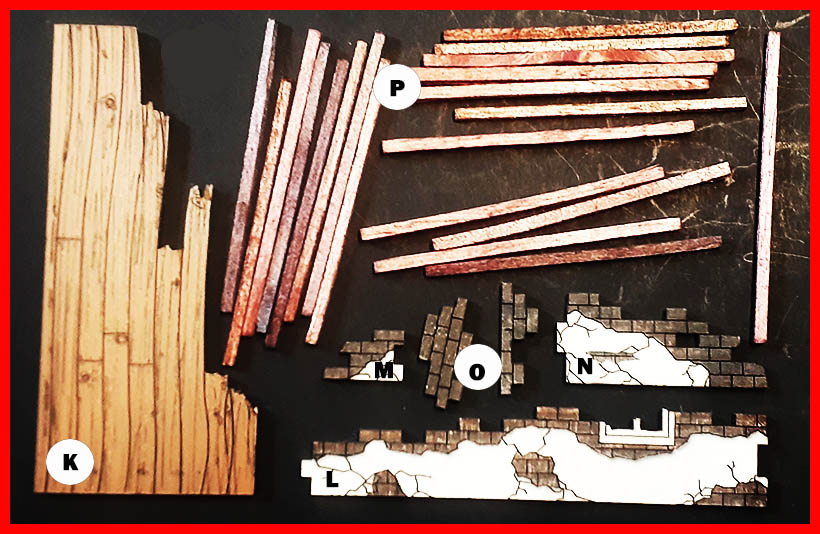
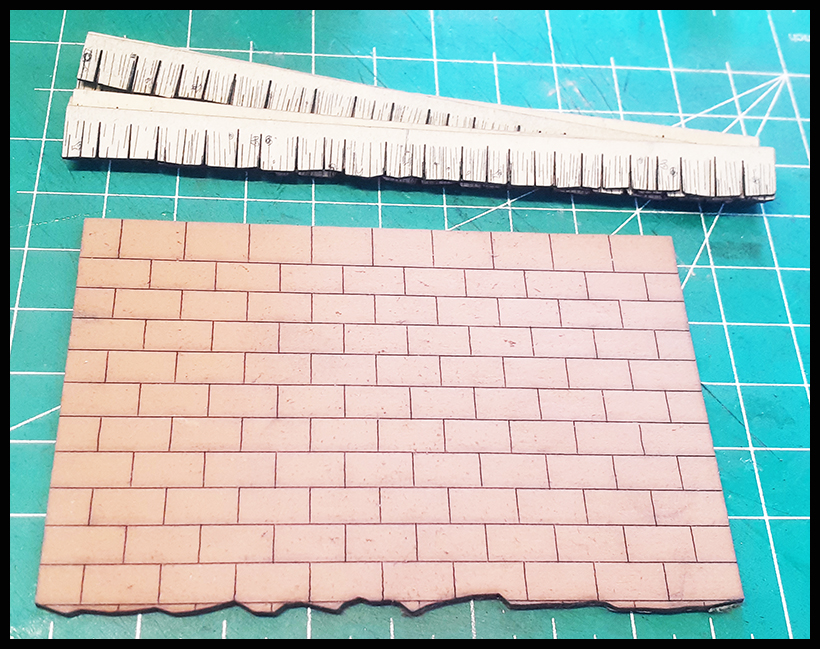
SHEET #1 - RUINED TWO STORY HOUSE A - Lower story front wall SHEET #2 - RUINED HOUSE EXTENSION K - Extension floor
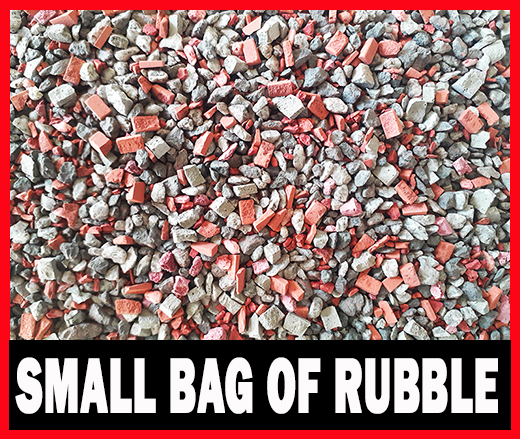
SHEET #3 - BONUS! - RUBBLE Bonus bag of rubble!
|
|
|
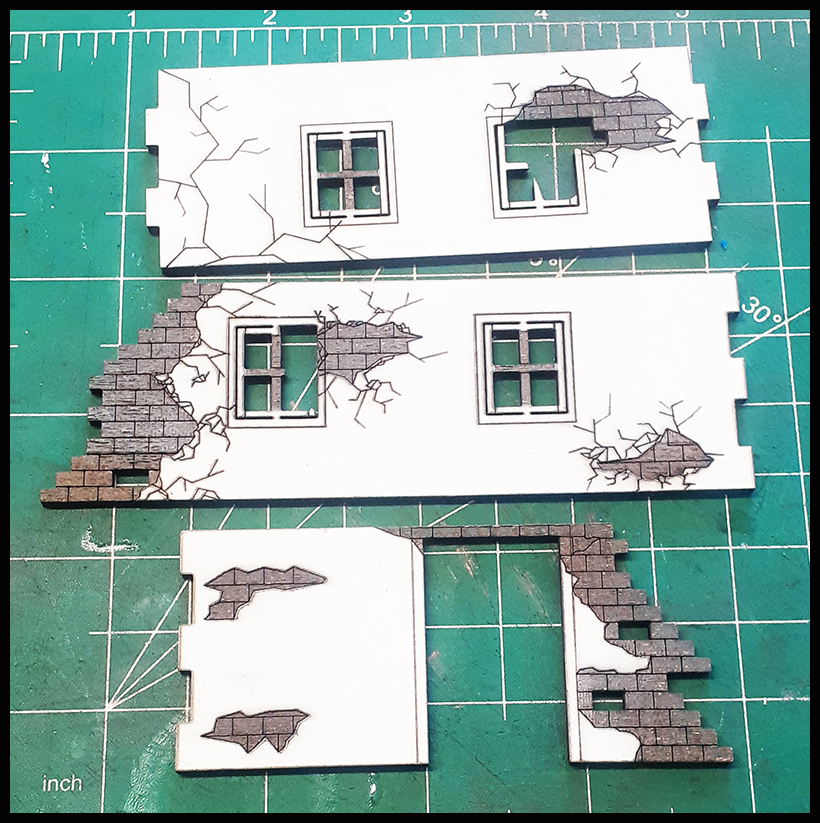
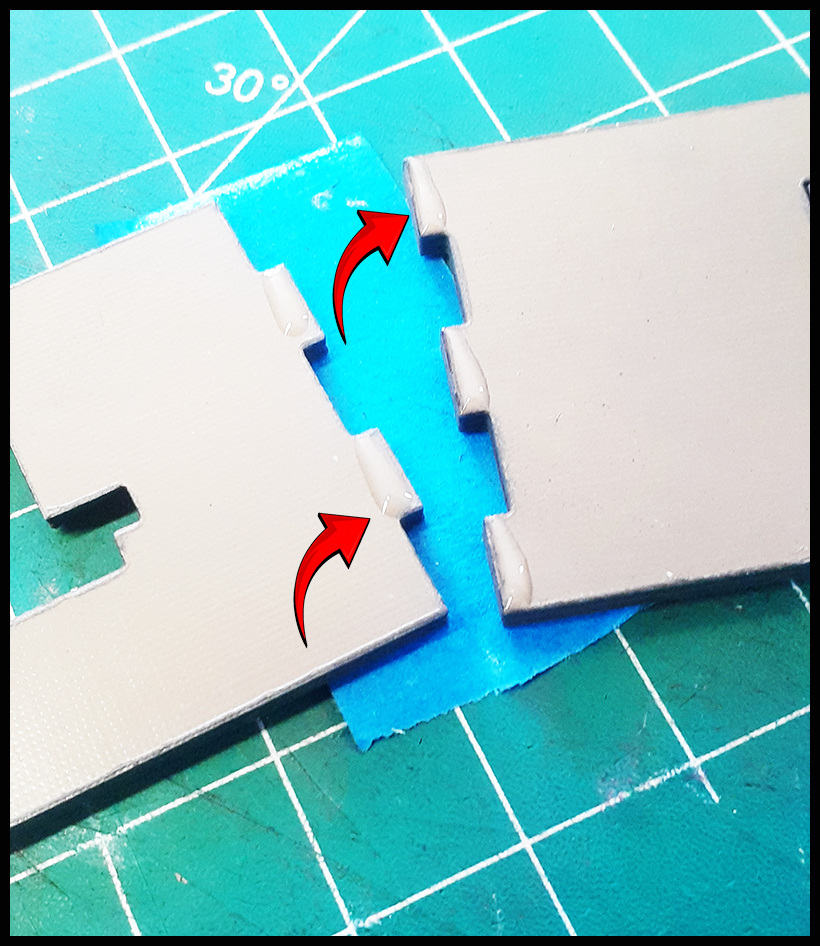
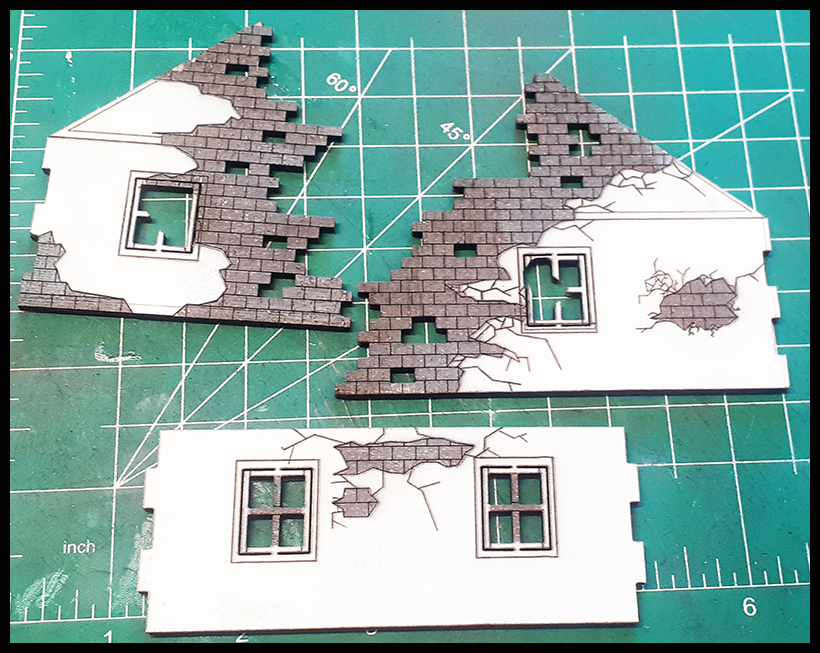
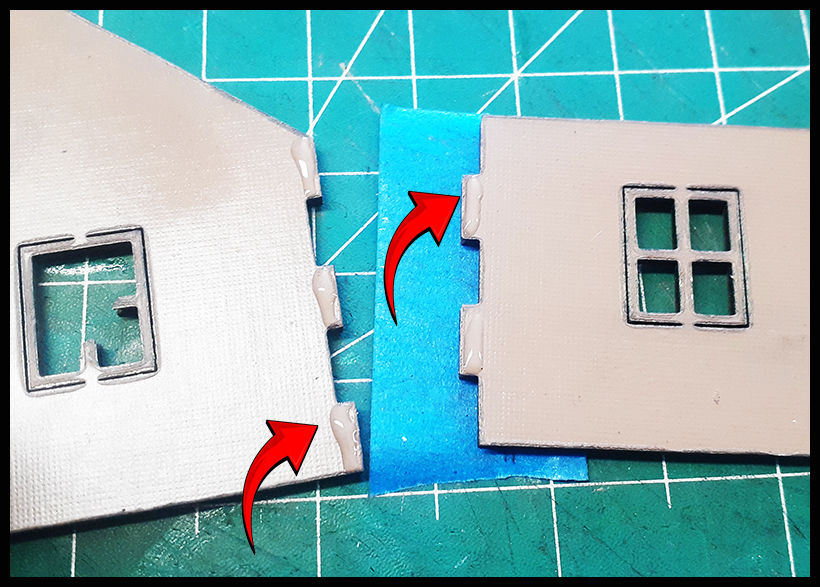
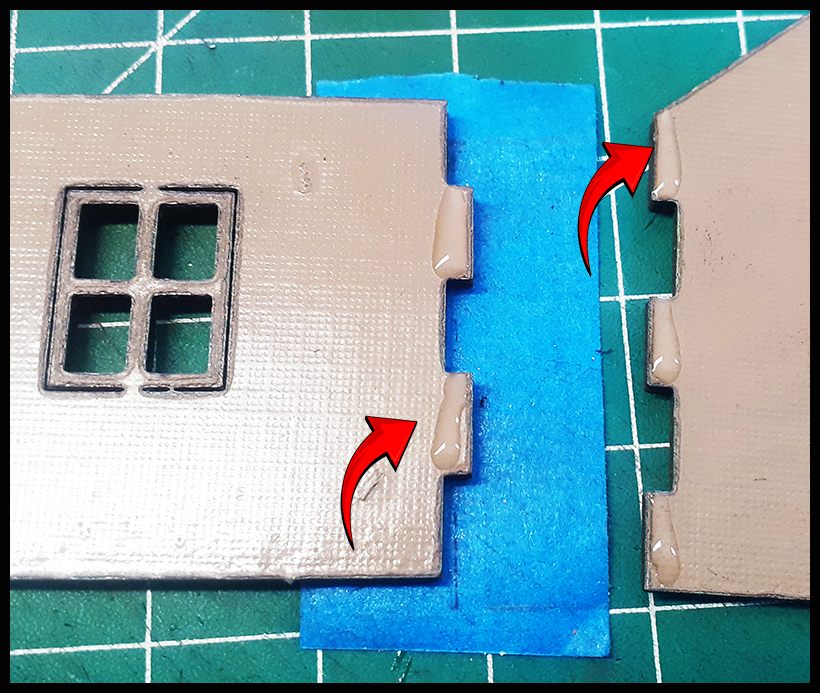
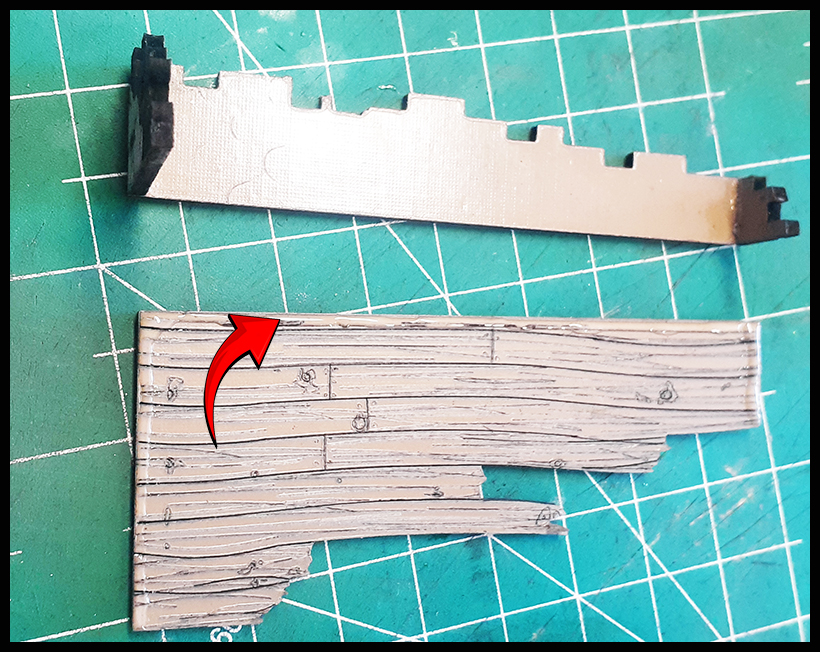
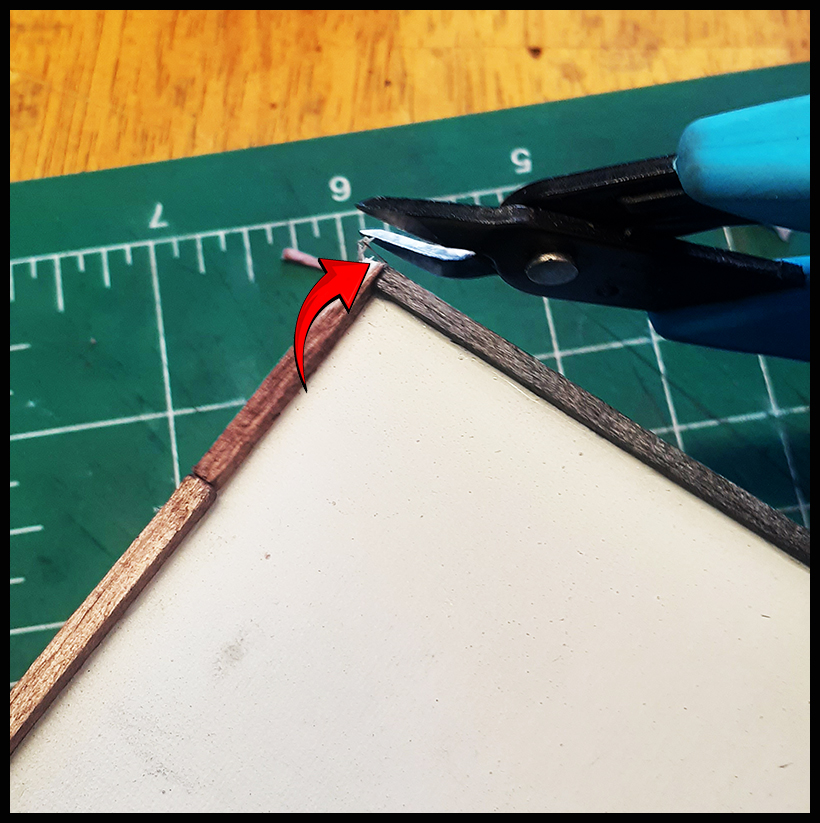
Locate A/B lower story ruined walls and your pick of the side wall. Make sure the windows are positioned correctly (right side up), so that the space from the ground to the window is larger than the space from the window to the top of the wall. |
We used blue tape to glue the walls. It is not necessary, but helps with gluing the walls. Note the wall above with the larger space under the window (this would be the bottom) and the smaller space is above the window at the top of the wall. Add glue to each tab. |
|
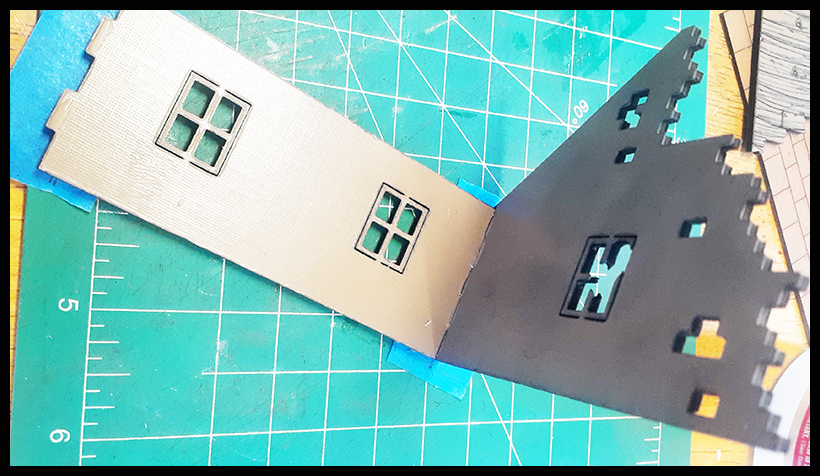
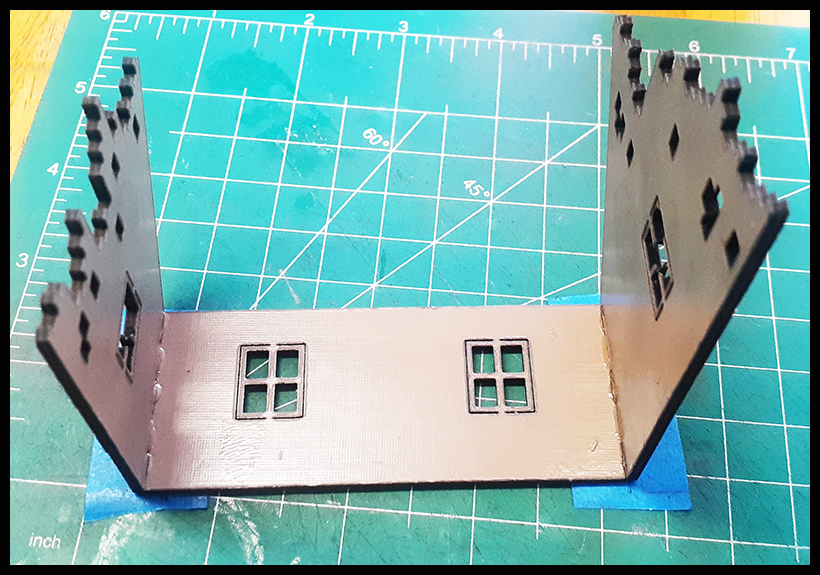
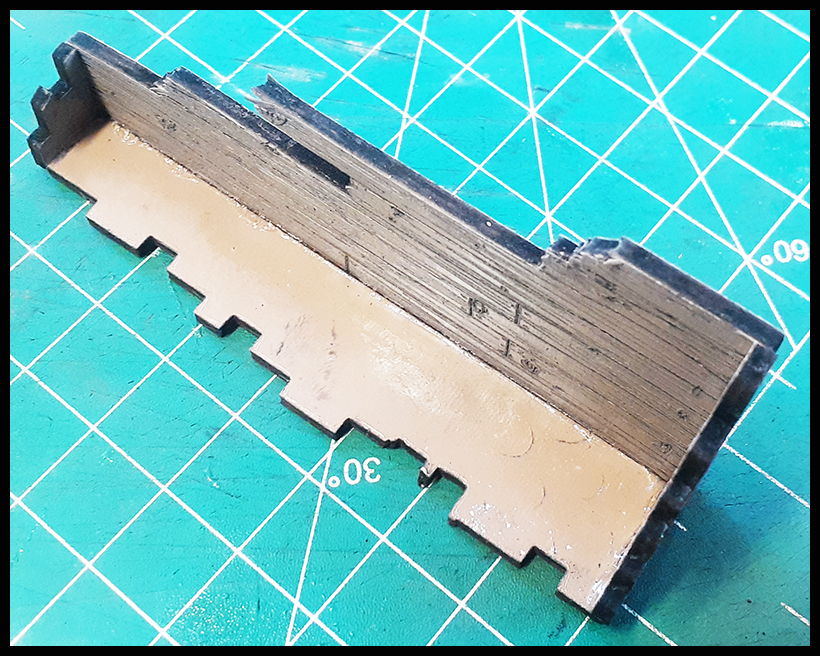
Glue the side wall & rear wall together by gently placing them in the tabbed areas. Press carefully together and let dry. |
It should look like the above once complete. |
|
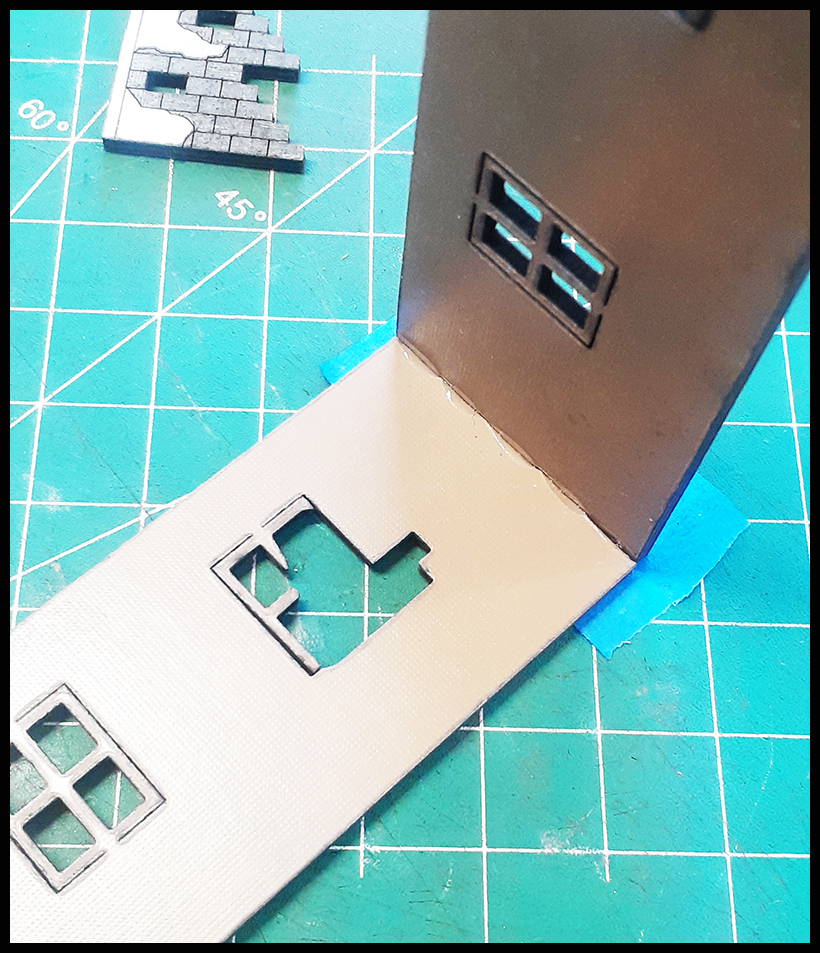
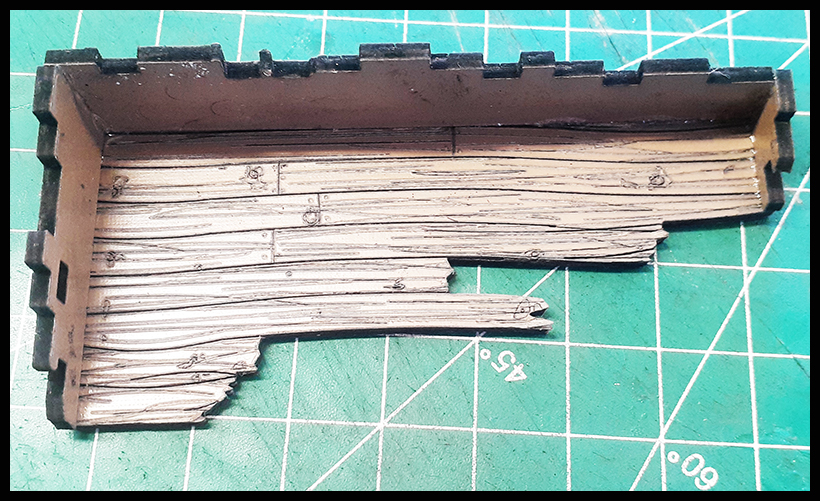
Repeat the same with the door wall. With this wall be VERY careful as the thin section above the door can be fragile. |
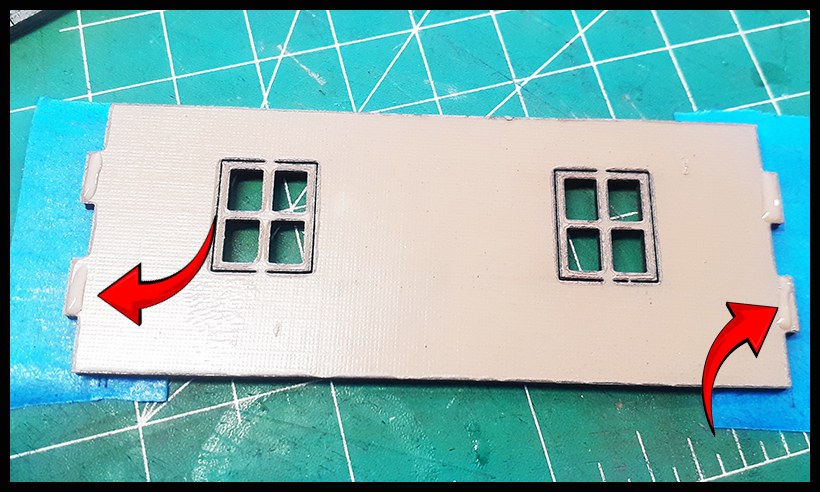
Prepare for the assembly of the floor. You will need sheet #1 /H/. |
|
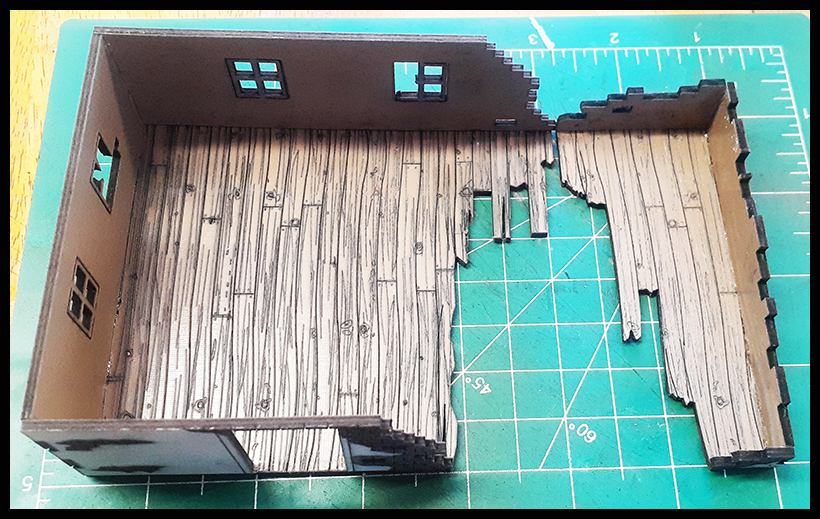
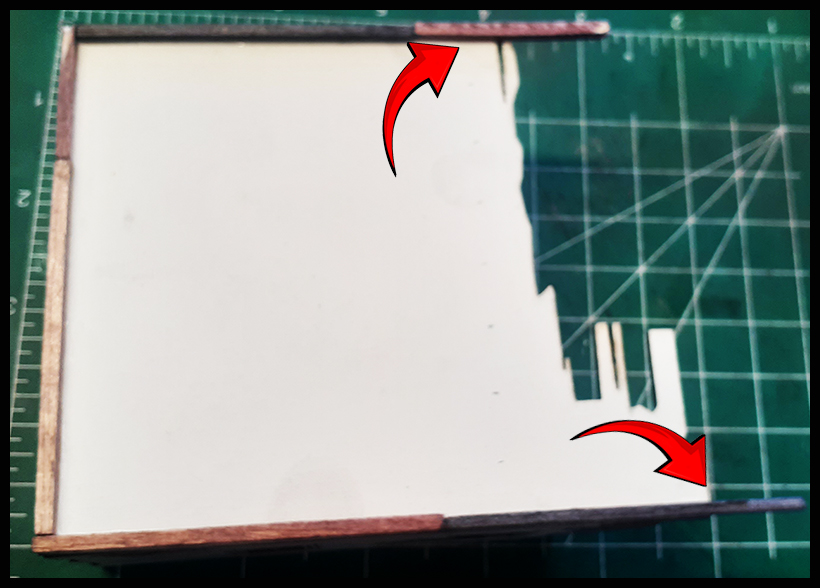
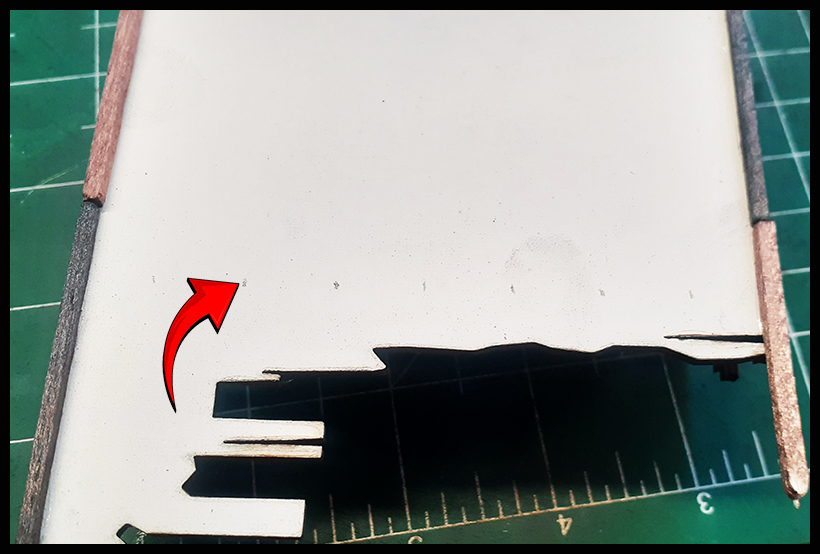
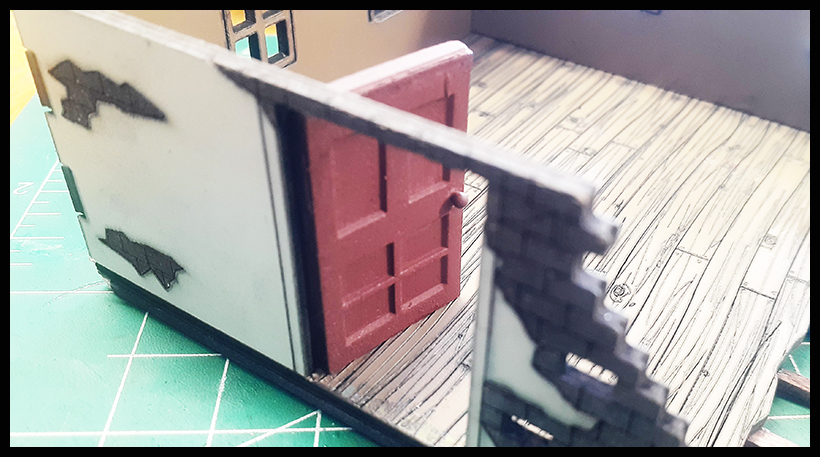
Next, place the ruined building on the floor (NO GLUE!). Position it where you want it, and mark the door opening so you will NOT add glue to this area. |
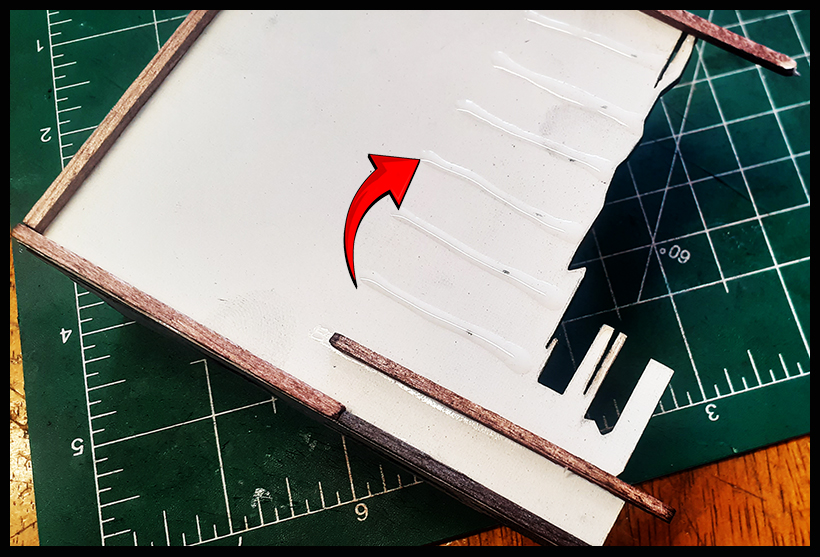
Add a bead of glue around the perimeter of the floor except where you marked the door opening. Line the floor up with the ruined section as above. Gently raise the floor up to the ruined section and carefully press into place and let dry. |
|
Once complete will look like the above |
Next, locate the 2nd story walls E/F & side wall as well as the 2nd story floor /I/. |
|
Again, add glue to each tabbed area as above. |
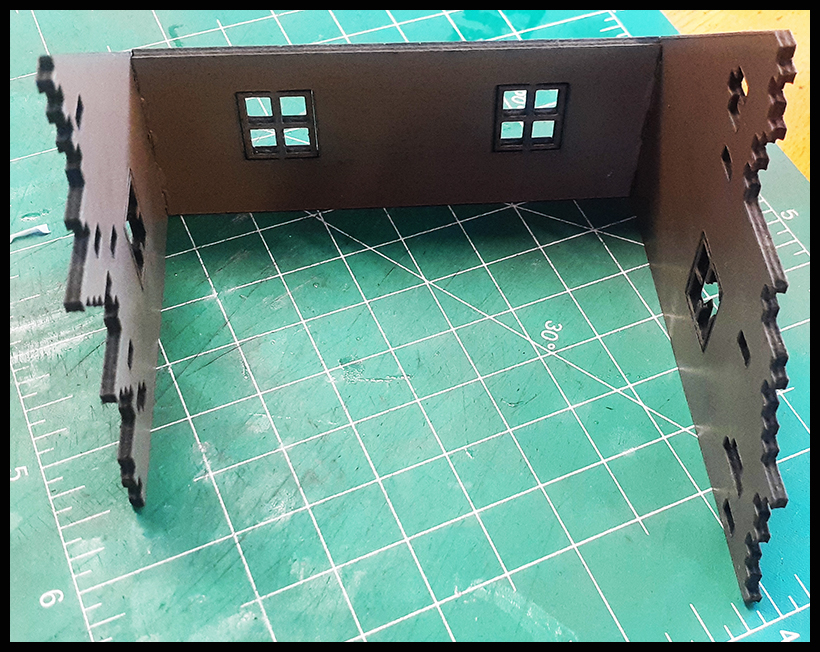
Glue the wall together by gently attaching the tabbed areas into place.
|
|
This is the walls connected. Let dry. |
Repeat the same here. |
|
Let dry. |
This part is complete. |
|
Add a bead of glue around the perimeter of the floor. Line the floor up with the ruined section (as for the first floor above). Gently raise the floor up to the ruined section and carefully press into place and let dry. |
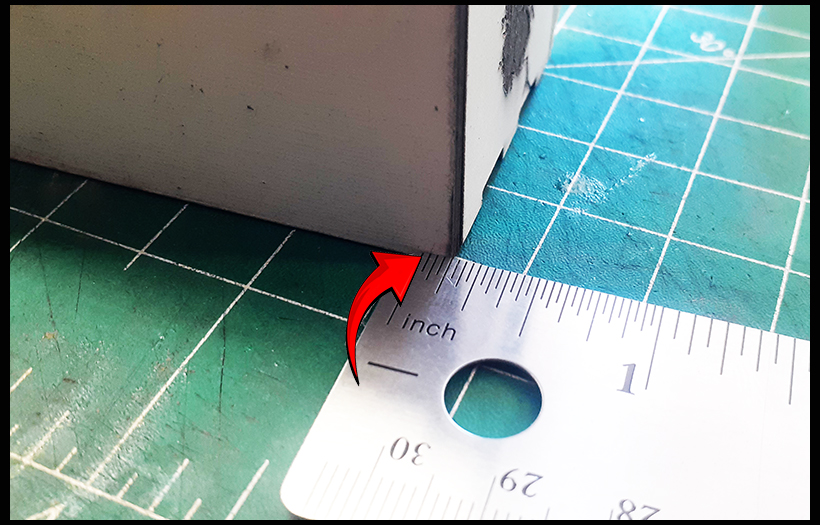
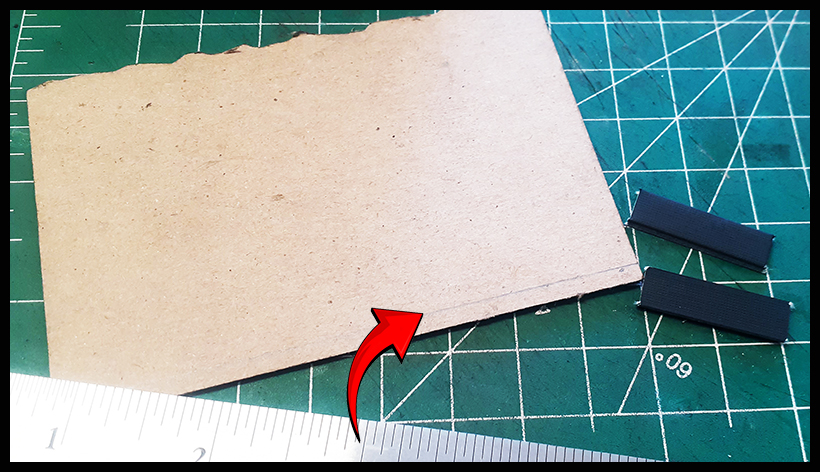
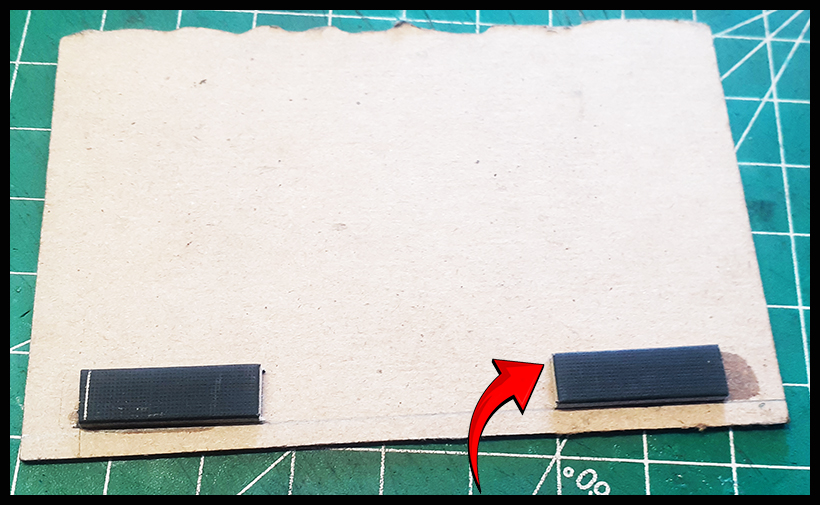
Now you will add squares to the bottom of the 2nd floor so it stays in place when sitting on the 1st story of the building. Measure 1/8th” from the edge and draw a line. |
|
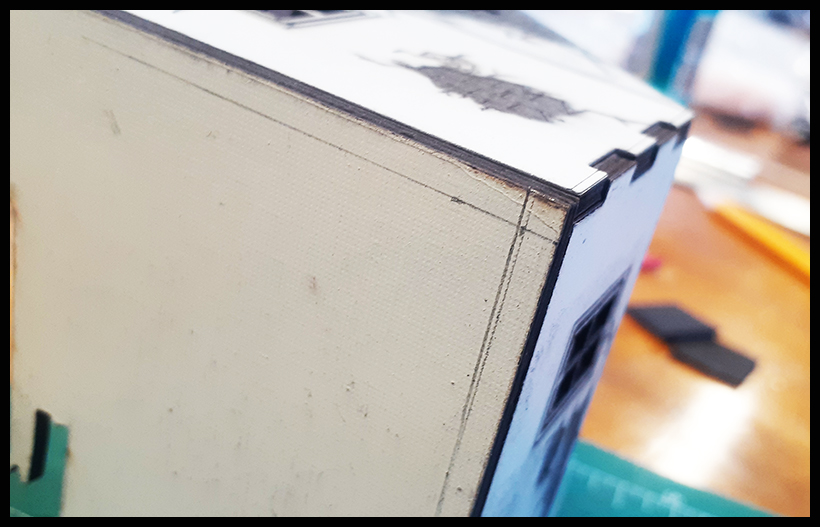
As seen above, this is the area you will glue the square to. |
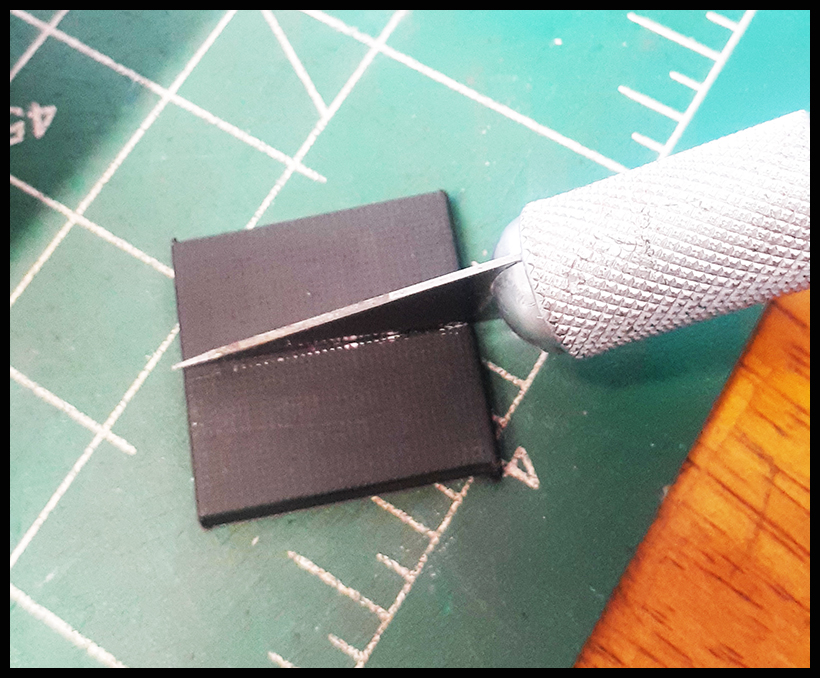
The squares will vary from kit to kit, and some may have to be cut in half. |
|
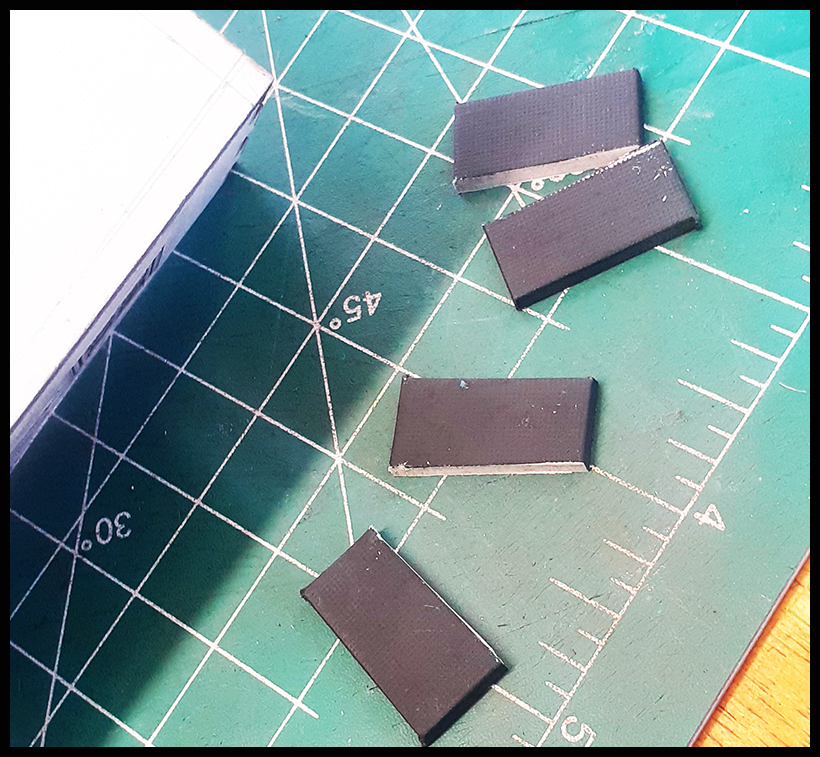
Ready for gluing in place. |
They will look something like the above. As before, they are to help keep the 2nd story in place in the lower story. |
|
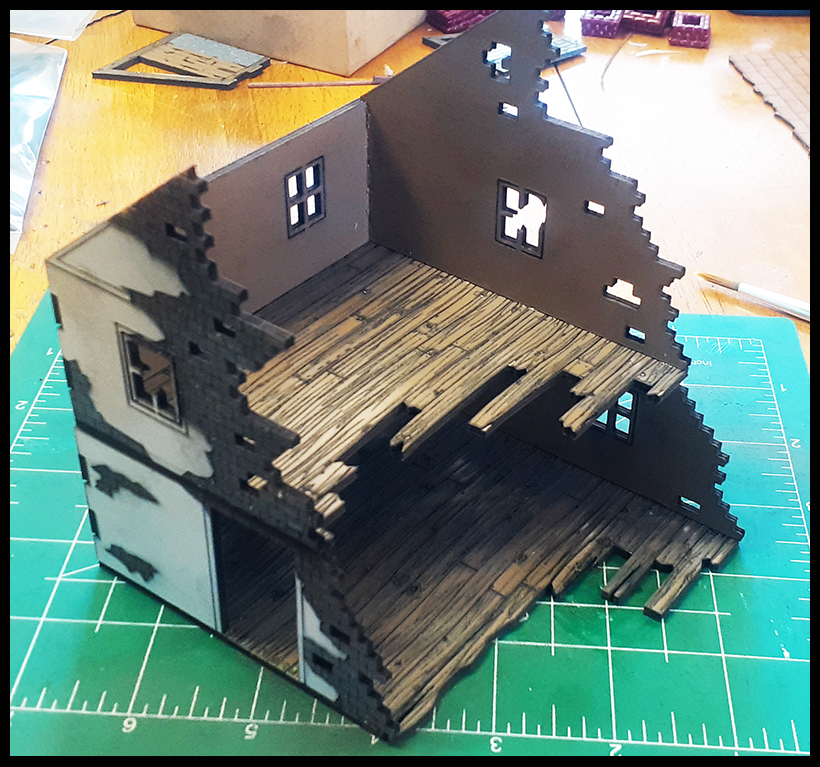
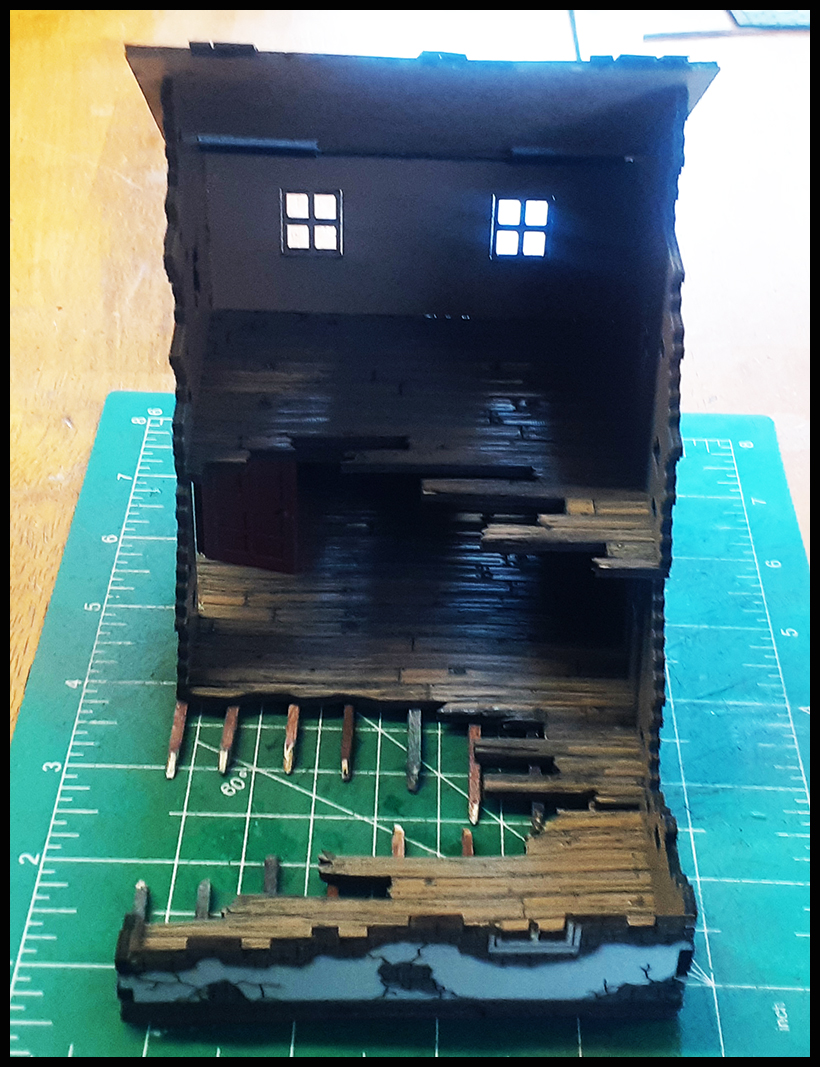
Here is the building so far! |
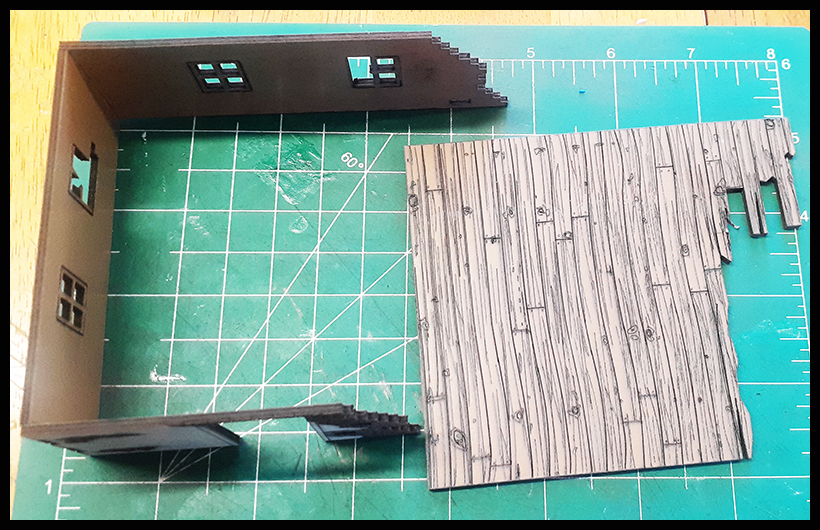
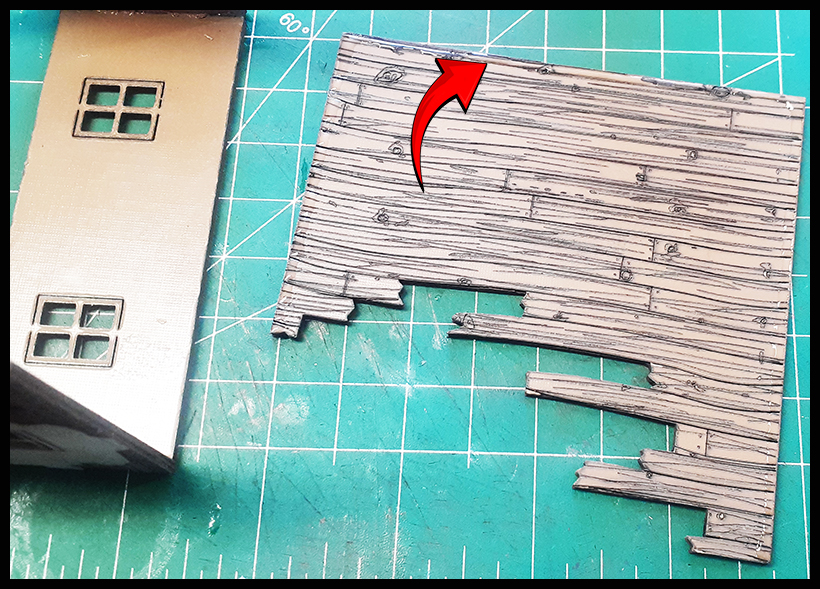
Locate the expansion wall/floor. |
|
Flip the side wall over & again we are using blue tape to help. |
Add glue to the tabbed areas for gluing. |
|
Gently press the front & rear walls together as above. |
Locate the floor |
|
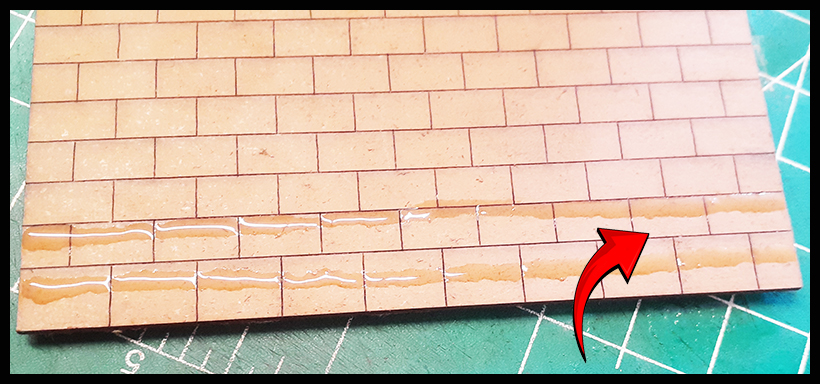
Run a bead of glue around the edge of the area where the floor will sit. |
Gently press into place and let dry. |
|
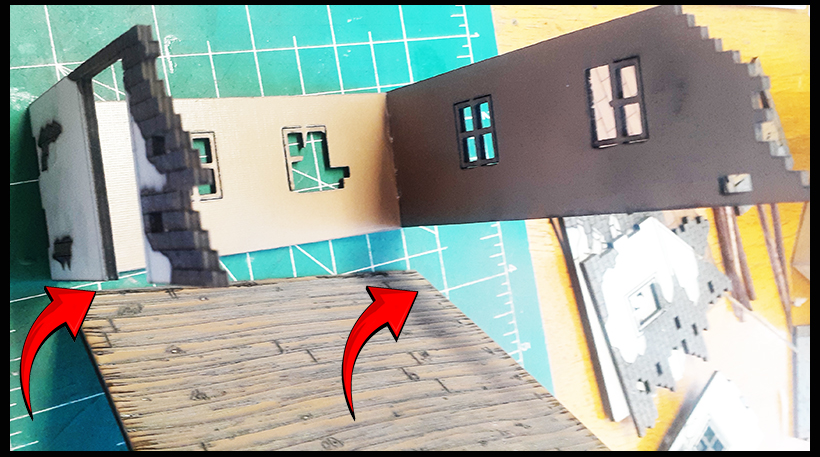
This is it complete. |
Connected to the rest of the ruins. |
|
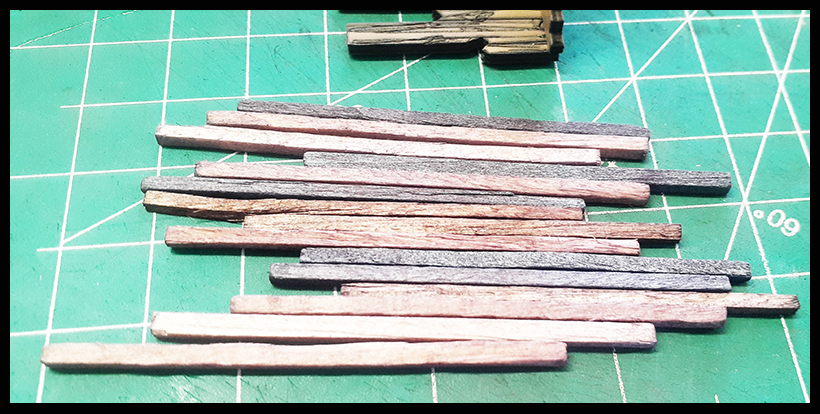
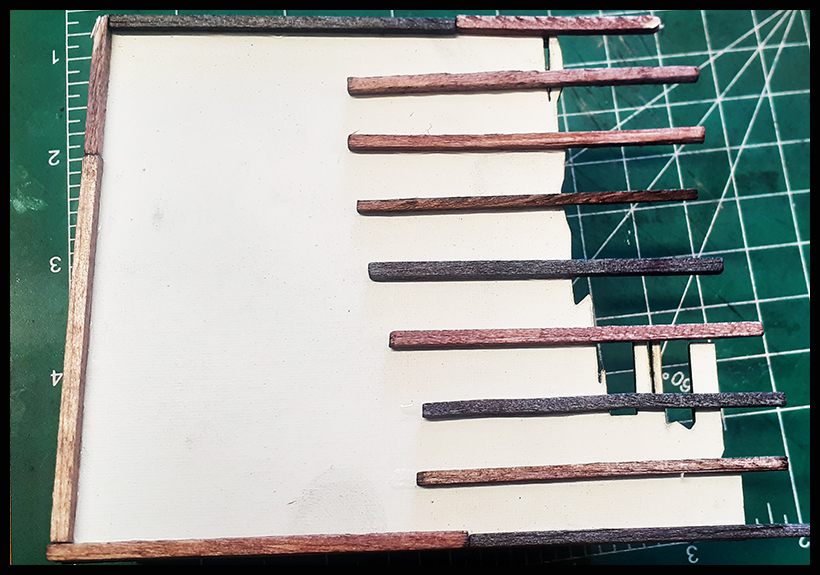
As a bonus we have included aged wood for adding floor joists and roof rafters. |
To add these, measure equal widths under the floor area for 7 boards. |
|
Glue boards around the bottom of the lower floor as above except to the ruined open floor area. |
These will represent the floor joists and give it an awesome look once complete! Add the boards around the bottom of the ruins until complete. Remember not to add any to the ruined open floor area. |
|
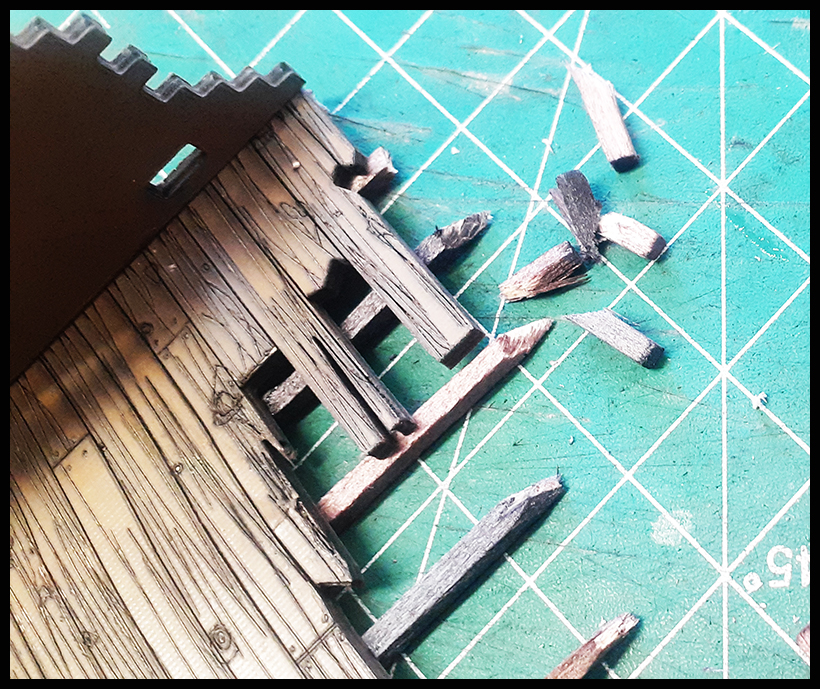
Clip the extra board at the corners of the bottom of the building floor. |
Do not clip the board that extends on the edges yet until you do the extension ruined section. Keep all of your extra clippings for later. |
|
Next, glue a board in each area that you marked for the floor joists. |
Run a glue bead and glue as above until finished. |
|
It should look something like the above once complete. |
Now you can clip the excess on the edge as shown above to make fit. |
|
Once complete, it will look as above. |
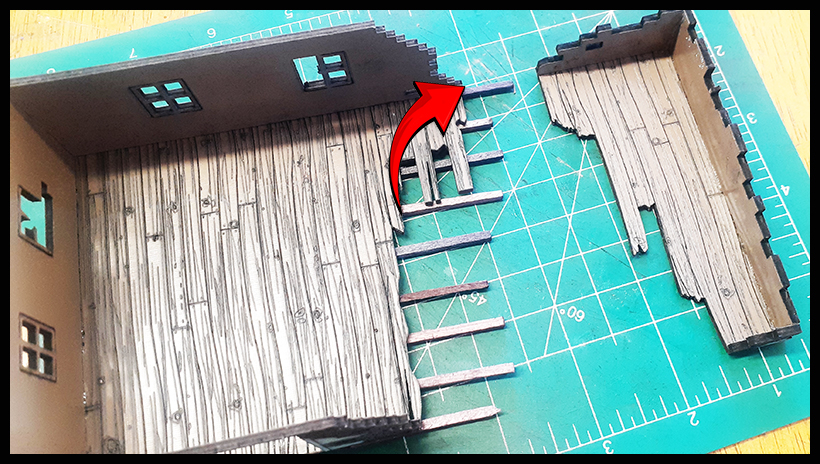
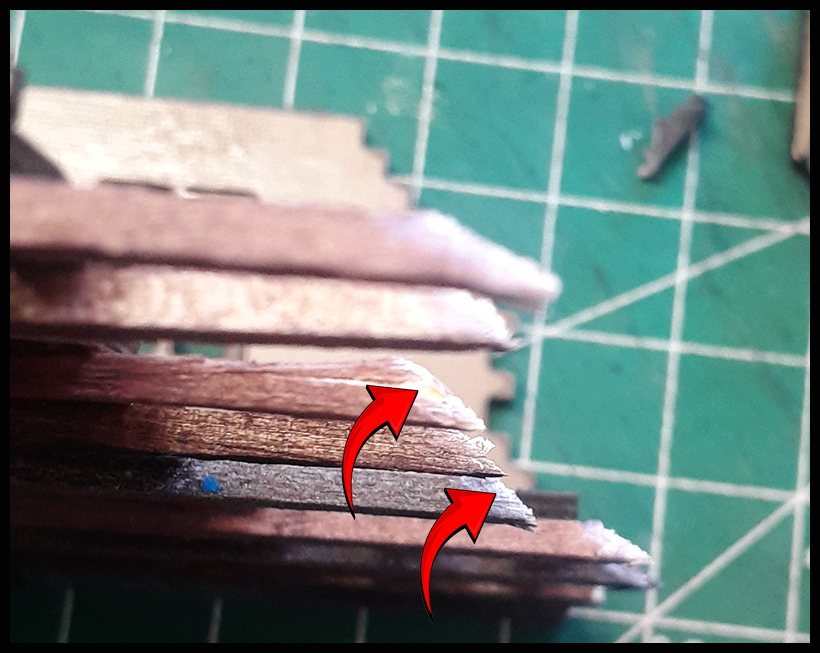
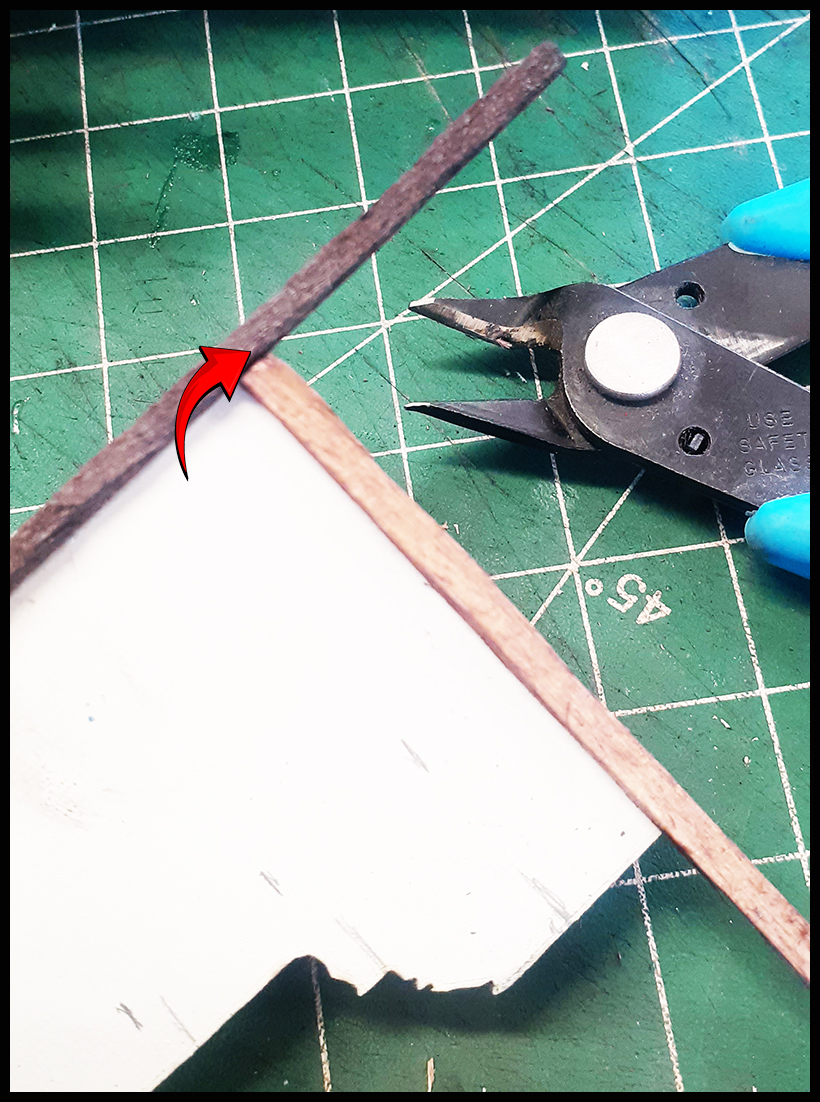
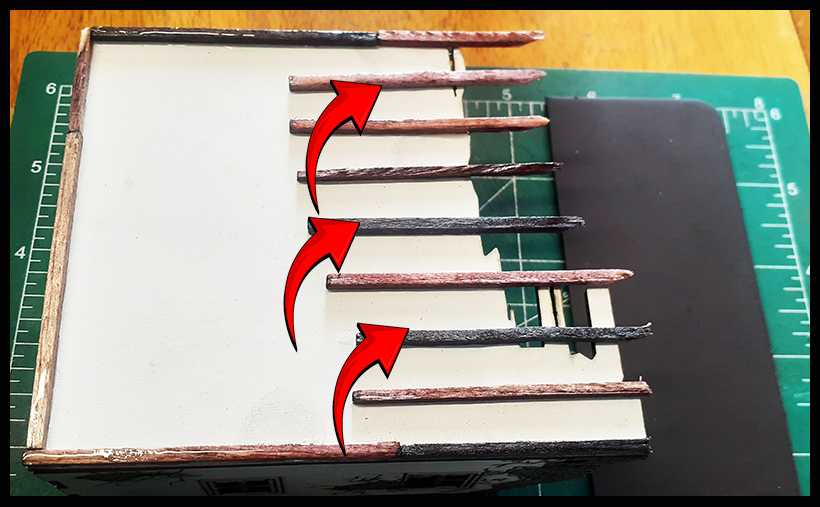
Next, clip the joists at an angle as above. |
|
It should look something like this once complete. |
Again, keep your clippings to use for rubble later. |
|
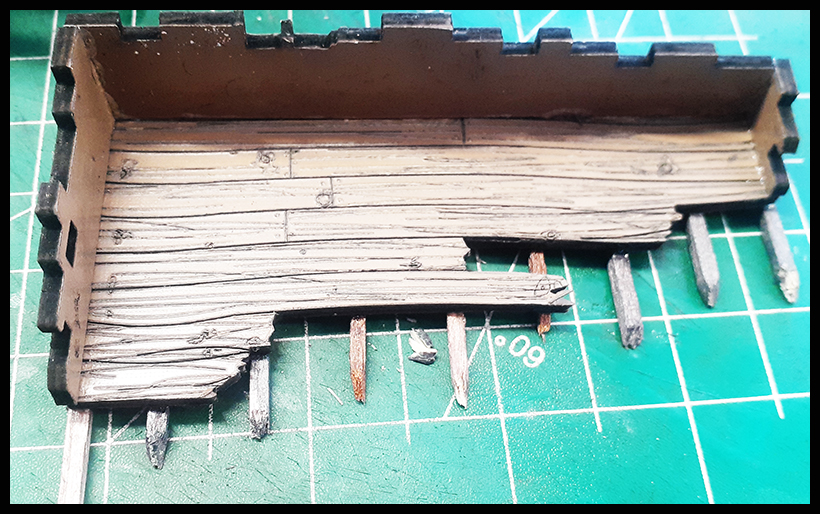
As with the above ruined section, repeat the “add floor joists” step by marking and adding a wood border on the bottom of the ruined extension. |
Mark again for 7 boards (joists). |
|
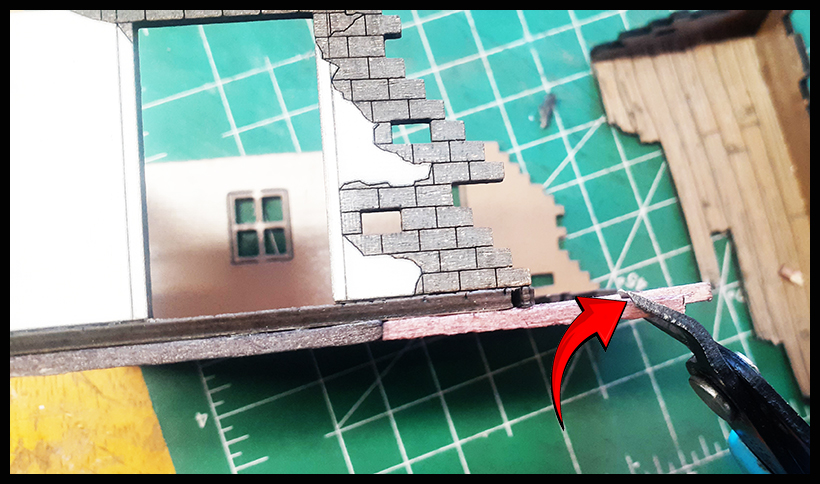
As before, clip the cornered areas of the boards, framing the ruined extension on the bottom of the floor. |
Clip the extended boards as before at an angle to show the joists were blown. Keep extra clippings again to use for rubble later. |
|
Complete. |
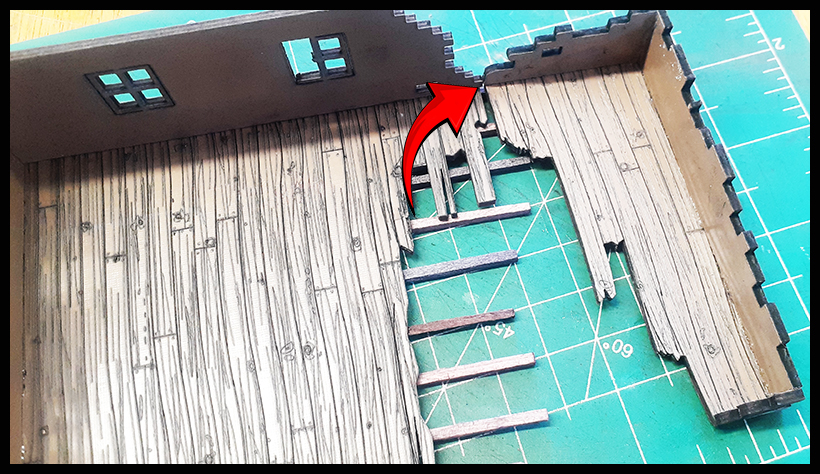
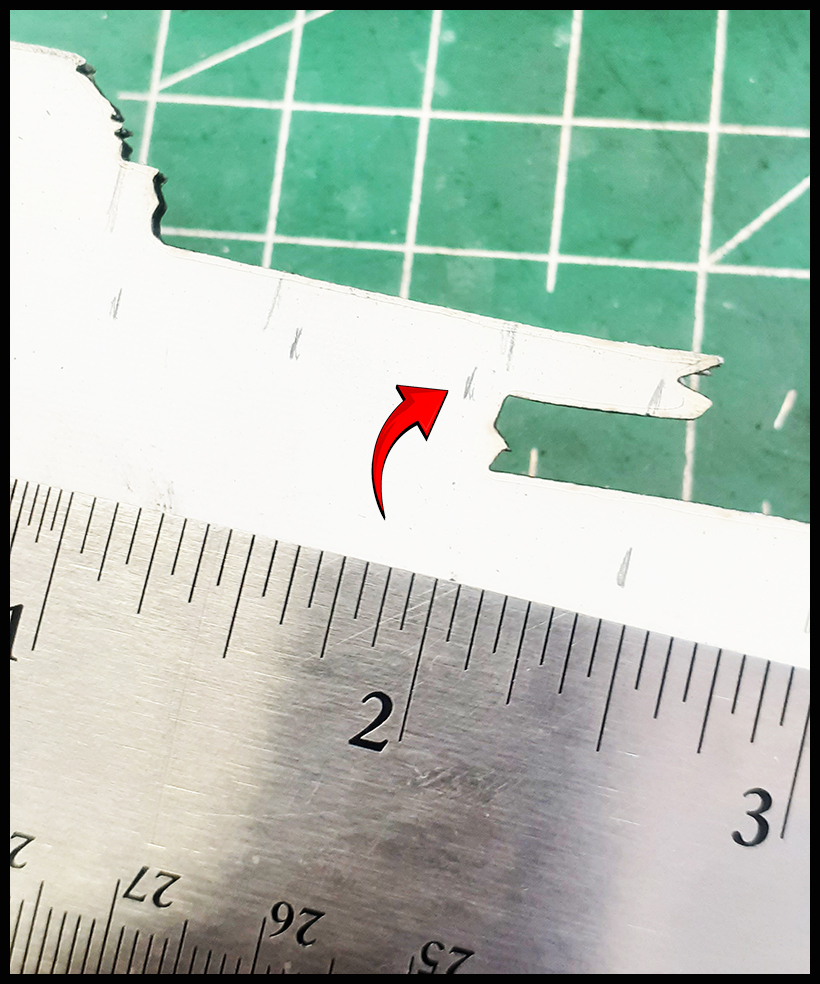
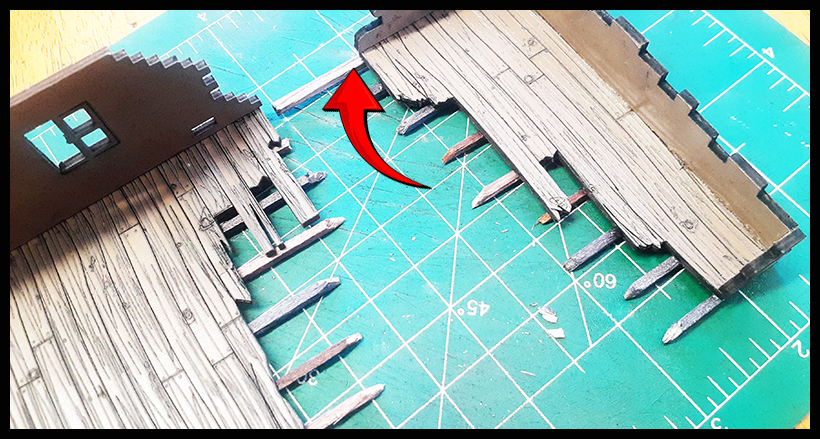
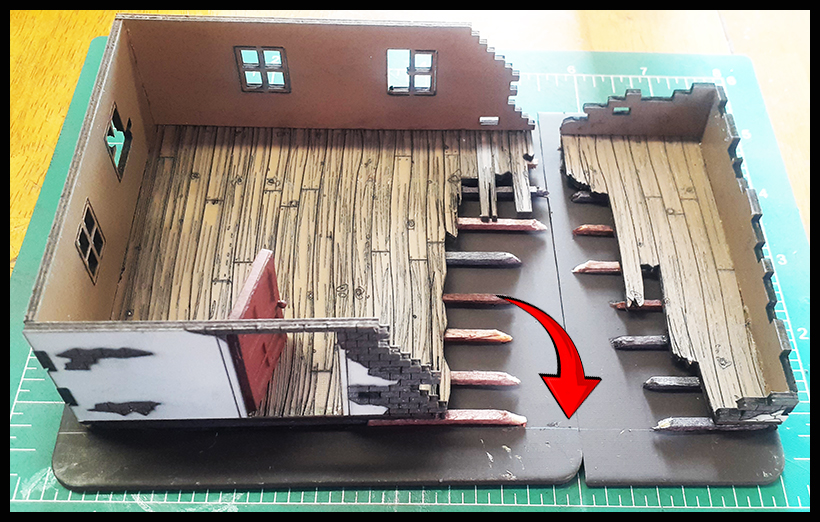
Now line the two ruined sections together & clip extra extended boards to get a snug fit. |
|
This is how it should look once complete. |
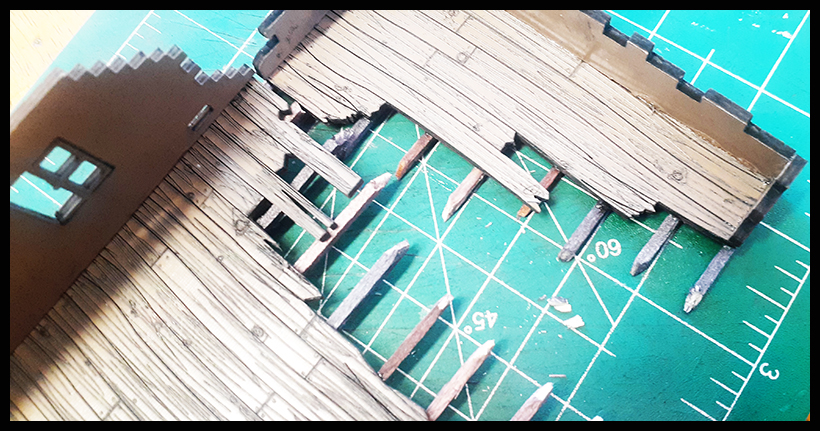
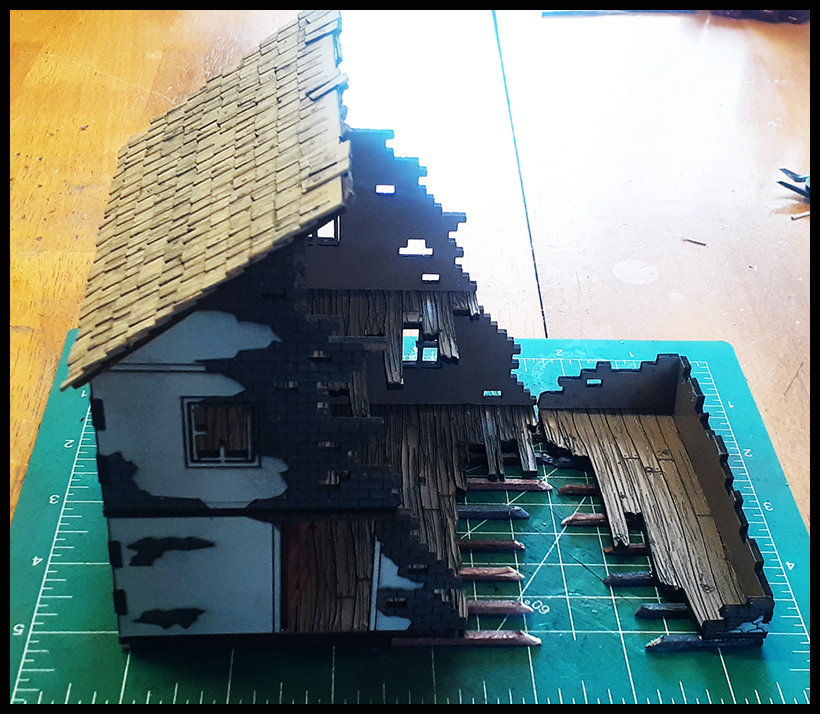
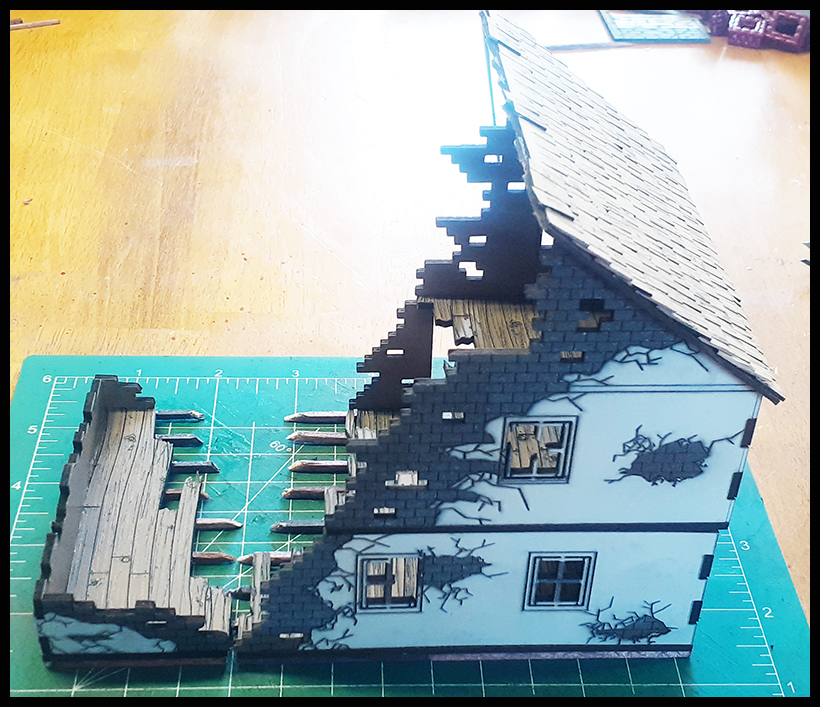
And here it is complete! You can actually stop here, but as a bonus, later in these instructions we are going to show you how to add a base and rubble if you wish to do so! |
|
Pretty nice! |
Now for the roof! |
|
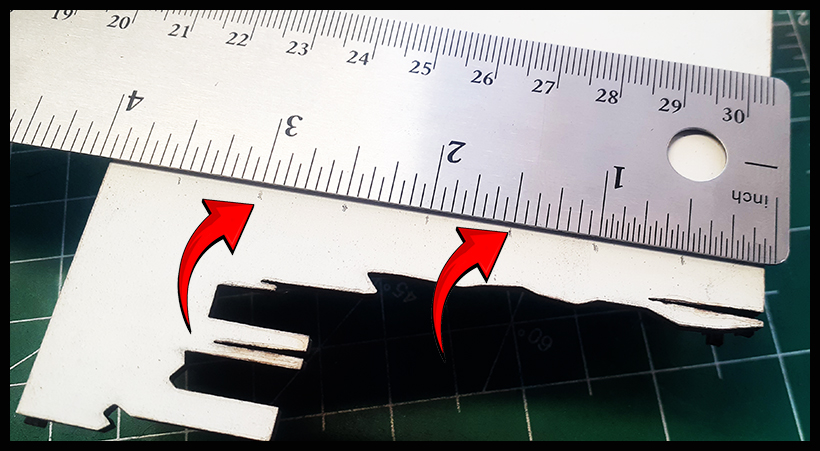
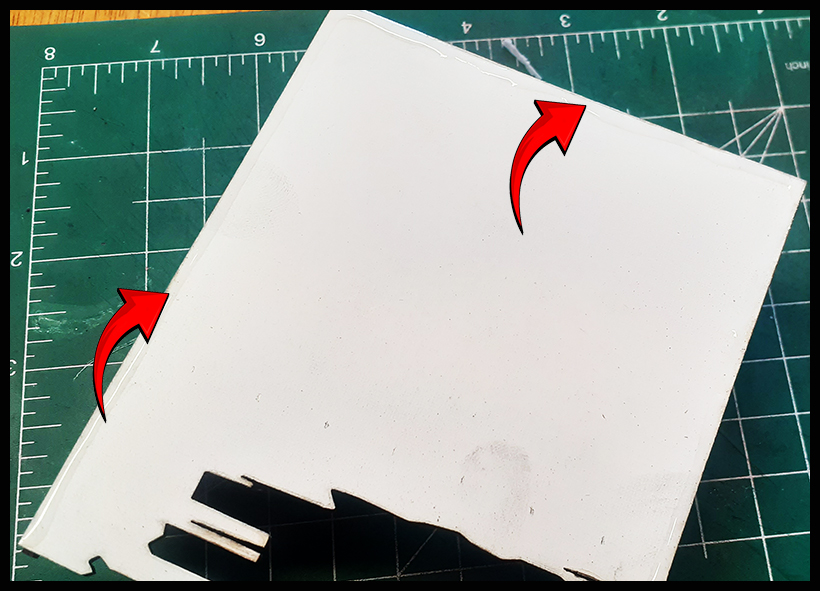
Flip the roof section, place on the ruins, and mark the bottom of the roof 1/8th of an inch from the edge. This is so when you add the roof it will slide into place. |
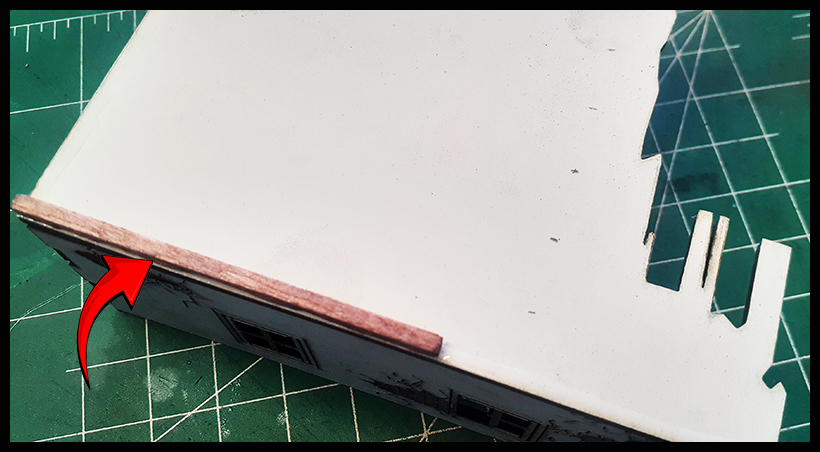
Locate the squares and glue into place. Squares will vary in size from kit to kit and may require cutting in half. It should look something like the above once complete. |
|
Once complete, now it will slide into place |
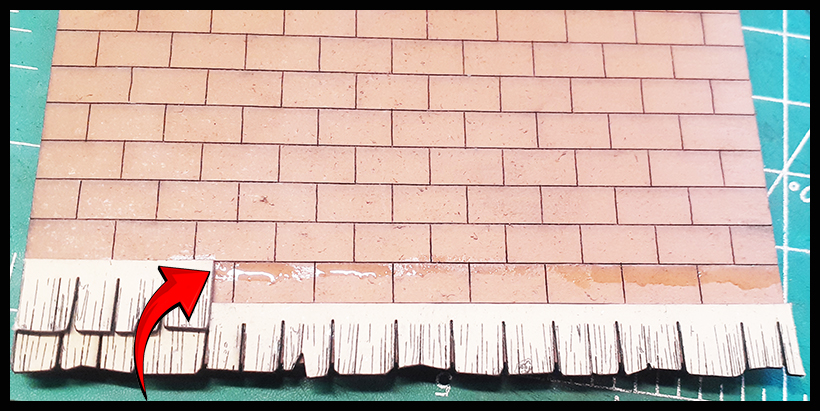
Now to add shingles to the roof. Run glue as above. Each shingle will sit on a line as above. We also have a roof assembly section in the instructions area of the website for more information. |
|
Add shingles one at a time. Place and secure the shingles as above. Cut any extra off at the edge and use it to start the next row. |
By doing this, the shingles will be different in each row. Continue until complete. |
|
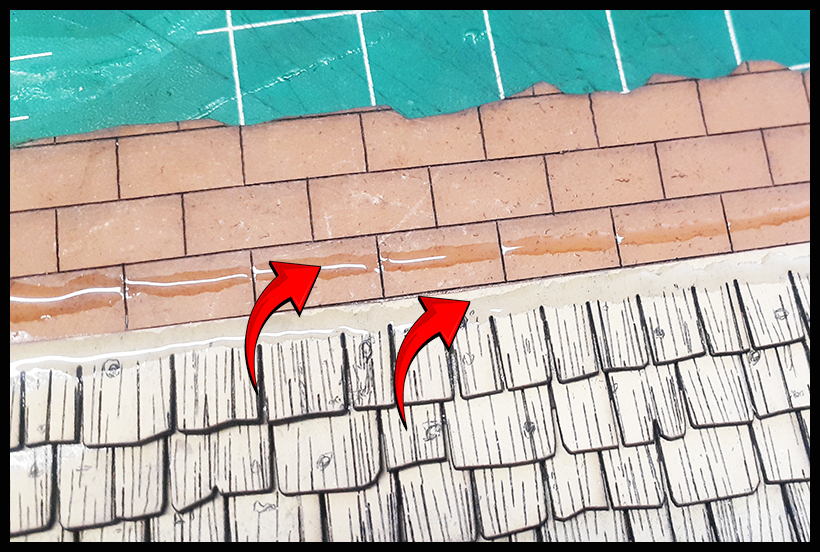
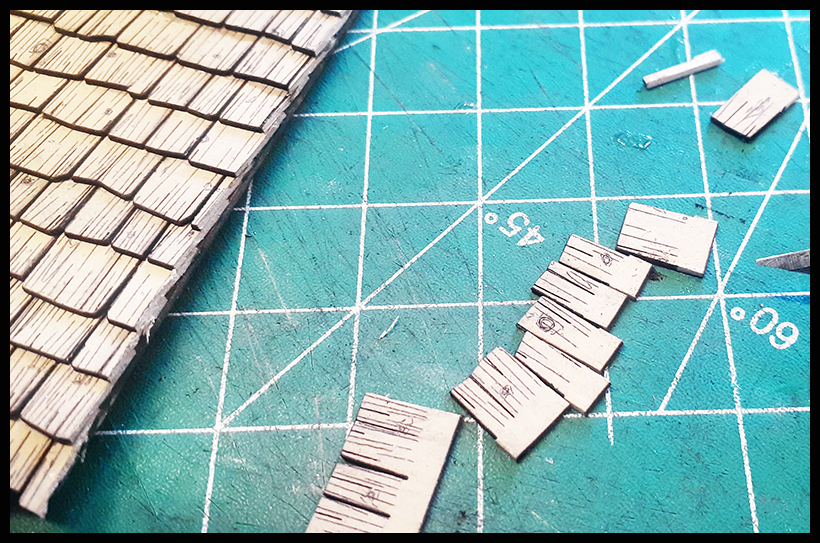
Any leftover shingles may be cut into individual shingles as above. |
Add a dot of glue to a surface and dip the individual shingles in it one at a time to glue into various places on the edge of the roof. |
|
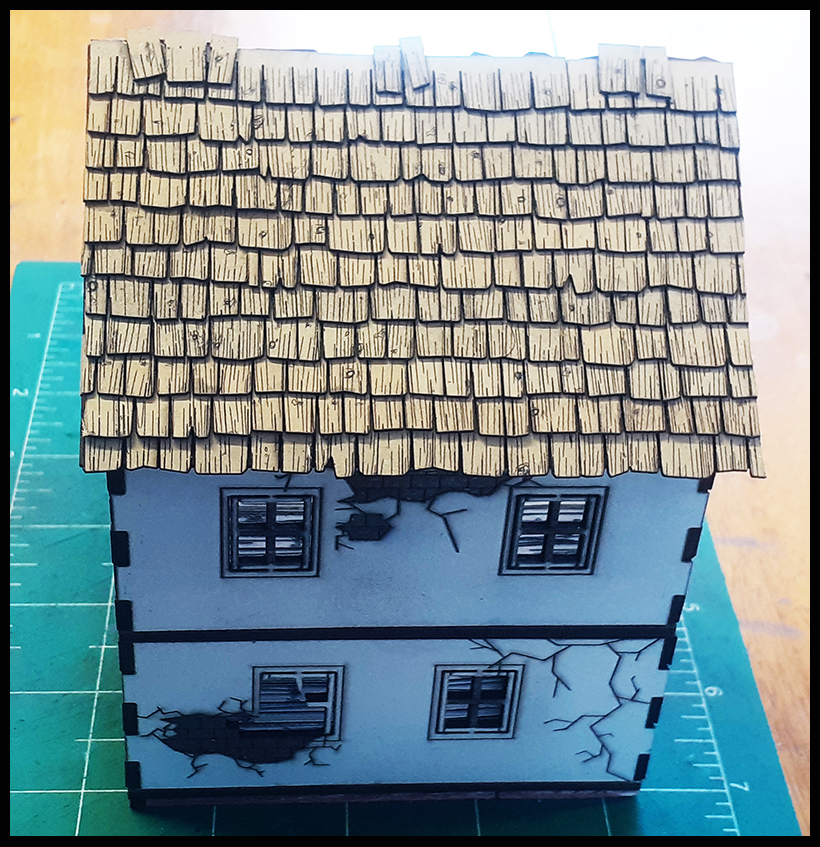
It will look something like this; however, since this is a ruined building, you can glue them as you like. |
And there it is. |
|
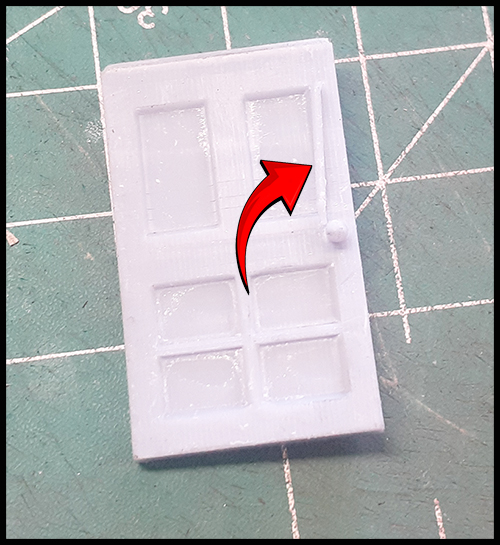
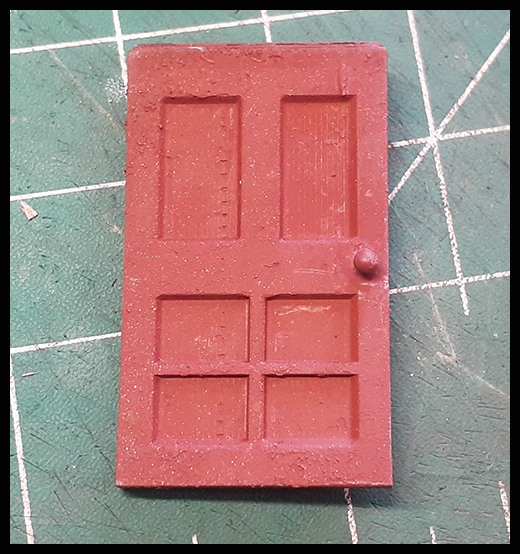
The resin items included can be used as they are. |
Or you can paint and stain them a different color for variation. Easy to do, just spray paint any color you wish. |
|
Glue the way you wish to place it on your ruined building as above. |
Here it is with the door and roof. |
|
Another angle. |
And the rear. |
|
And the back. |
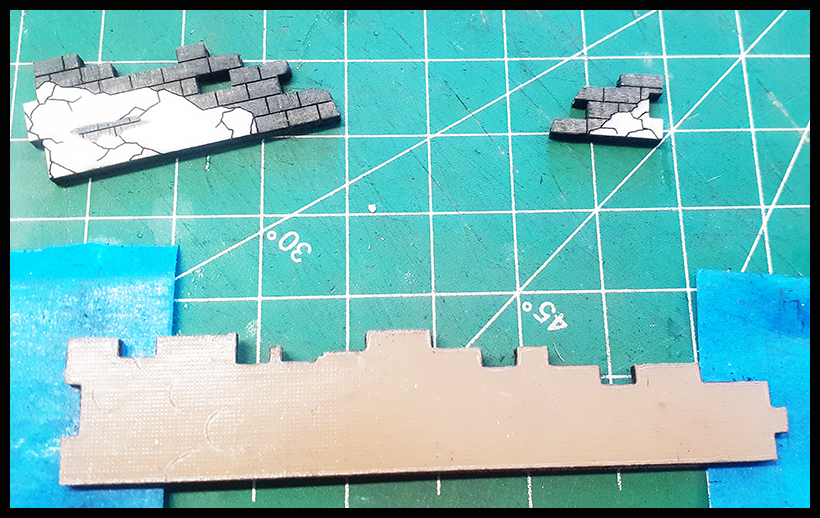
This part is extra. We do not included a base for the building, but if you wish to use the bonus rubble included you will need a base. Find a base suitable. |
|
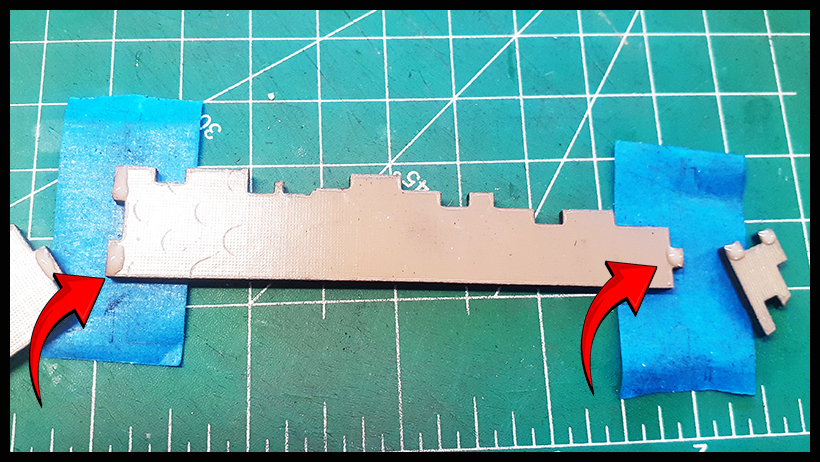
Mark the area where you want your building to sit on the base as it may not be the same size as the one we have. |
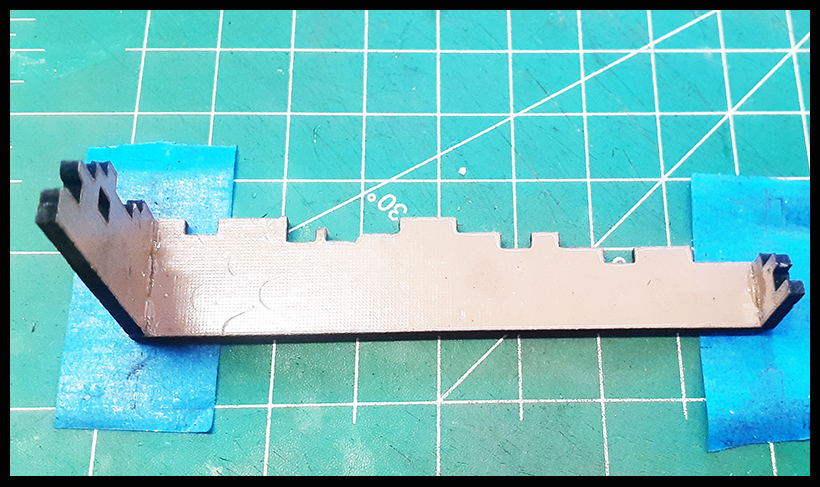
Add glue to each joist and wood frame of the bottom of the ruins base. |
|
Glue into position in the area previously marked. |
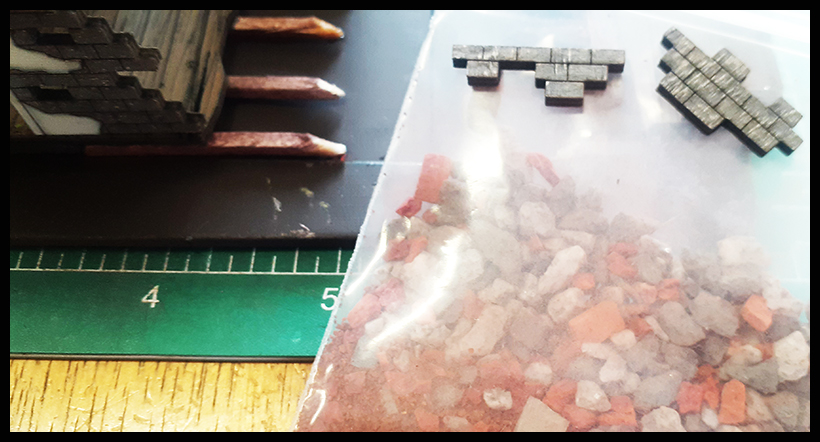
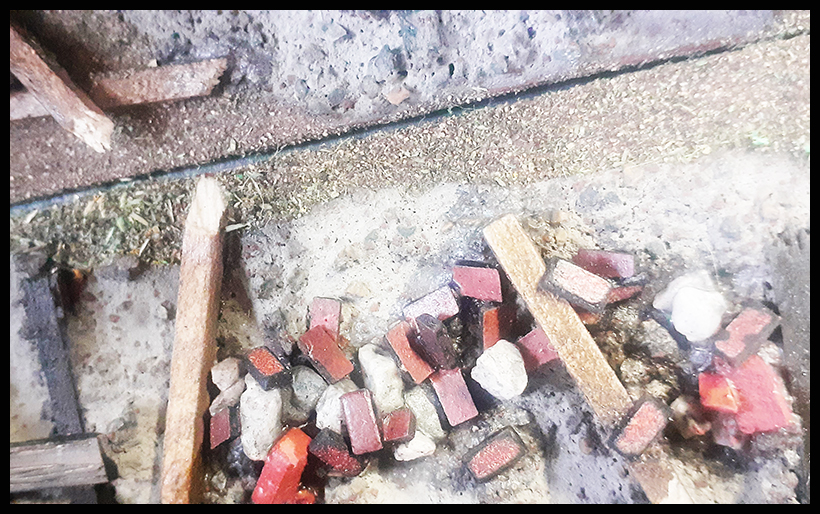
Now you can add the ruble. |
|
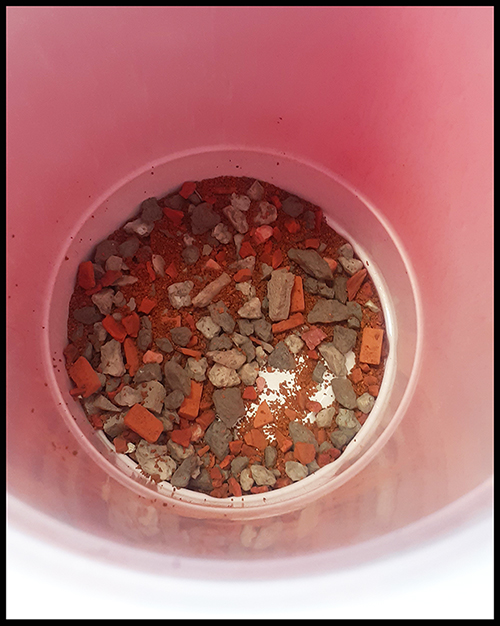
Use a disposable container. |
Add the rubble to the container as above with the wood clippings you kept |
|
You will add about a tablespoon of Elmer’s glue (PVA) and equal amounts water and Isopropyl alcohol (rubbing alcohol). |
Mix well, and use a spoon to add to the areas as you wish. Let dry completely, then add the rubble walls to it. Above are some examples of how it will look once complete! |
|
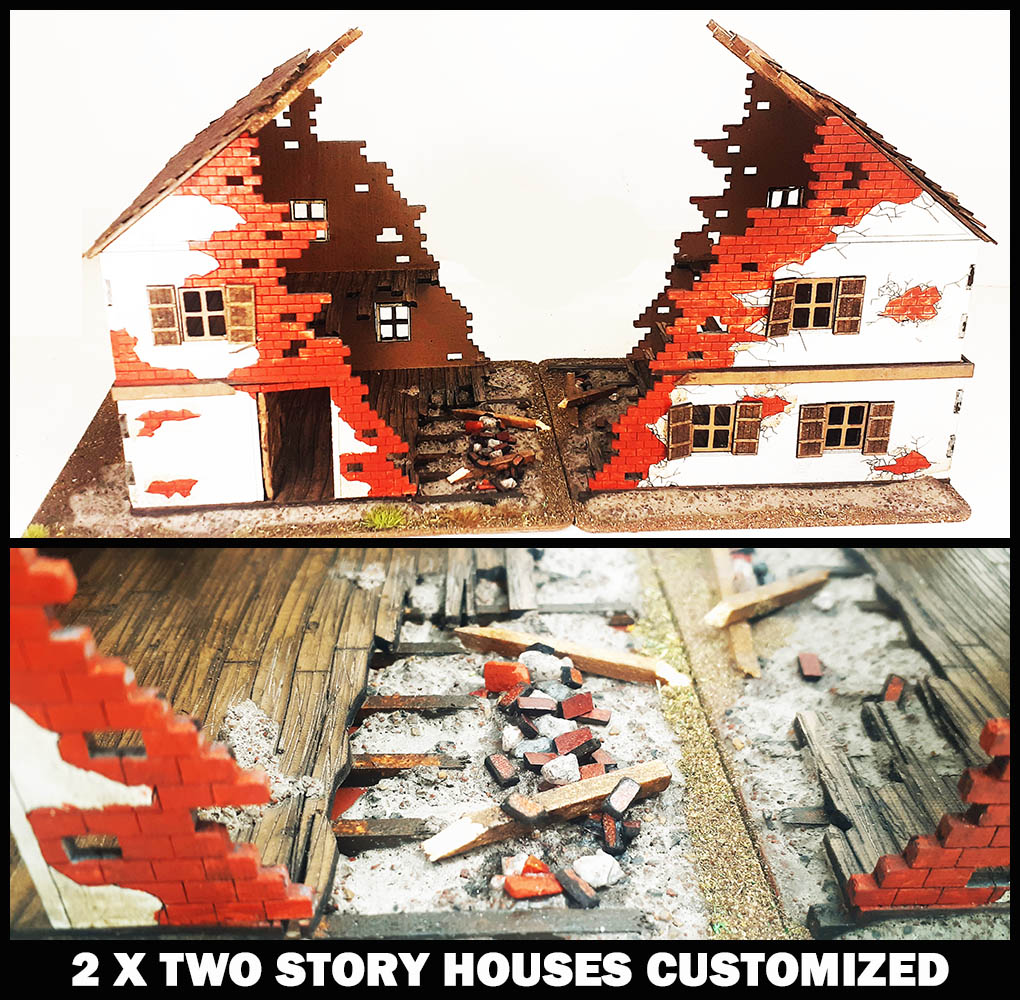
The above is a customized model of the Two Story Ruined House made by combining two of the kits together with added rubble! This model also had the walls painted a brick red. Have fun and enjoy, and we hope this was helpful! |
|