POST RAIL FENCE ASSEMBLYPlease read these instructions completely before building. We recommend using a GEL SUPER GLUE for best results when gluing this model as the material in some places is porous, and it is the type of glue that works best. Dry-fit parts together before gluing to get the best results. You may need a hobby knife as well in some cases.
|
|
|
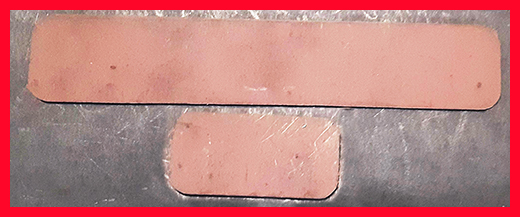
SHEET #1 - POST RAIL FENCE 2 x Gate sections (1.5” long) 8 x Fence sections (4” long)
SHEET #2 - FENCE BASES |
|
|
Lets build a fence section. The gate section is identical to the fence section in assembly. |
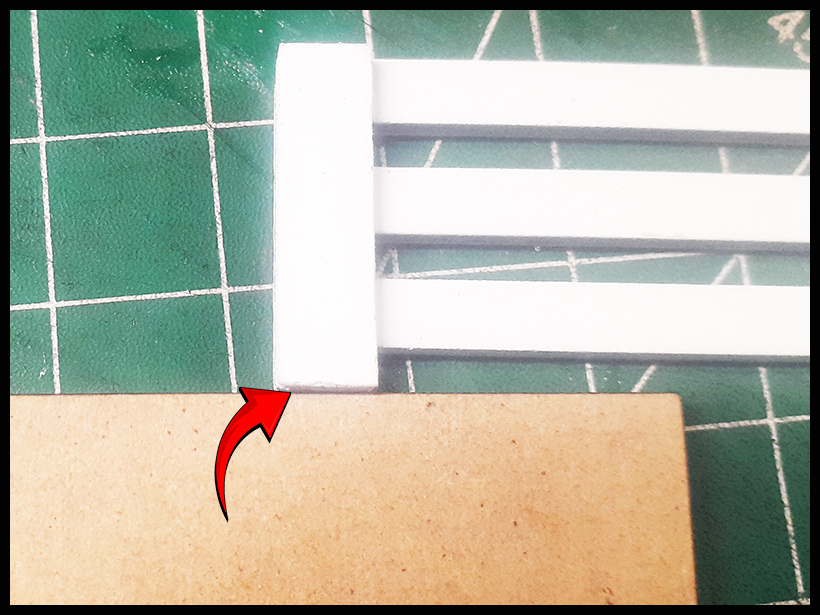
To make things easier, get something thicker than the fence pieces to use as a guide to glue the posts to the fence sections. We used a piece of spare wood as above. |
|
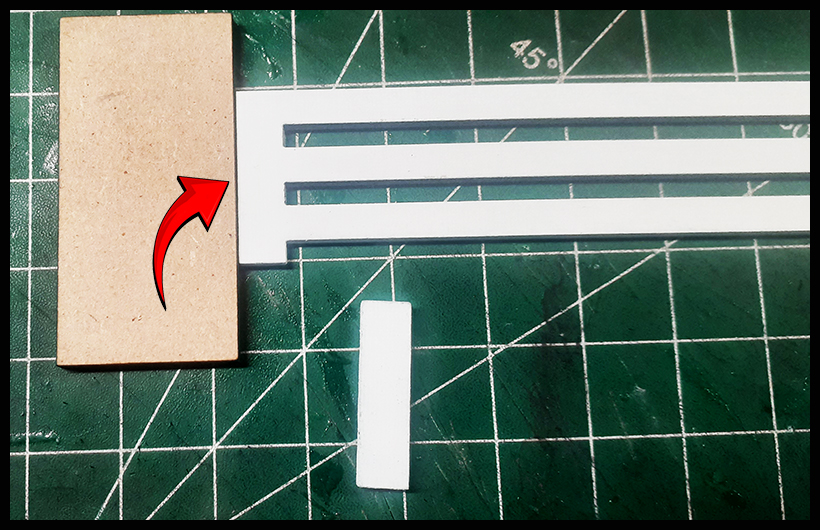
Add glue to the post part of the fence. |
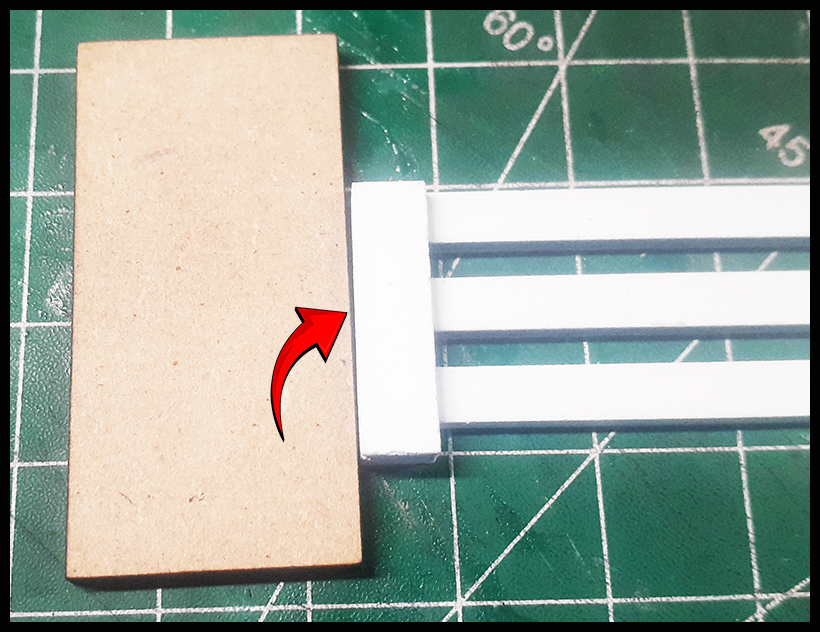
Place the guide on the side of the fence post as shown. |
|
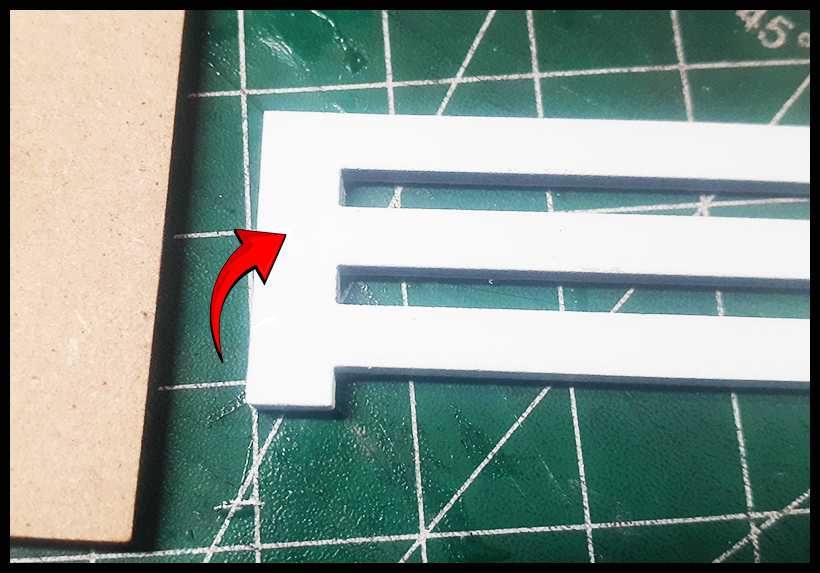
Add the post on top of the attached fence post; do not press yet to secure. Butt the fence post against the guide. |
Do the same to the bottom, and once satisfied it’s in the right position, press to secure in place. Repeat four times per post front and back. |
|
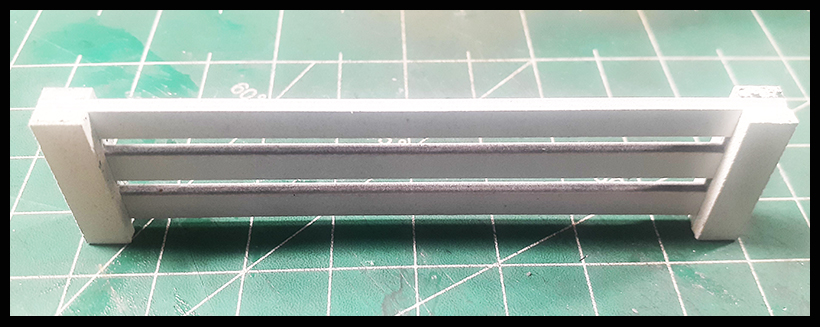
It should look like this once complete. Repeat these steps for each fence and gate section. |
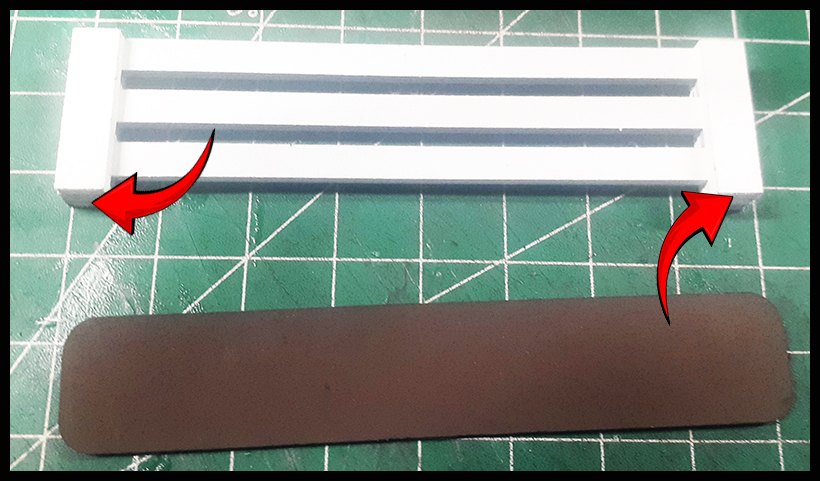
Glue to the base next. Add glue to the bottom of each post and position on the fence base center. Once in place, press to secure and let dry.
|
|
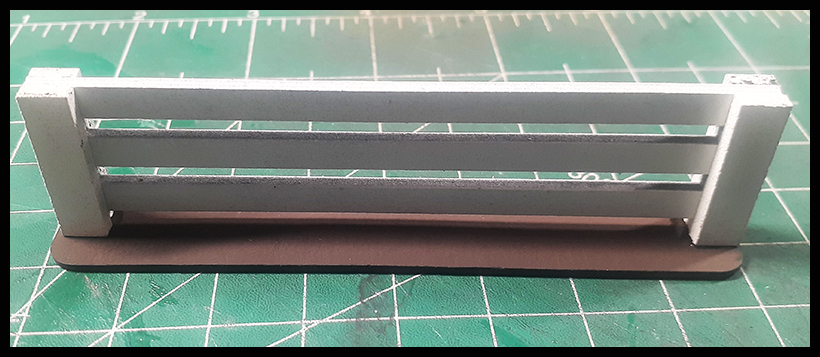
This is the finished piece! |
|
|
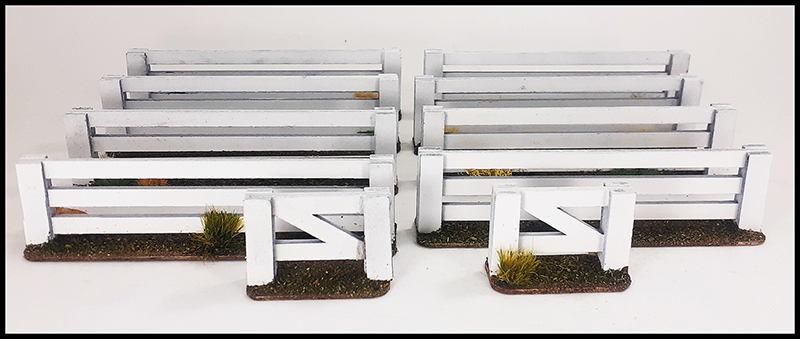
Repeat the same for the rest of the fence sections. Above we have included a picture of the fence with flock and tufts added to really detail it out. Have fun and enjoy! |
|