LEAN-TO SHED ASSEMBLYPlease read these instructions completely before building. We recommend using a GEL SUPER GLUE for best results when gluing this mode,l as the material in some places is porous, and it is the type of glue that works best. Dry-fit parts together before gluing to get the best results. You may need a hobby knife as well in some cases.
|
|
|
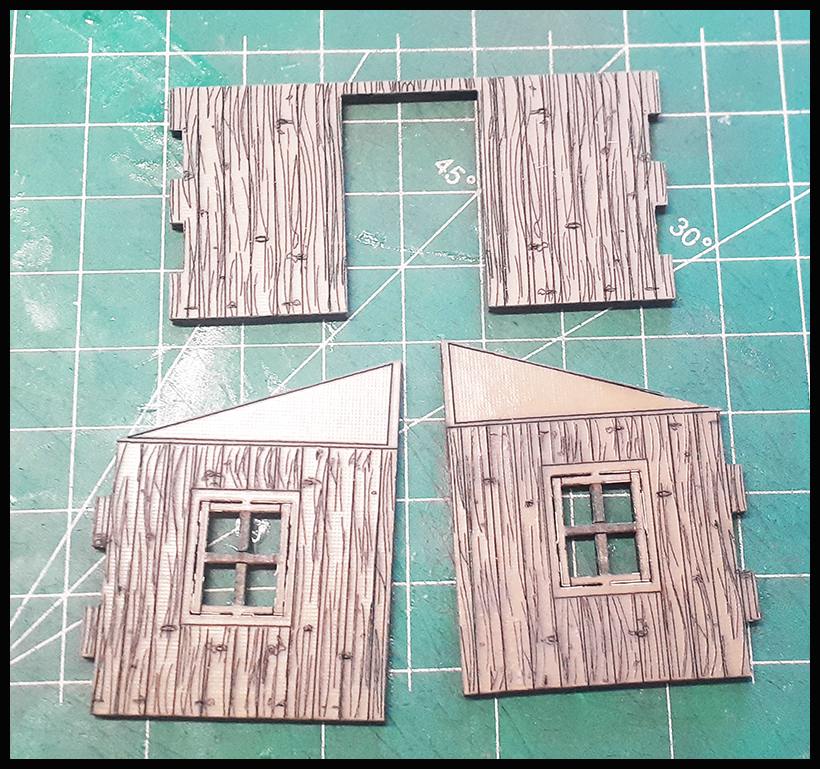
SHEET #1 - LEAN-TO SHED Shed roof |
|
|
Locate the above parts. Be VERY CAREFUL when handling the door wall as the above frame is very thin assembly. Once assembled it will be sturdier when attached to the other parts. |
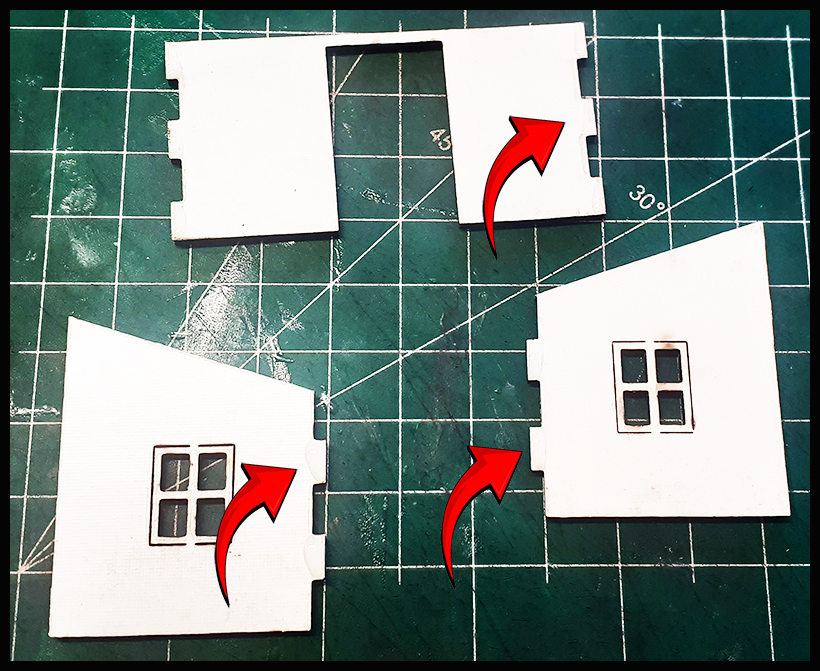
Add glue to each tab on the parts above. |
|
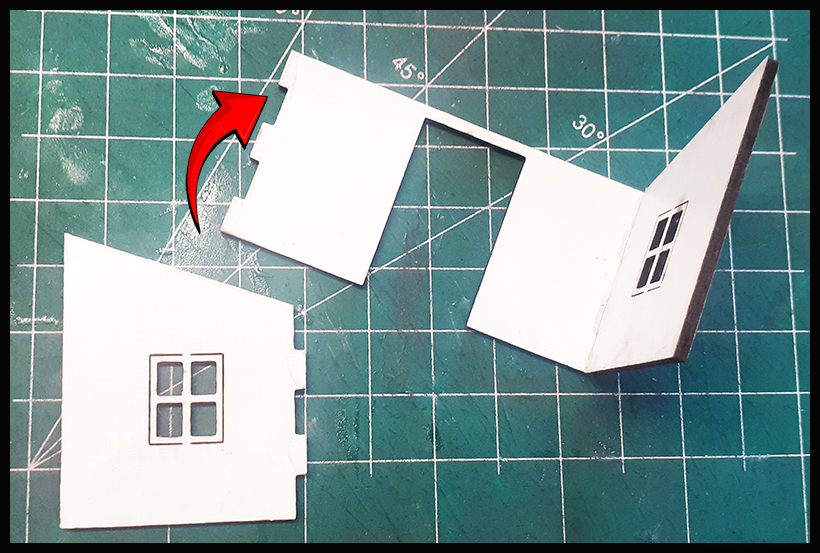
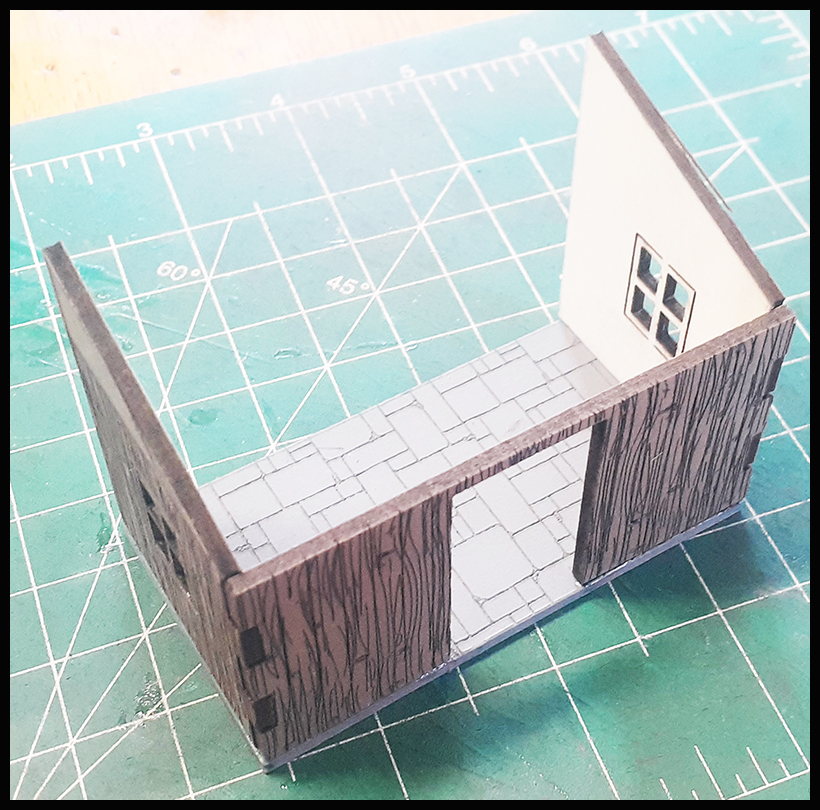
Press the walls above into place and hold. Let dry.
|
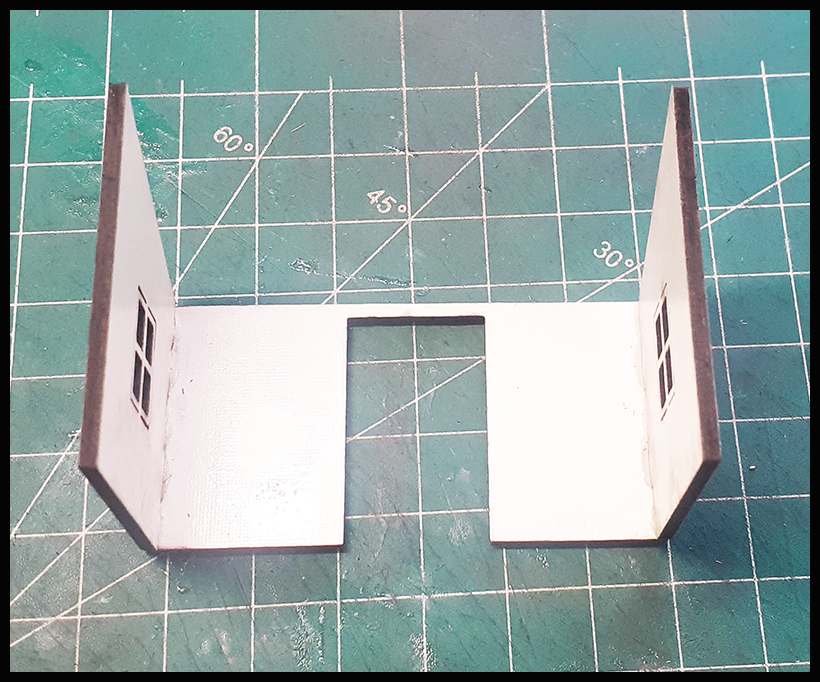
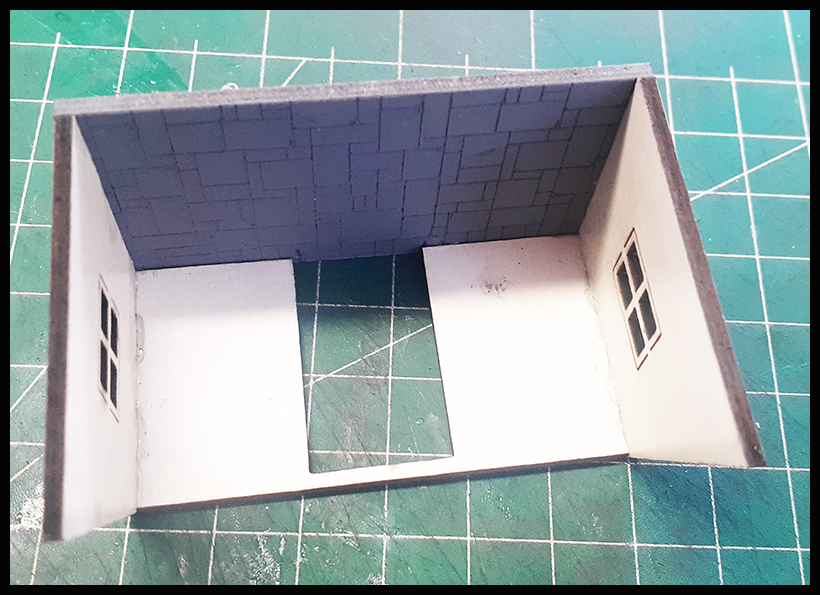
This is how it will look. |
|
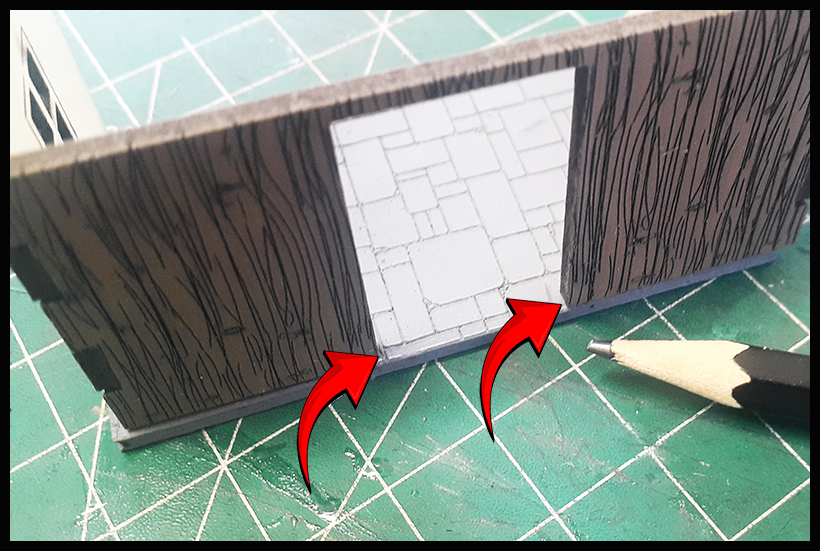
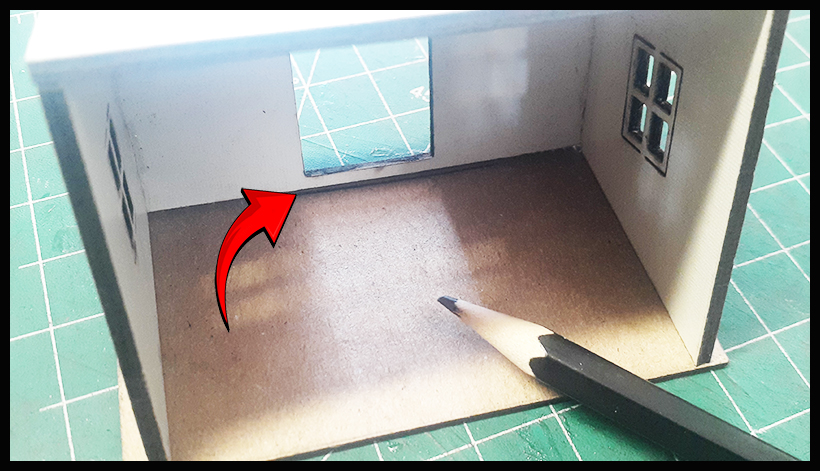
Place the wall section on the stone floor, and mark the door opening as above. This is so you know where to NOT apply glue for the wall. |
Run a bead of glue around the edge of the stone floor where the walls will make contact EXCEPT in the area of the door you previously marked. |
|
Press and hold carefully. |
Let dry. |
|
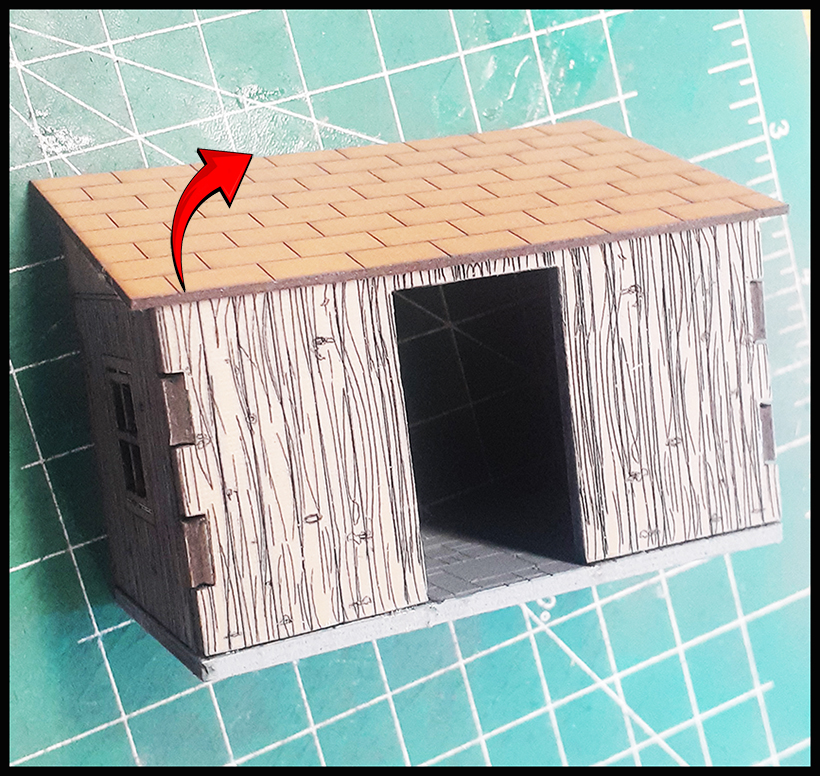
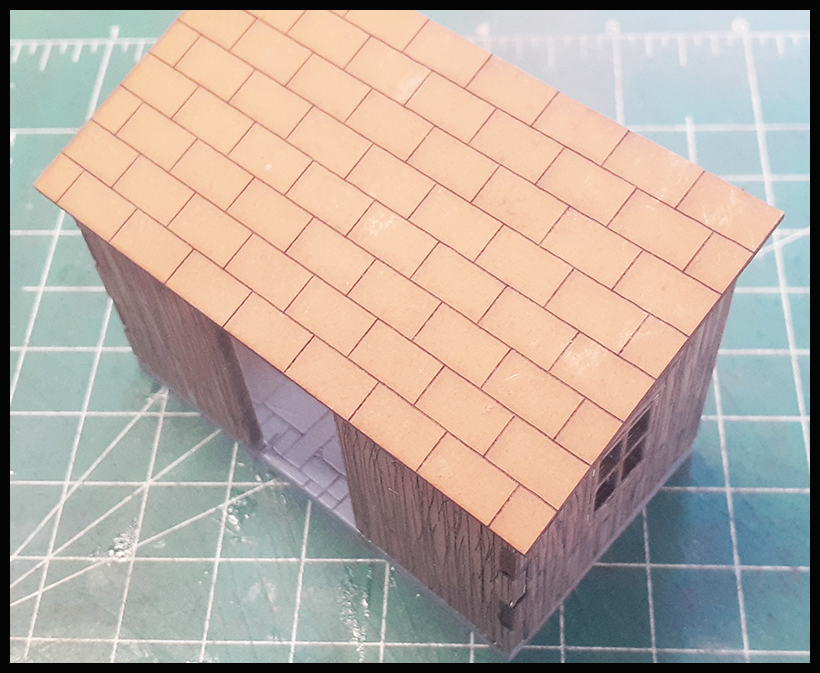
To add the roof card spacer, place the shed on the table. Position the roof in place & lift the shed to turn it upside down so the shed is resting centered on the roof. |
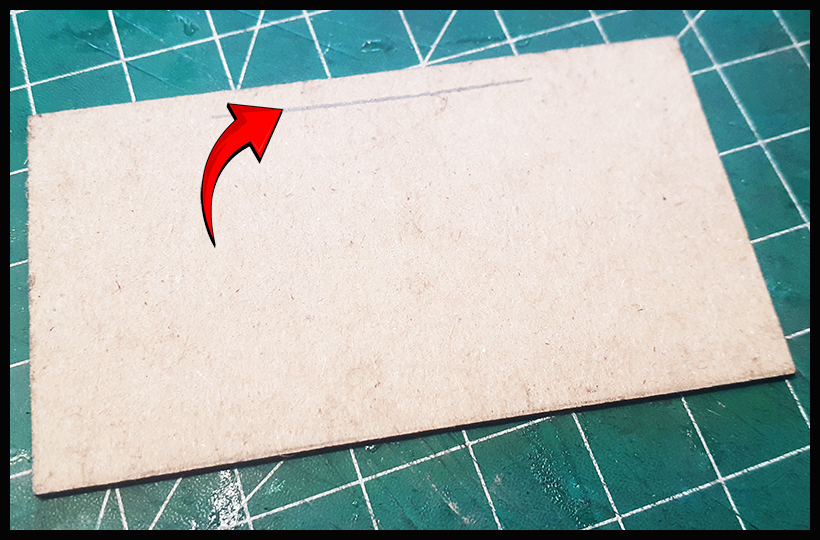
Use a pencil to draw a line as above. This is to show you where to glue the card spacer to allow the roof to rest in place without sliding off so that it can be removed. |
|
This is your mark. |
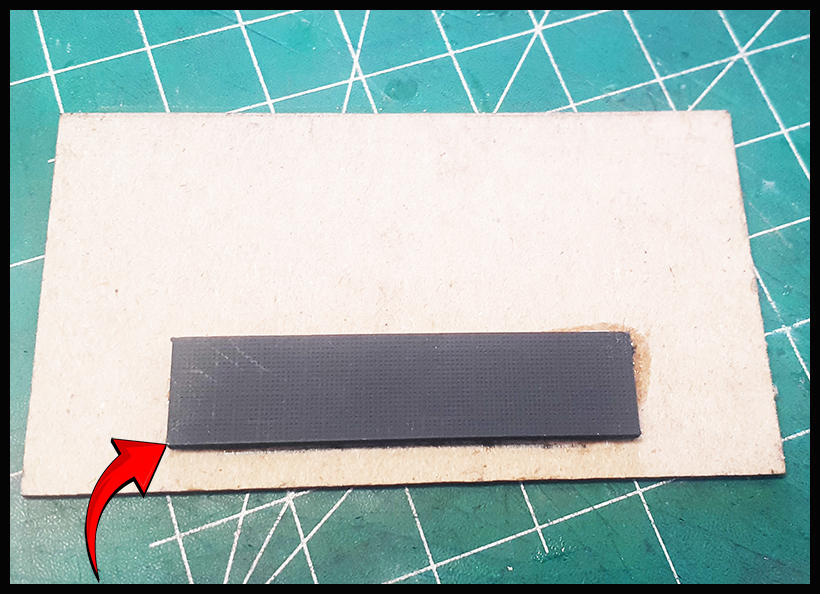
Glue the spacer on the line. If your Shed did not come with a spacer, any stiff card or even balsa wood strip will due. |
|
Now your roof will sit on your shed without sliding off. |
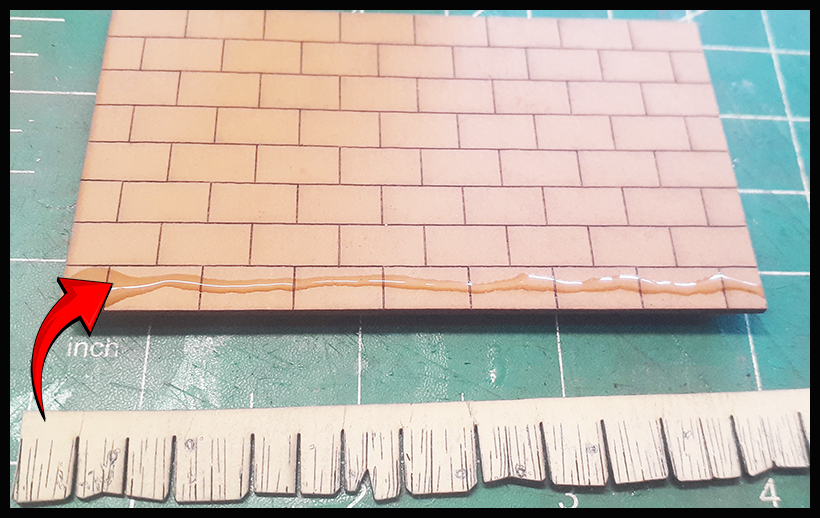
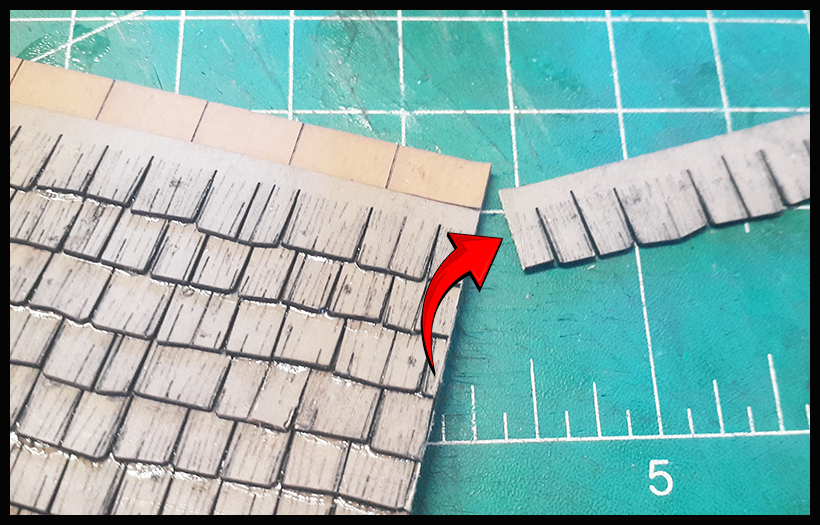
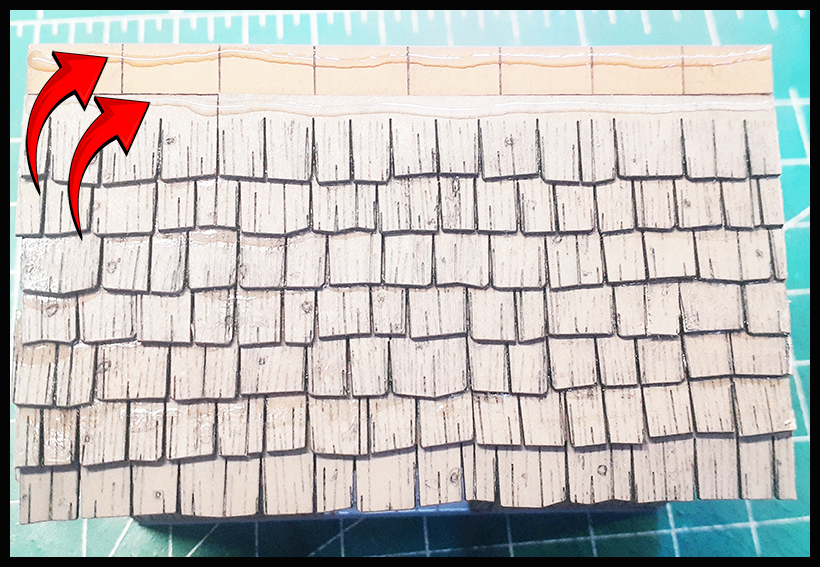
Locate the shingles as above, and run a bead of glue in the first lined section of the roof. Attach the shingles to that location. Trim any excess and use it to start the next row. |
|
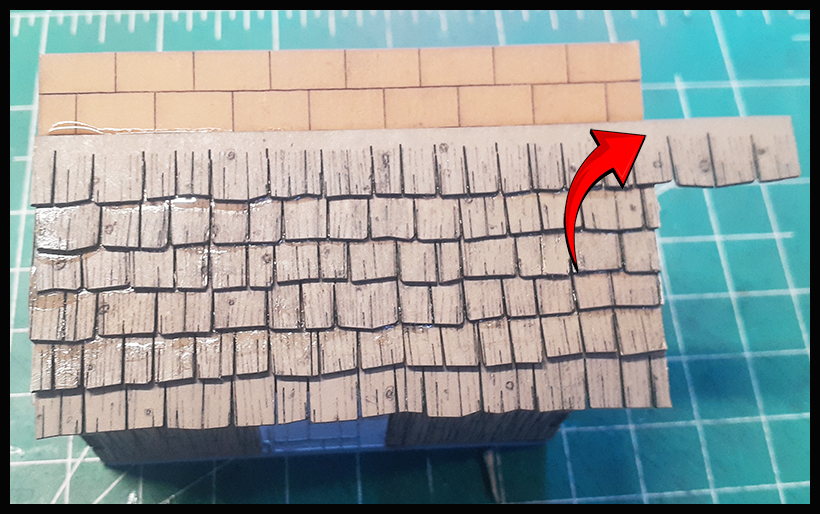
Repeat this process. |
|
|
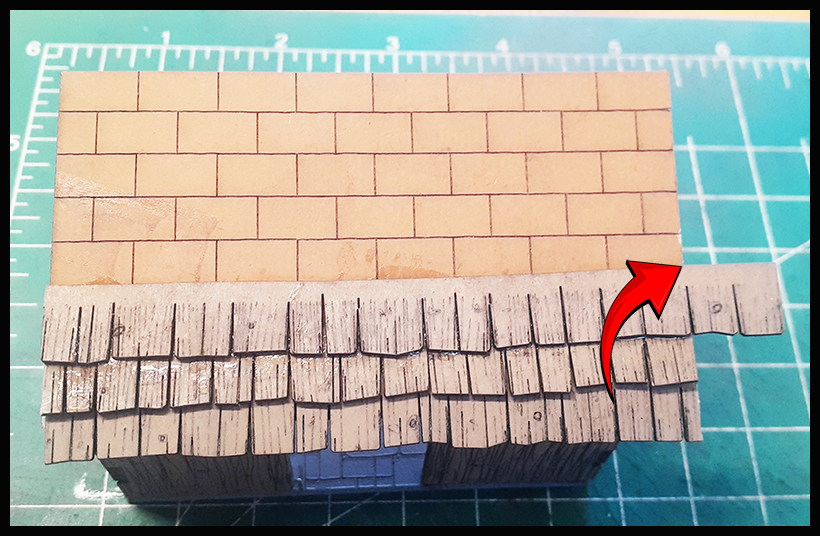
An example of the excess being trimmed off the edge. |
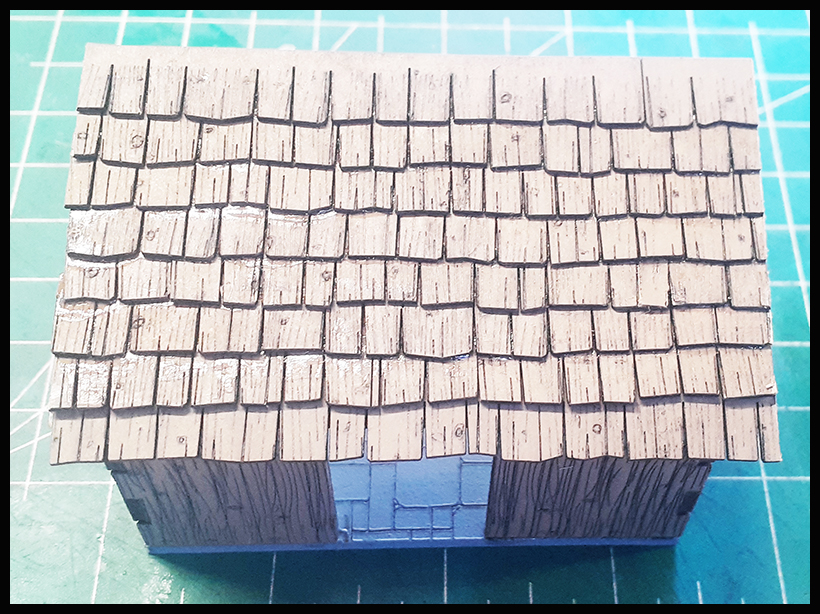
Repeat until complete. |
|
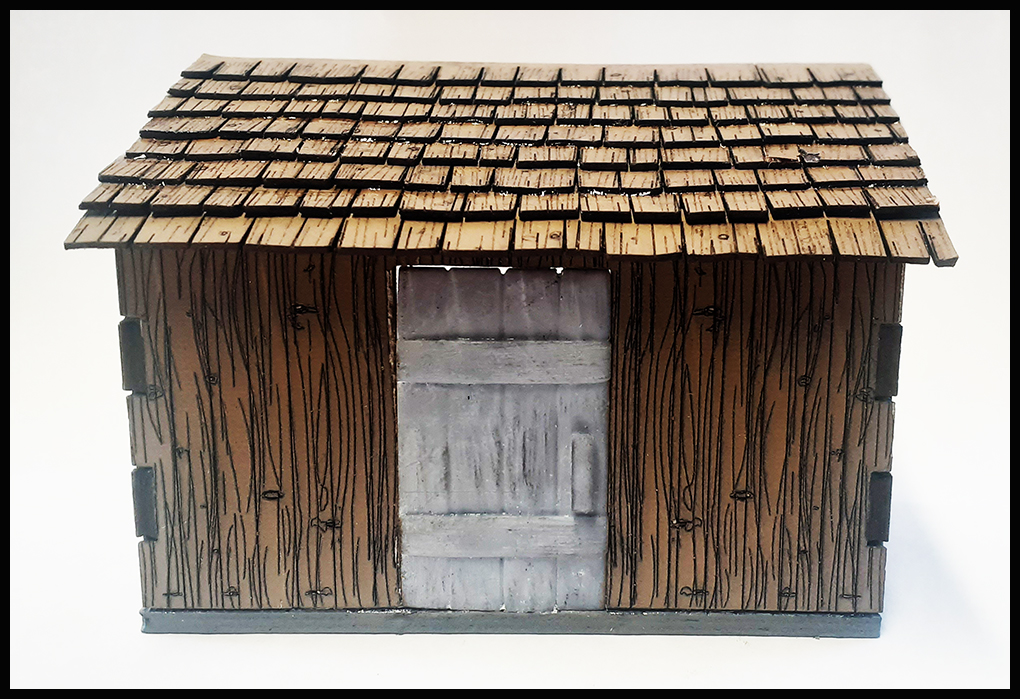
Roof is complete. |
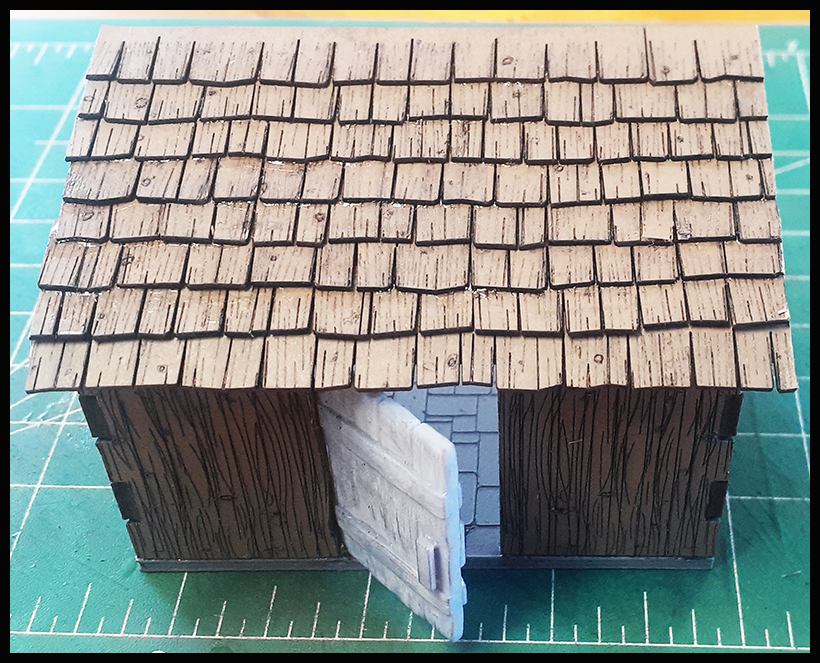
Now add your door. You may have to lightly sand the edges to get a good fit. You can glue it into place closed or open. The resin pieces come in gray; however, you can simply spray it a different choice of color and stain for a different look if you wish. |
|
Now your shed is complete. You can place it on the side of any blank wall building or even get two of them and butt them together for a larger, stand-alone shed. Enjoy! |
|