font-size: 14px;
RUINED STONEWALL ASSEMBLY & MODELING TIPS
Please read these instructions completely before building. We recommend using a GEL SUPER GLUE for best results when gluing this model as the material in some places is porous, and it is the type of glue that works best. Dry-fit parts together before gluing to get the best results. You may need a hobby knife as well in some cases. |
|
|
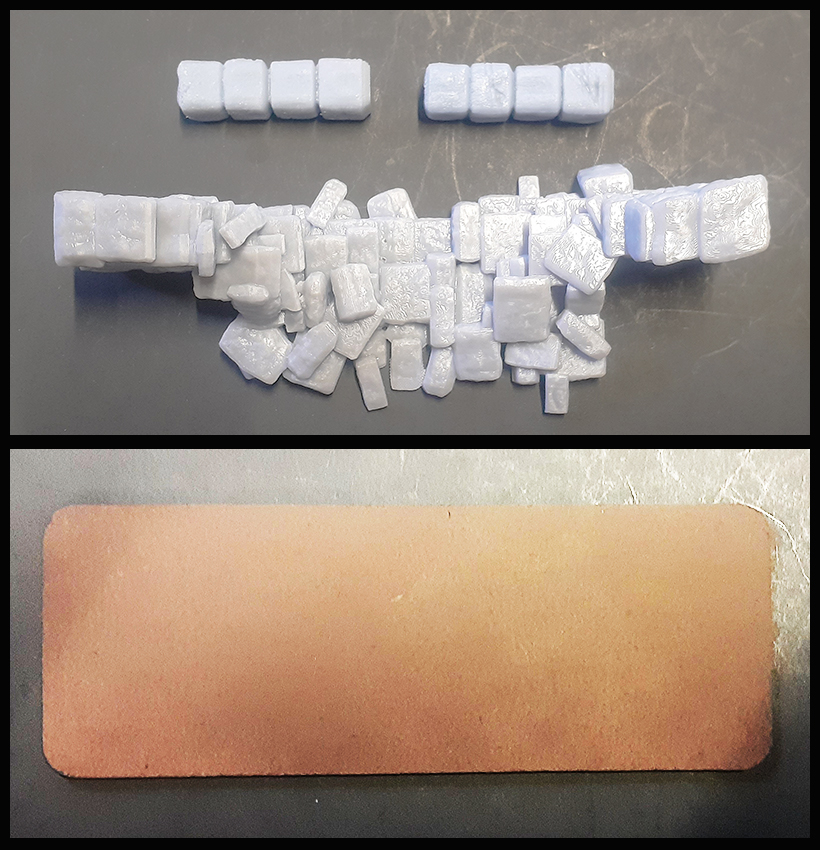
SHEET #1 - RUINED STONEWALL Ruined Stonewall section (4” wide x 1” tall)
|
|
|
Locate the ruined wall above and the appropriate base for it. Glue the wall to the base. |
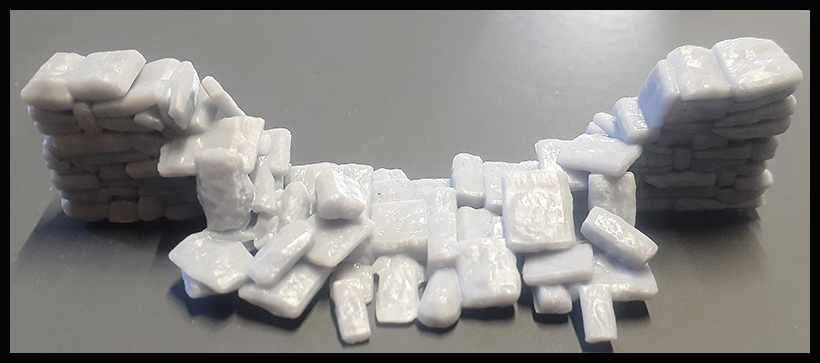
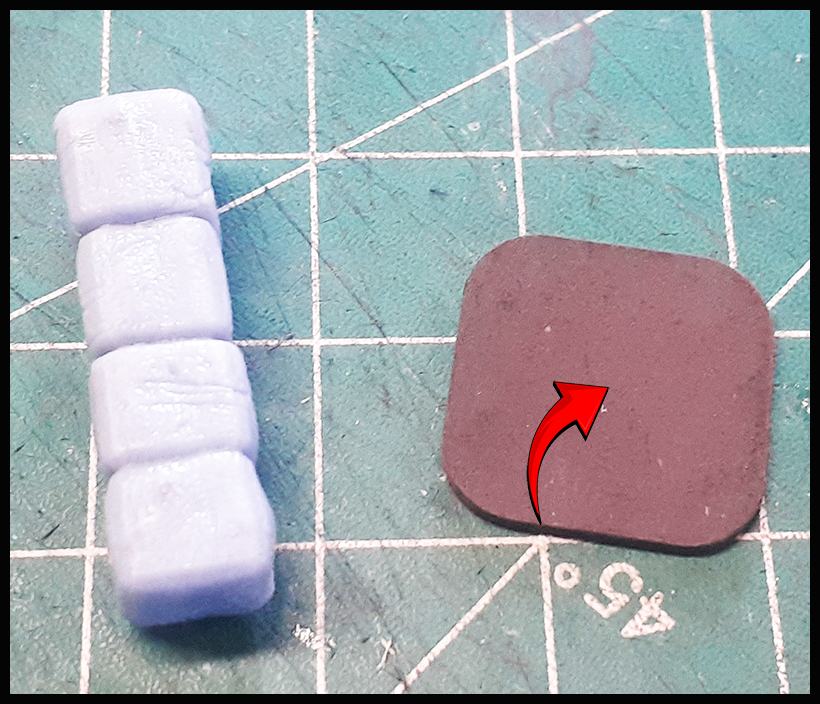
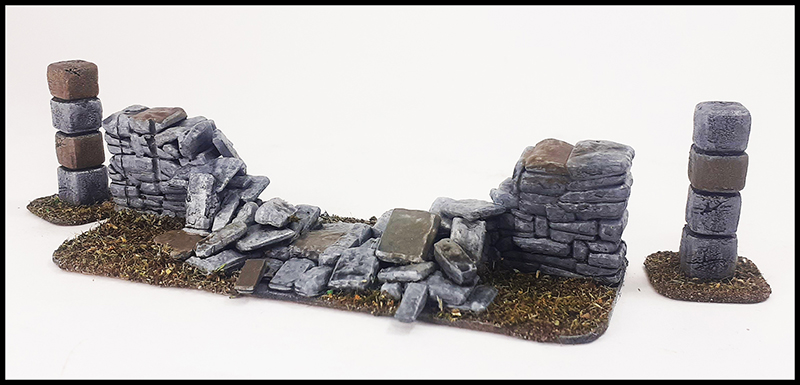
The above picture is to show how the stone posts will line up with the wall before adding to bases. |
|
|
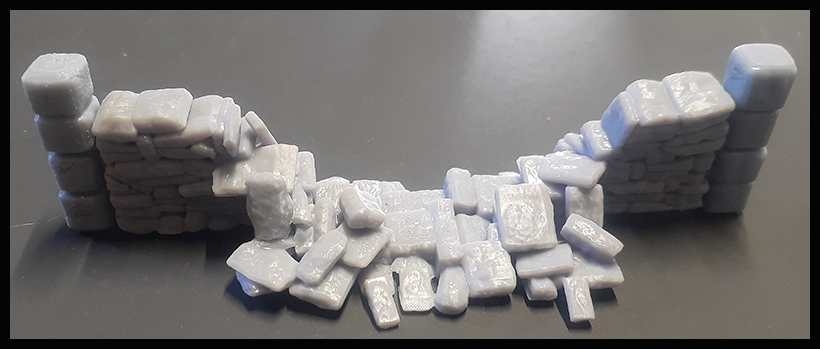
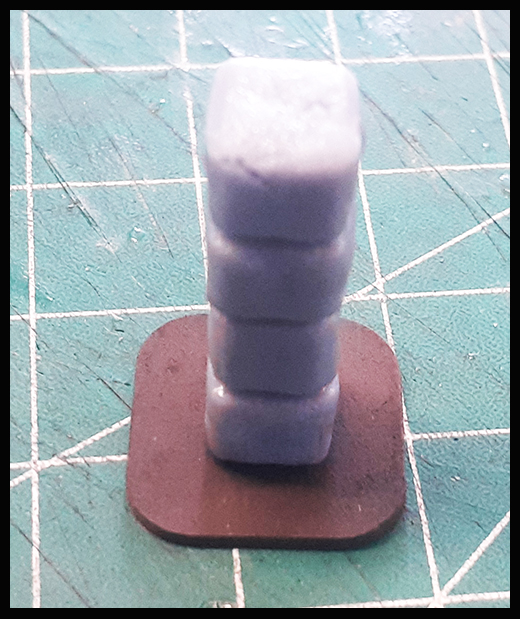
Repeat until both of the Stonewall posts are complete as above. |
|
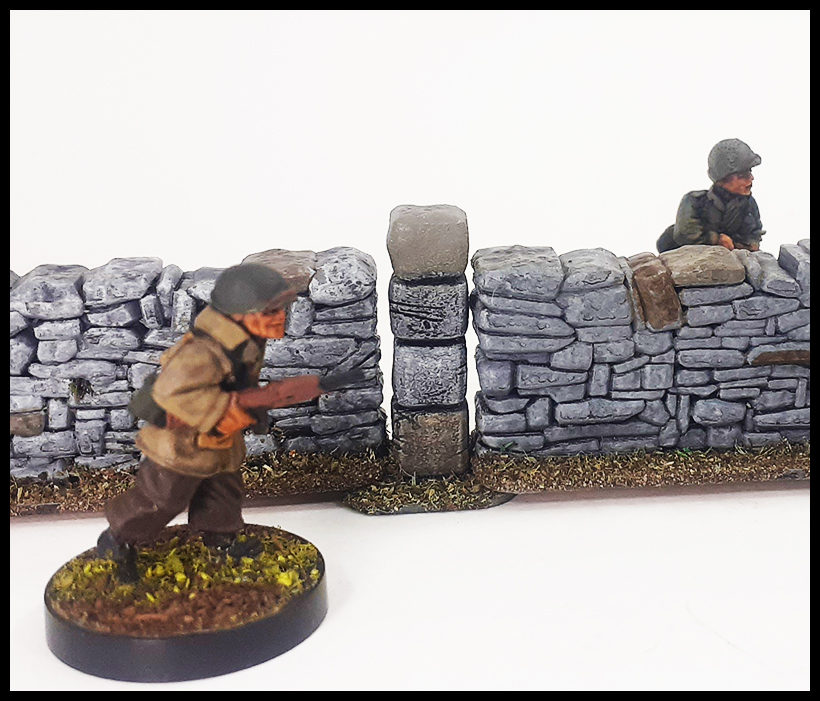
As pictured above, when placing them on the table, you can place the ruined wall base on top of the post base so they can connect on the table. The model pictured above is not the Ruined Stonewall, but the complete Stonewall; however, they both work the same way. |
These models were painted with a gray spray paint. We then dry-brushed them with a light gray and went back and painted some of the individual stones different colors of tans & gray mixture for more detail. To bring it all together we then stained the models with black and brown stain. To finish them off we flocked the bases and added tufts. You can find flock & tufts here - Enjoy! |