RUINED WOODEN FENCE ASSEMBLY & MODELING TIPS
Please read these instructions completely before building. We recommend using a GEL SUPER GLUE for best results when gluing this model as the material in some places is porous, and it is the type of glue that works best. Dry-fit parts together before gluing to get the best results. You may need a hobby knife as well in some cases. |
|
|
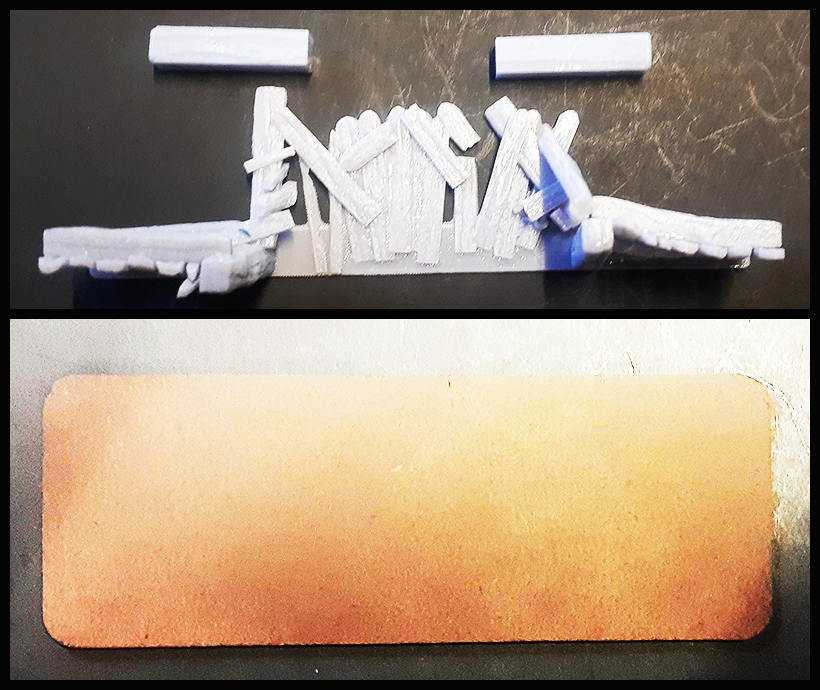
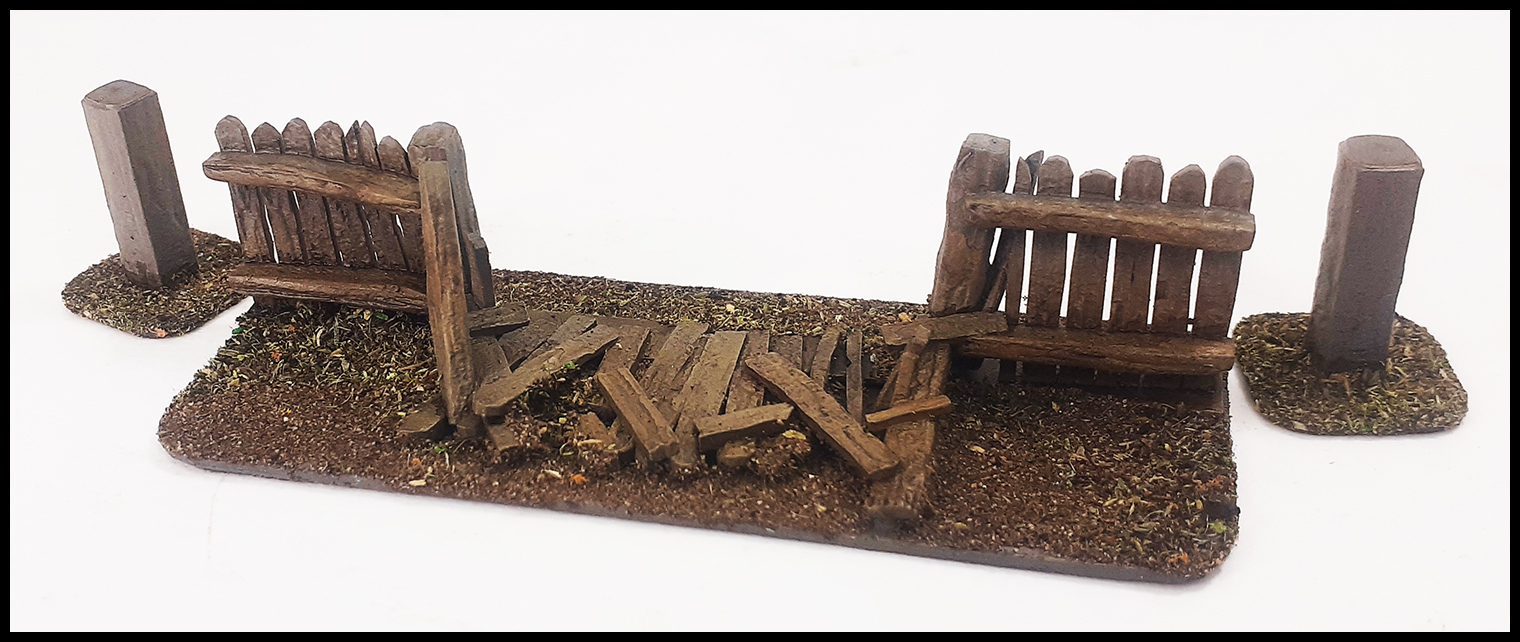
SHEET #1 - RUINED WOODEN FENCE Ruined wooden fence section (4” wide x 1” tall) |
|
|
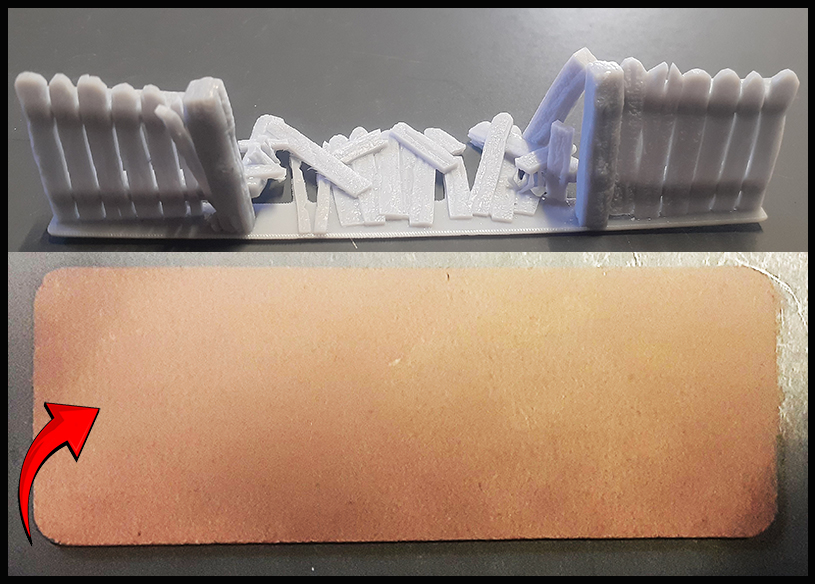
Locate the ruined wooden fence above and the appropriate base for it. Glue the fence to the base. |
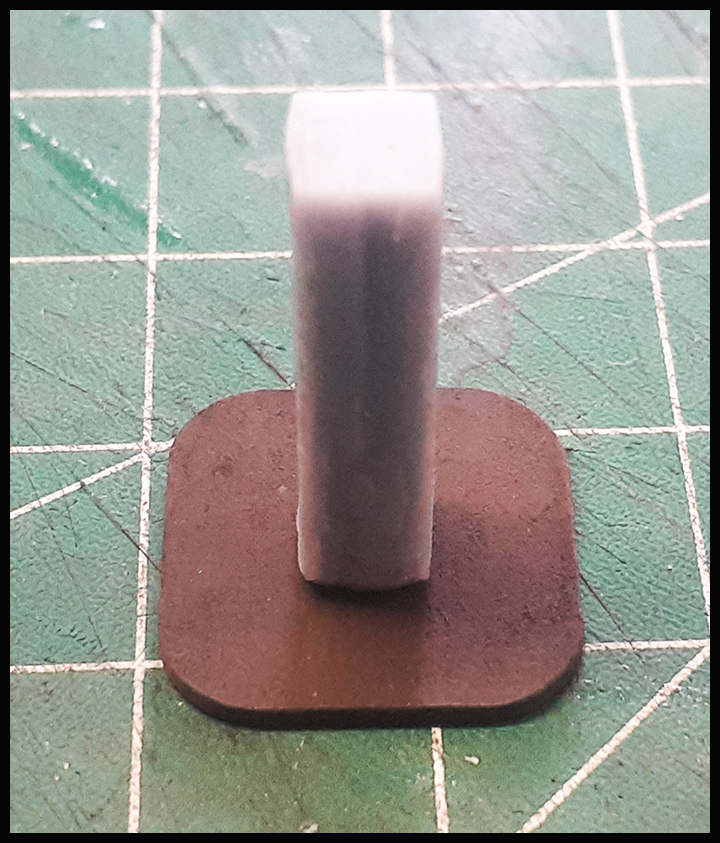
Next, locate one of the wooden posts and glue it onto the center of its base as above. |
|
Repeat with second post until complete as above. |
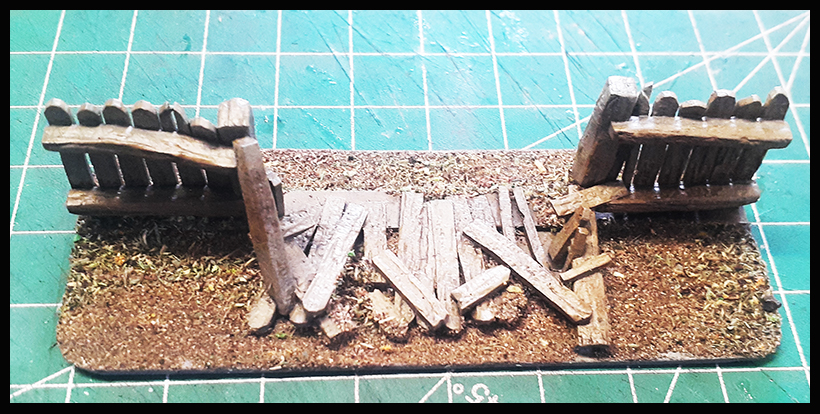
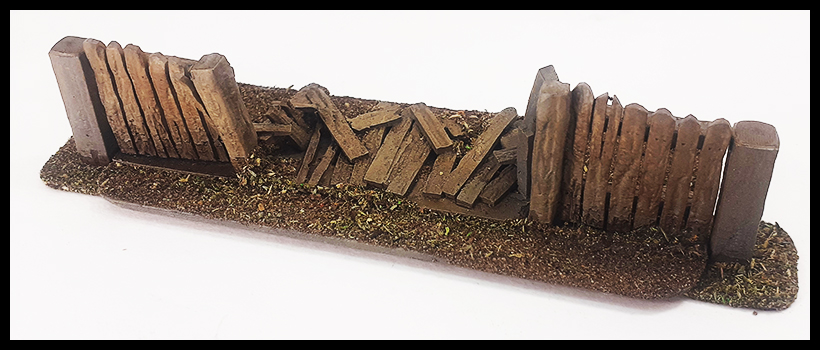
These models were sprayed with a dark brown, and the “mist” (light spray) of a tan. Then they were stained with various browns & a sepia. Then we lightly dry-brushed to bring out the wood grain. The bases were flocked and tufts added for further detail. |
|
And here it is, complete and painted. |
|
|
Here is a rear shot. As shown above, when placing them on the table, you may place the fence on top of the post base so they can connect as you wish. |
|
|
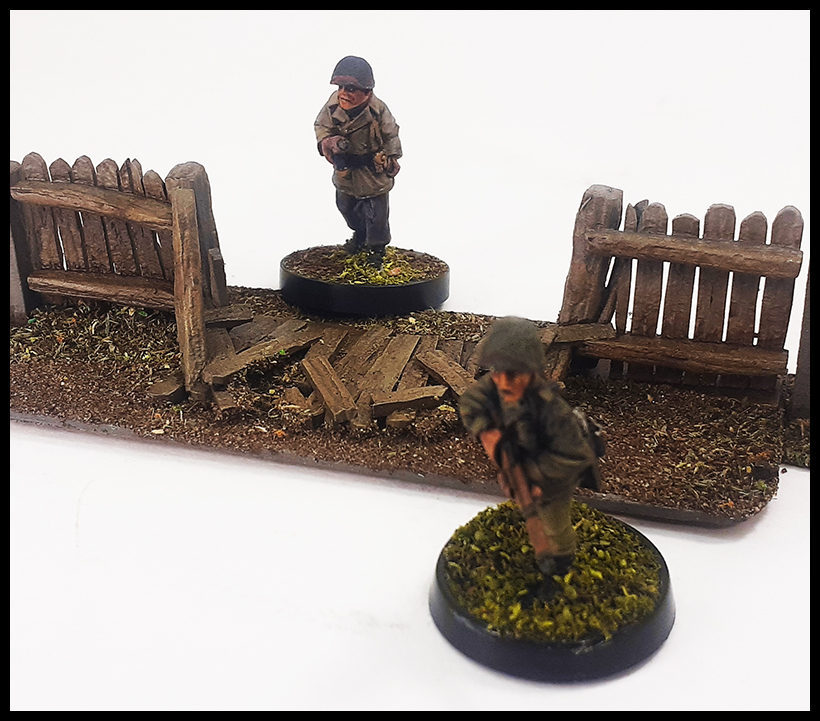
Ready for game play on your table! |
|