MODELING TIPS
GETTING THE MOST OUT OF YOUR RUINED CITY BLOCK BUILDINGS!
The Ruined City block Buildings are a nice cost effective way to build large/small city boards, we wanted them very modular so we have begun to add them to building bases the width of the building (1 or 3 sections wide) and 5" deep to create what we call "Cells"so they are completely modular and you can make various size buildings by butting them together to form multi-room buildings. Here are some samples...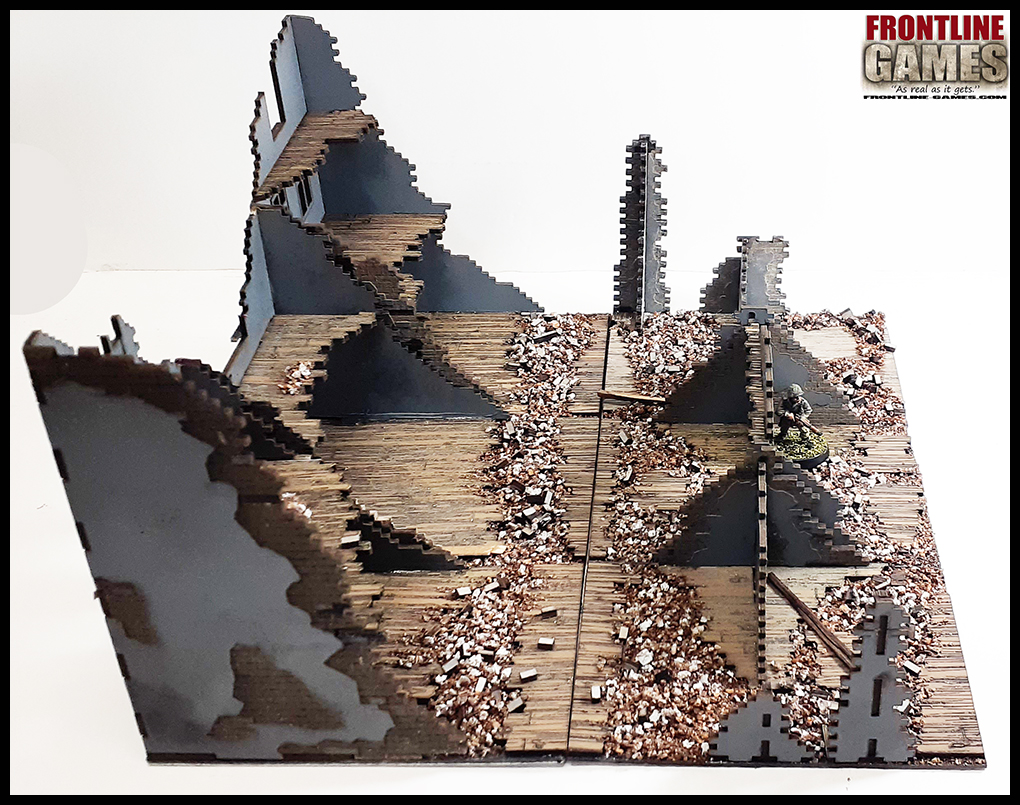
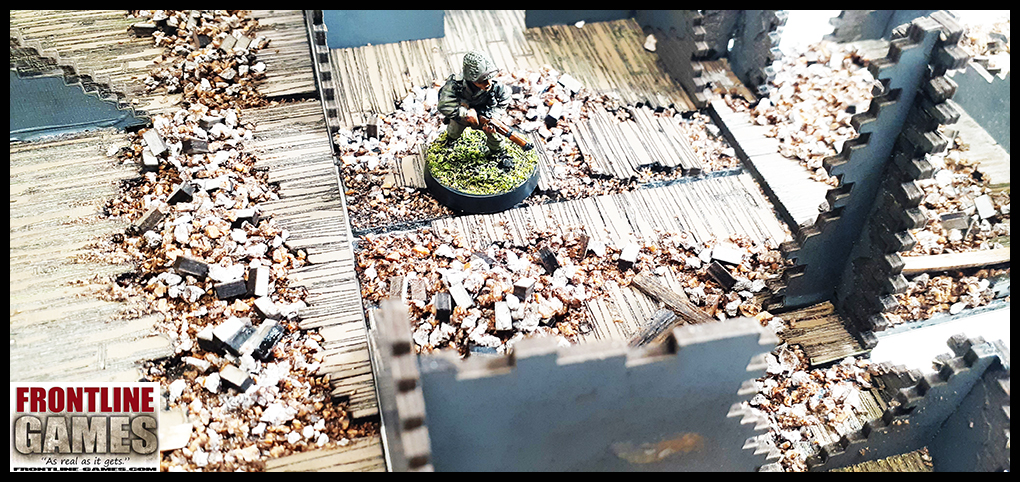
So as you can see when complete you have Cells that are interchangeable with each other to form buildings in various sizes with multipal rooms. It also allows you to add a load of character to each cell by painting different interiors and adding other small details. Really adds to the immersion of game play for a very enrich experience.
So let began to show how you can also do this...
BUILDING BASES TO CREATE THE "CELLS"
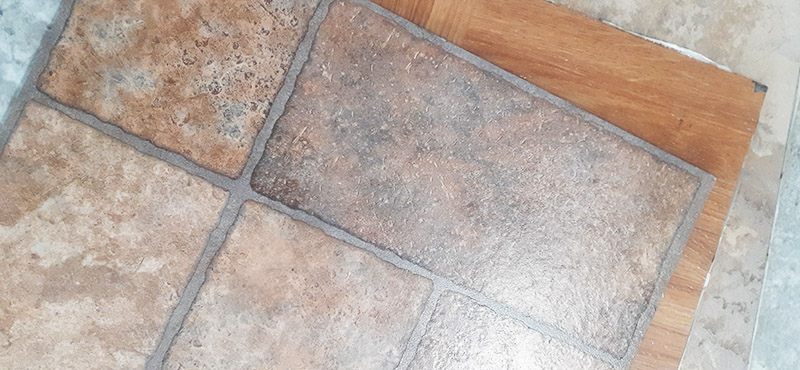
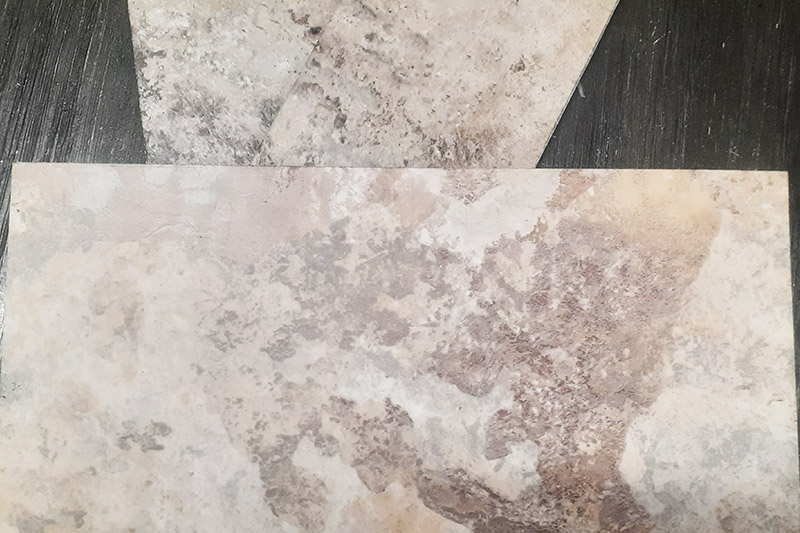
First we recommend using self adhesive linoleum floor tiles, it does not warp like wood or card board products. if it gets stiff you can put in the oven on a very low heat and once it is warm you can flatten it right out. We use it for just about all of our building bases. You can find it in Home improvement stores like Home Depot or Lowe's.
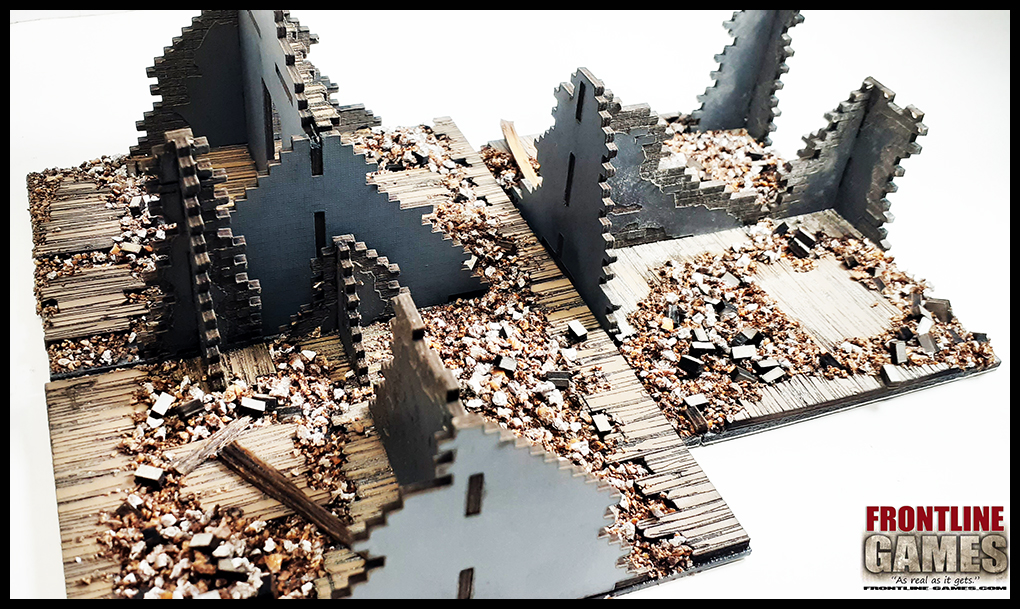
The Ruined City Block Buildings come in three building sections, so we cut our bases into x 3 the Buildings width to glue an entire building 3 sections to a single building base and the 3 single sections to 3 separate building bases (see first picture below with all 3 sections glued to a single base and the second picture for the 3 separate sections on individual bases). We used an instant glue to attach the bases even thought the tiles are self adhesive. Carefully measure out your base sizes (we recommend the width of the buildings and 5: deep) and score the tiles and pop them. Once complete glue the buildings to the bases and when finished you will have the width of your buildings and 5" deep. See below for some examples.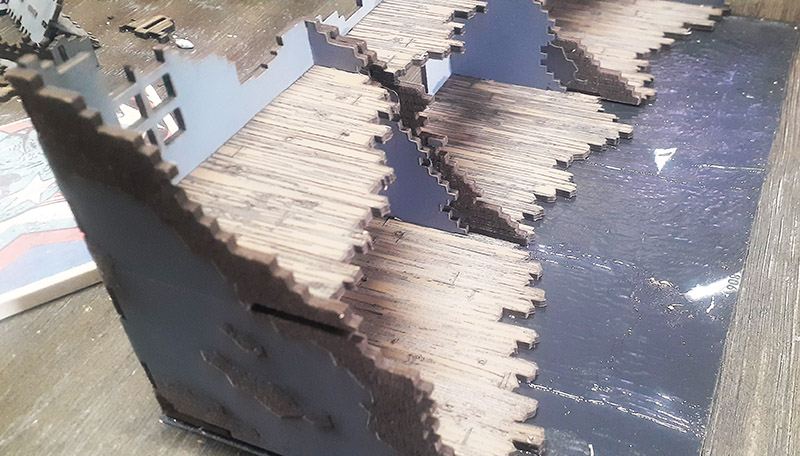
Above - Building section, all 3 from the Ruined City building Block kit glued to one base! 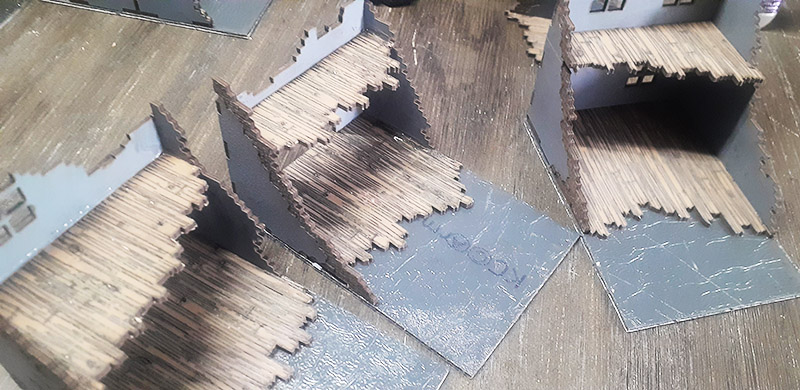
Above - The 3 building sections glued to individual building bases.

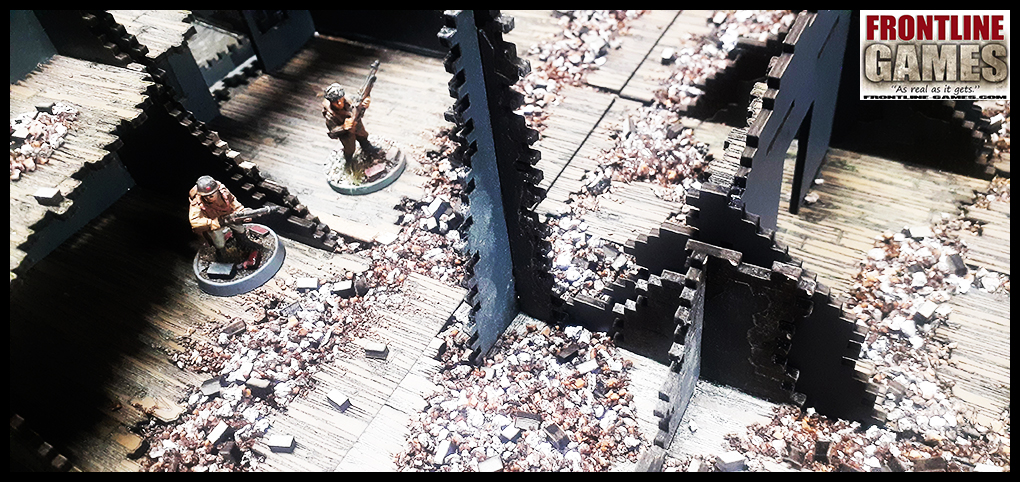
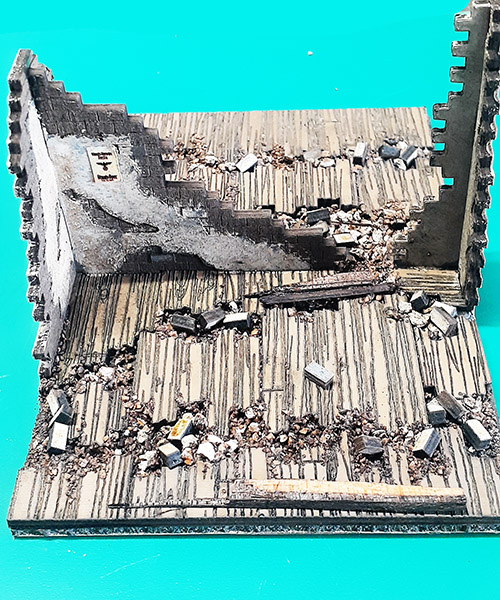
Above - Sample of the the Ruined City Block Buildings Internal Walls #1 set mounted on a base to make an internal cell.
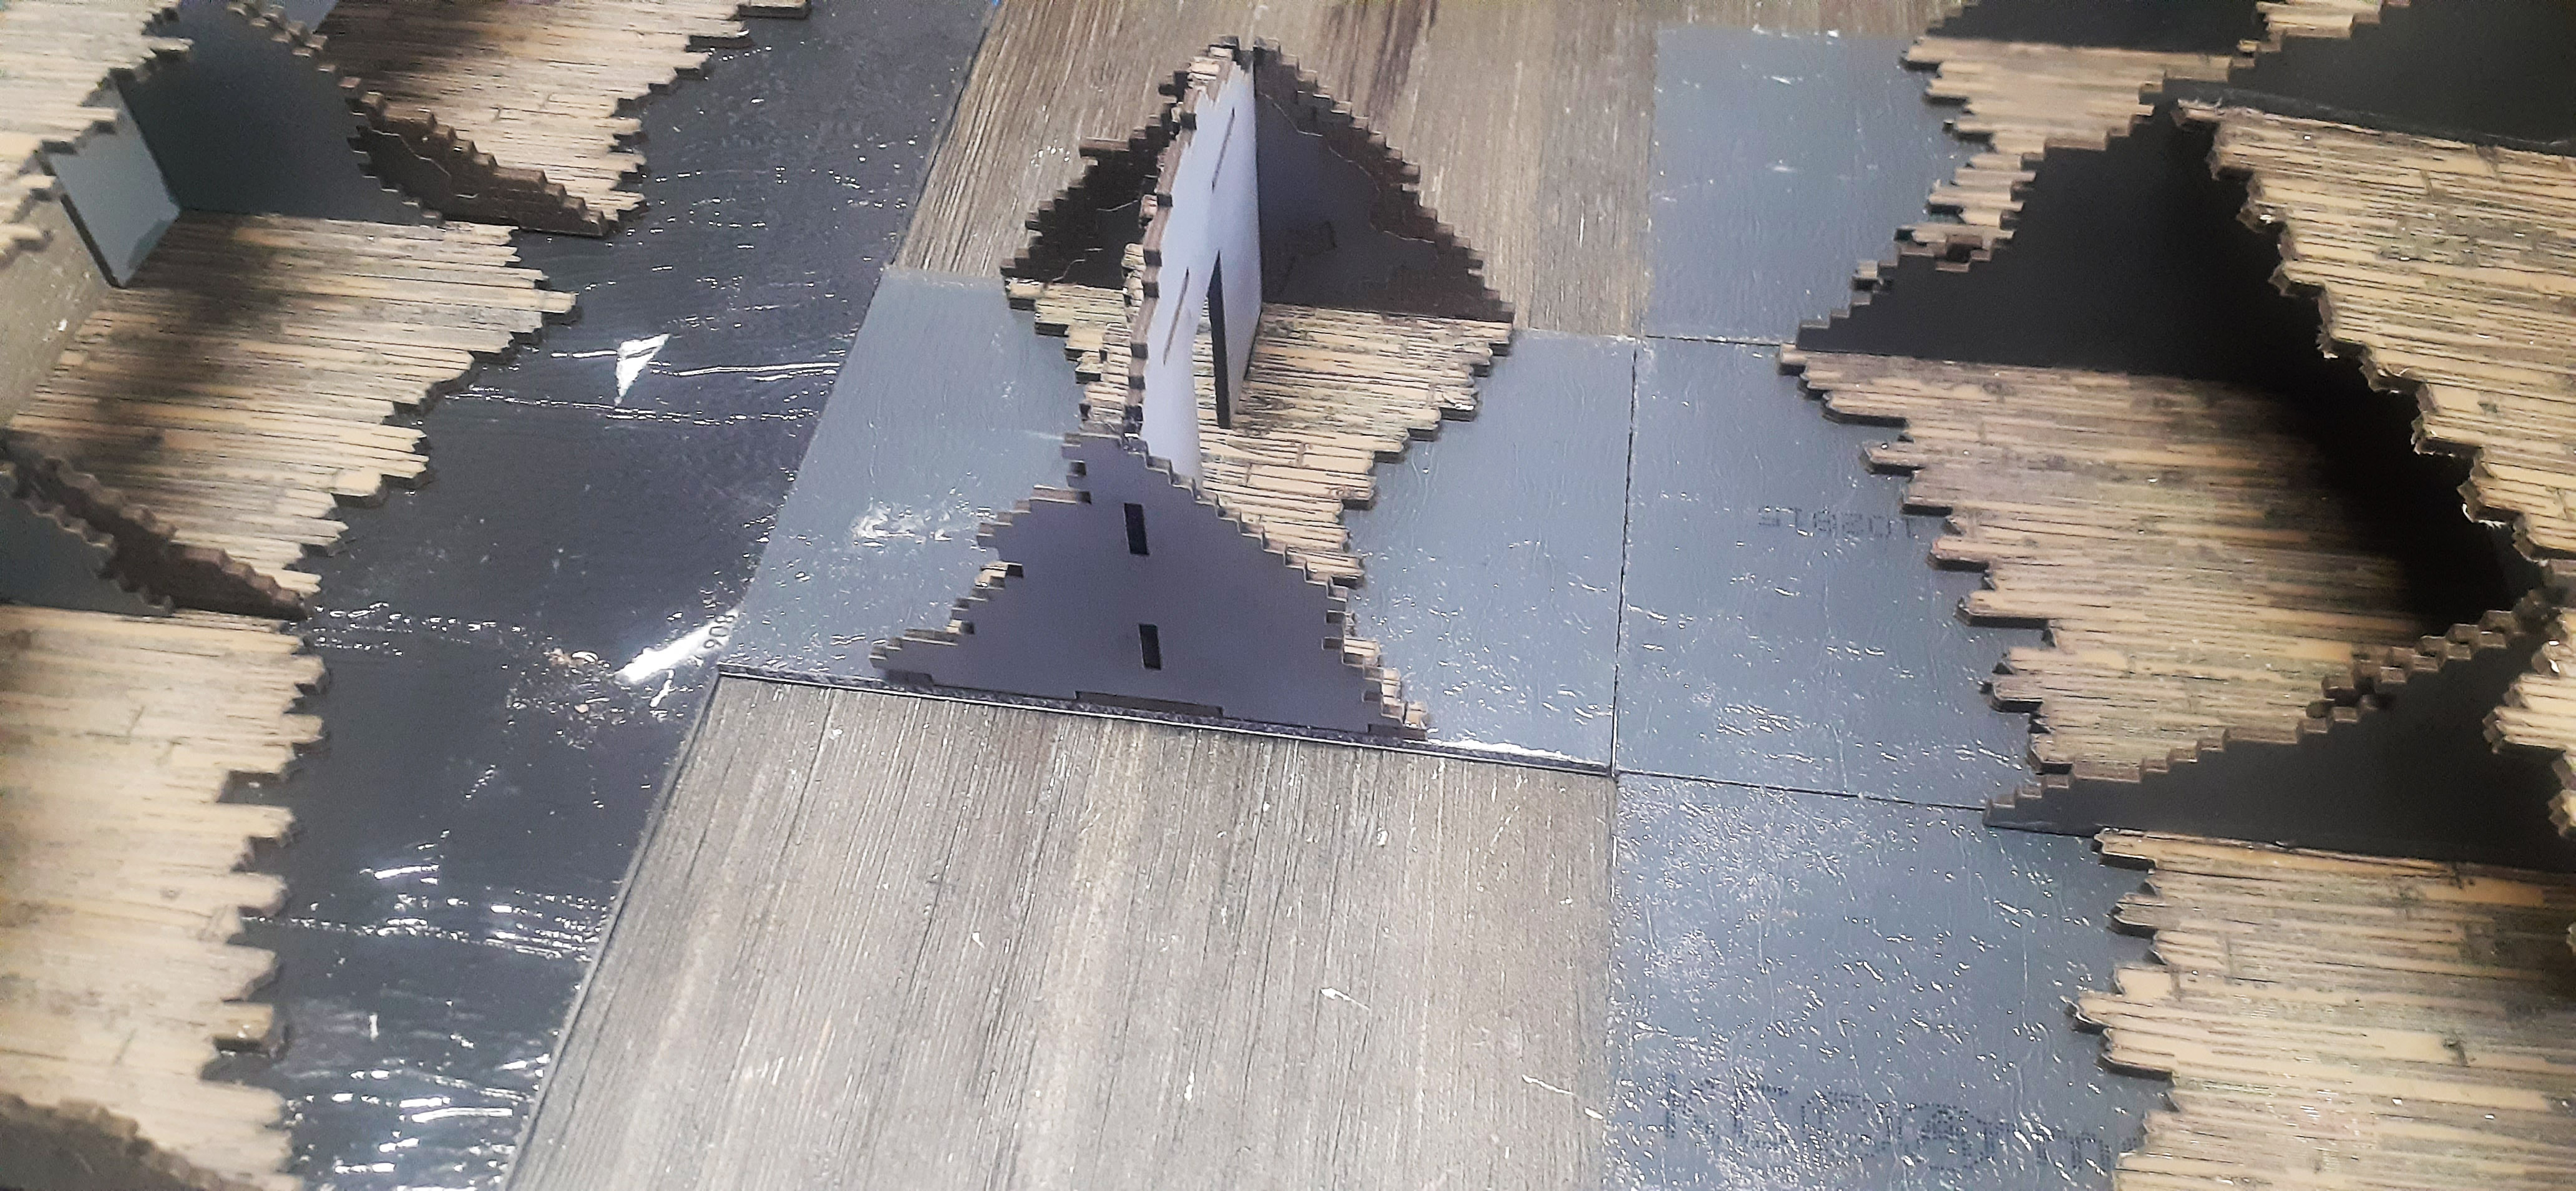
Above - Sample of how the Cells can be moved around to form various ruined building sections.
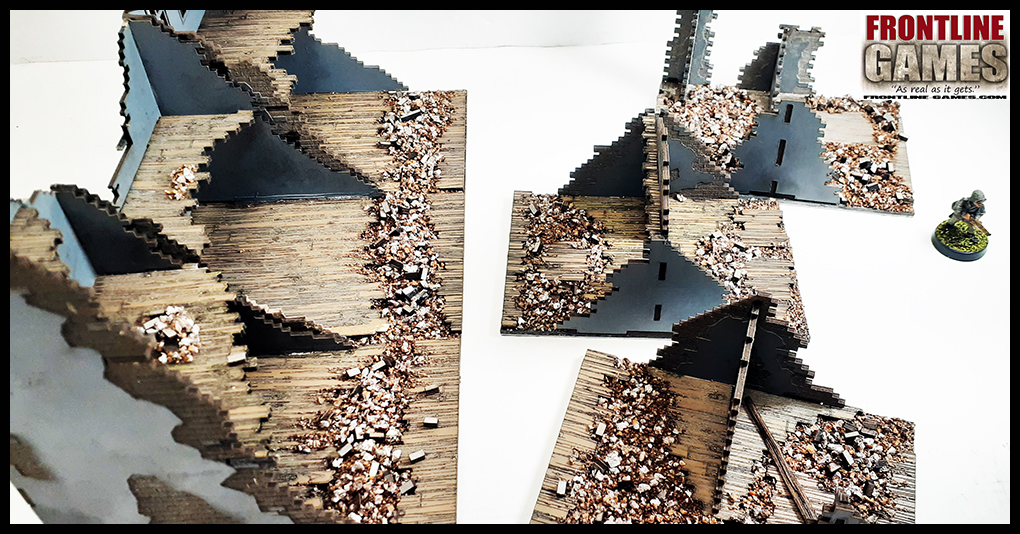
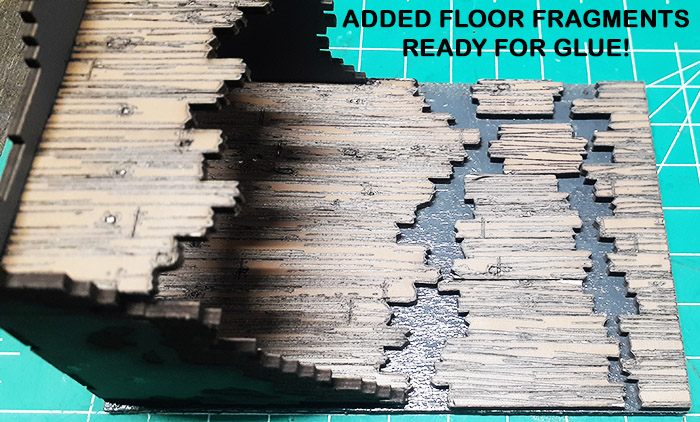
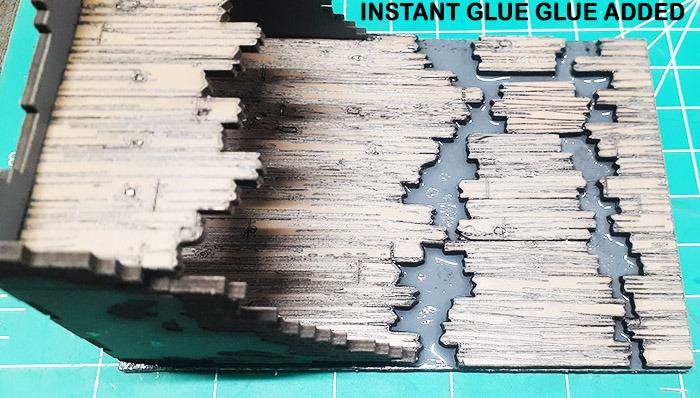
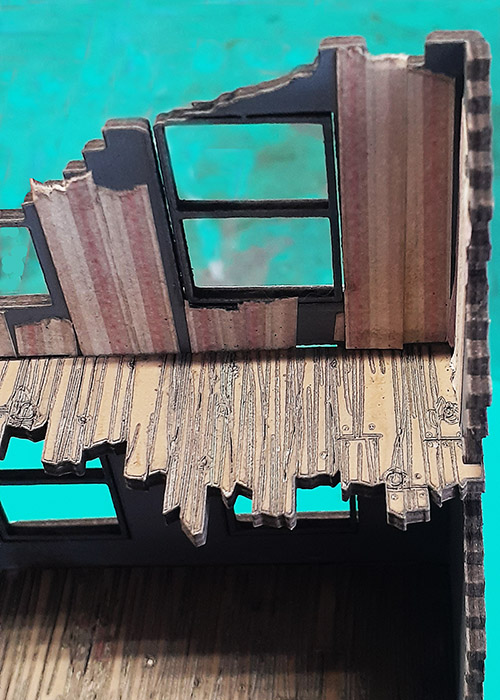
So now you have building Cells the width of the building (approx. 3.5") and 5" deep. We used the Ruined City Building
FLOOR FRAGMENTS to add more wood flooring to the buildings...
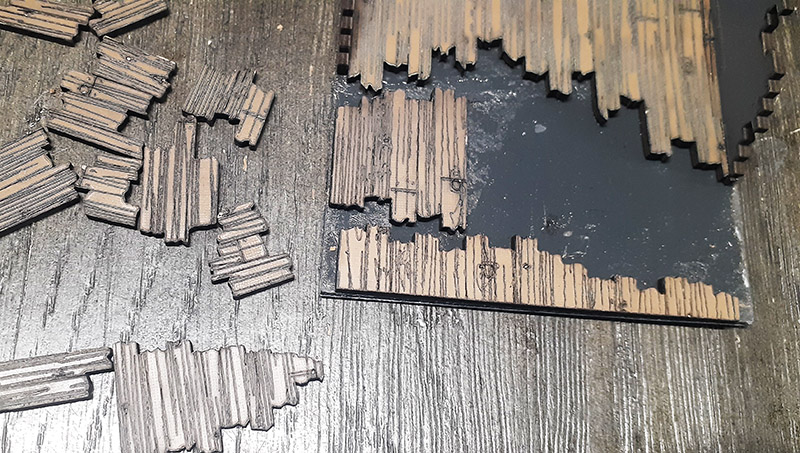

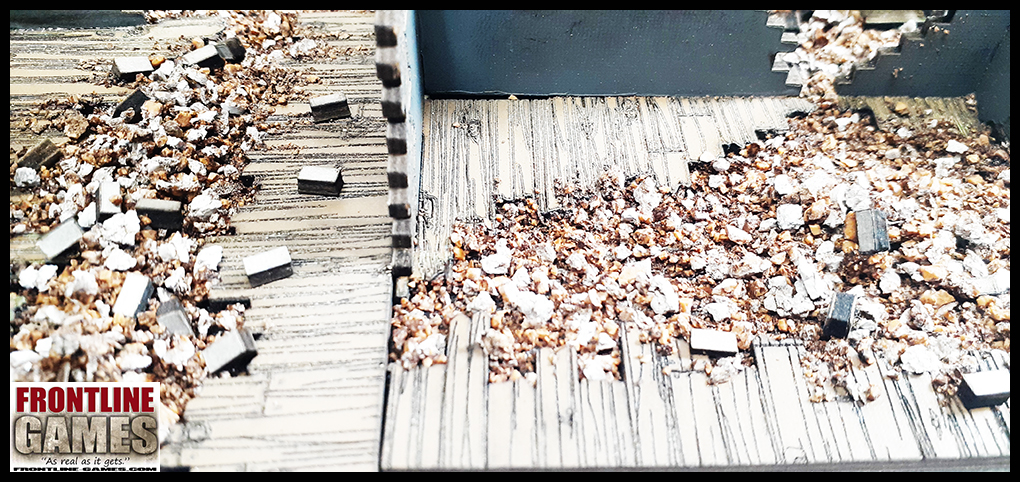
This add a completeness to the cells we think. Next you will glue rubble and we used the Urban Rubble Basing tub to add rubble between the floors. You can find it here - URBAN RUBBLE KIT or URBAN RUBBLE BASING TUB
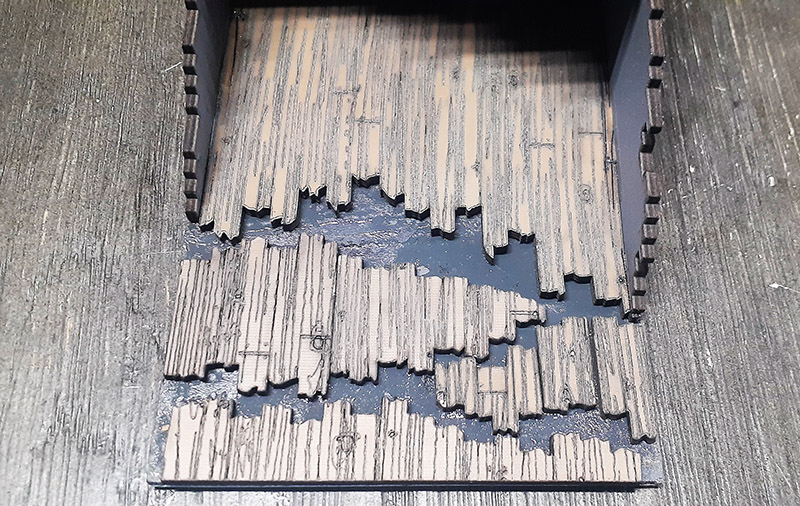
ADDING RUBBLE TO YOUR BUILDING BASES USING PVA GLUE
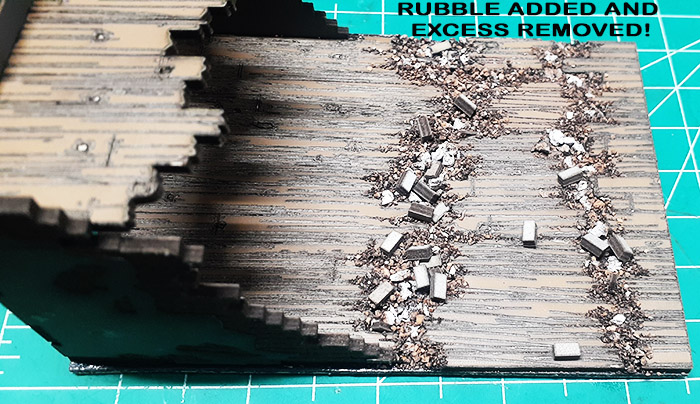
You can add PVA (Elmers) glue in between the wooden floors as seen below, drizzle your rubble over and let set for about 10 minutes and then shake off the excess in a empty container so you can re-use the unused rubble. Use a dropper with a mixture of 50/50 water and PVA glue and drip it all over the entire surface of the rubble. Let it dry for about 24 hours. Once dry shake off the excess again and use instant glue to drip over those stubborn areas.
Glue added...
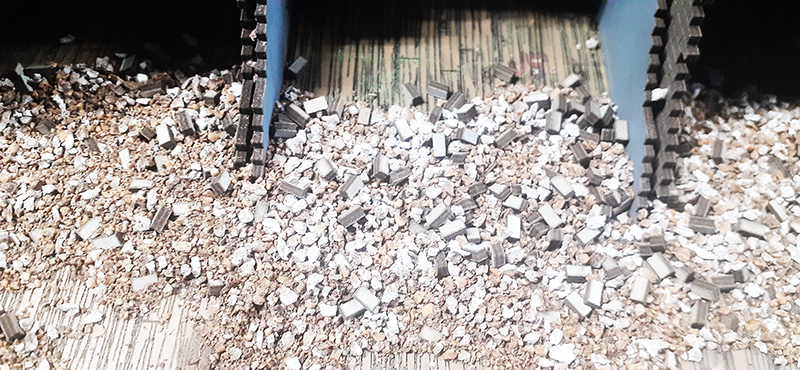
Rubble added...
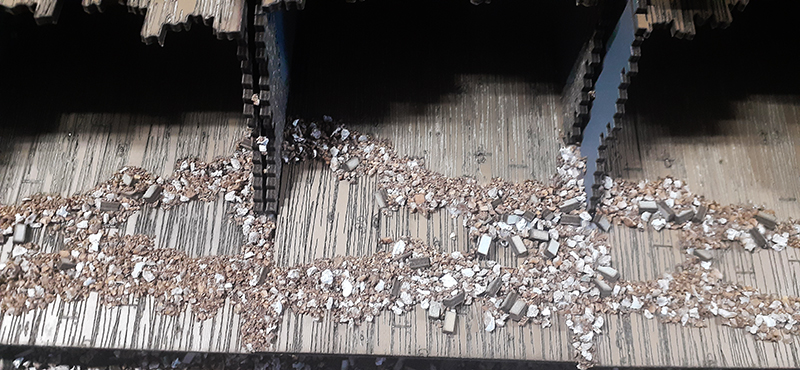
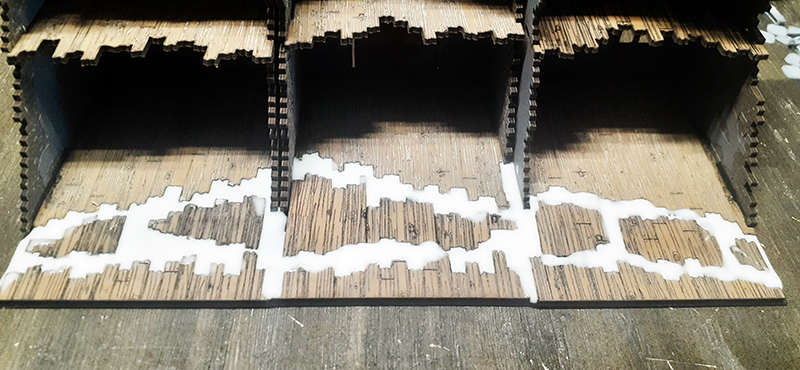
ADDING RUBBLE TO YOUR BUILDING USING INSTANT GLUE
Another way is to do the above but with cheap instant glue (such as you get in the Dollar Tree of Walmart, usually in 4 pack tubes). Add instant glue in between the wooden floors as seen below, drizzle your rubble over and let set for a few minutes and then shake off the excess in a empty container so you can re-use the unused rubble. And again drip the instant glue over the stubborn parts to lock the loose rubble down and let dry.
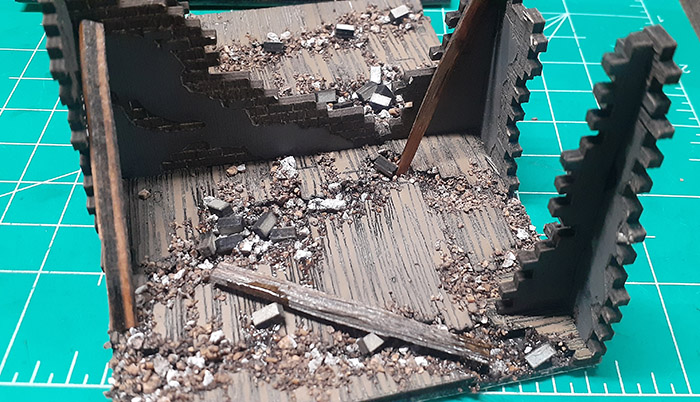
ADDING FURTHER DETAIL TO YOU BUILDING BASES (CELLS)
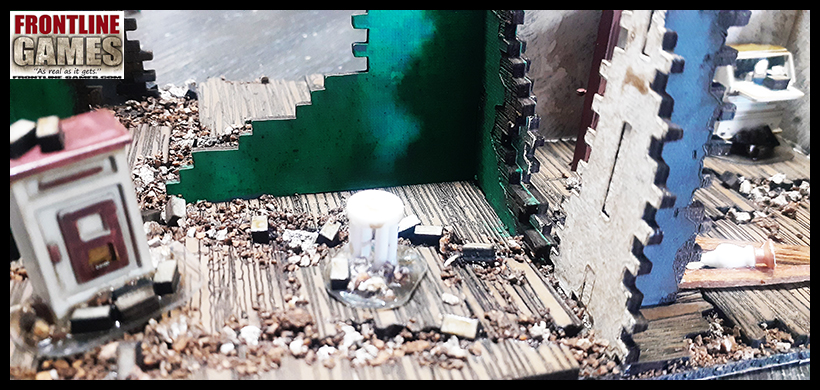
We used the Urban Rubble Mini Basing System which comes with several pieces of aged timber pieces, we cut some down in thinner pieces and added the to the building bases to show scattered pieces of timber debris through out the building section.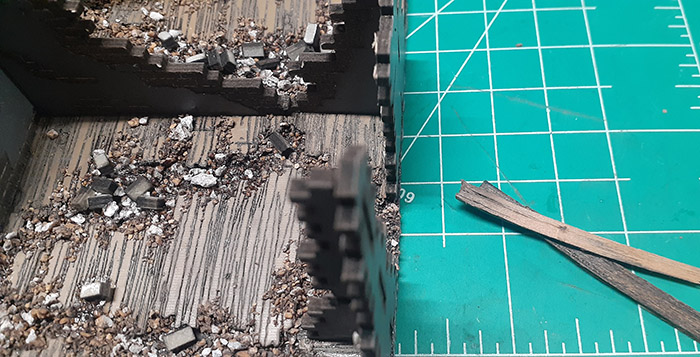
ADDING SOME COLOR TO YOUR BUILDINGS
Note that the building walls have exposed brick areas shown, you can pick a paint color and use a paint brush to stipple the color on the walls. We used a sort of off white and began to stipple the paint on the wall areas with the gray paint on them careful not to get the exposed bricked areas (if you get some paint on the brick it is not to worry because the next step is to add a wash and will give it al a worn look and it adds to it).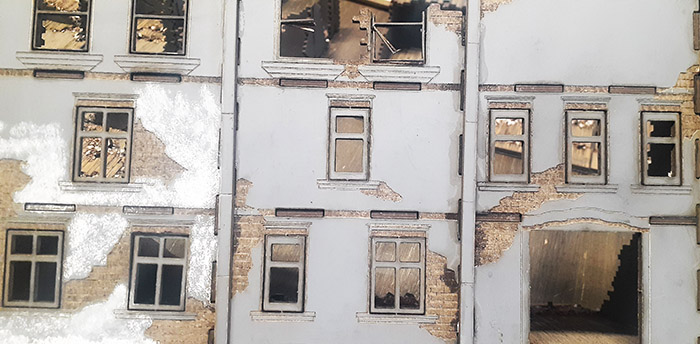
Above - Example of the paint being stippled on the gray areas of the wall.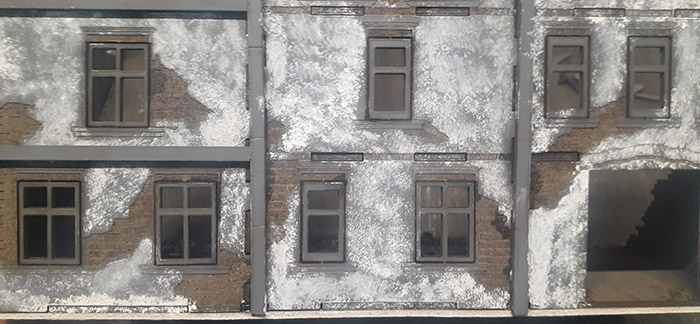
Above - the walls are complete and the stippling gives it a really nice worn paint look.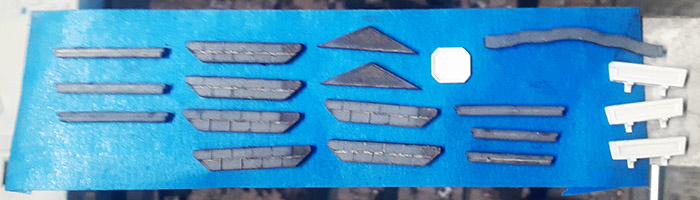
The above are the various window frames, planter boxes and trim (City Building Accessories pack) placed on blue painters tape and we sprayed them with a nice reddish-brown paint and added them to the building for further detail.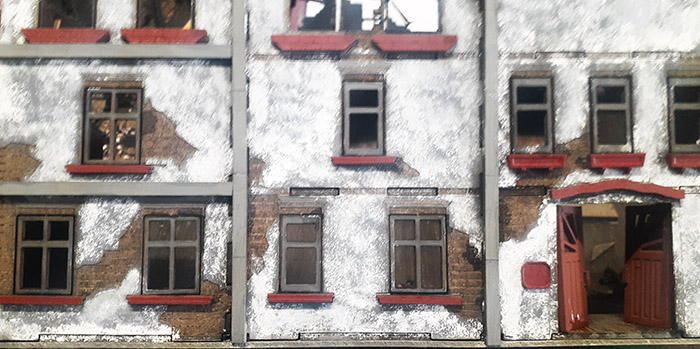
Above - Here are the painted frames, planter boxes, doors and wall plack added to the building. The next step is to wash all of the building with a Sepia wash for an aging affect.
ADDING COLOR TO THE INTERNAL WALL SECTIONS
The internal wall sections, have an outer wall which will be exposed in some cases depending on where you place them so we simply added some Wall spackle (from most home improvement stores used to repair damaged walls). Spackle the areas where the walls are joined and them as above stipple a paint on the area once dry and again we will be adding a Sepia wash over the walls later.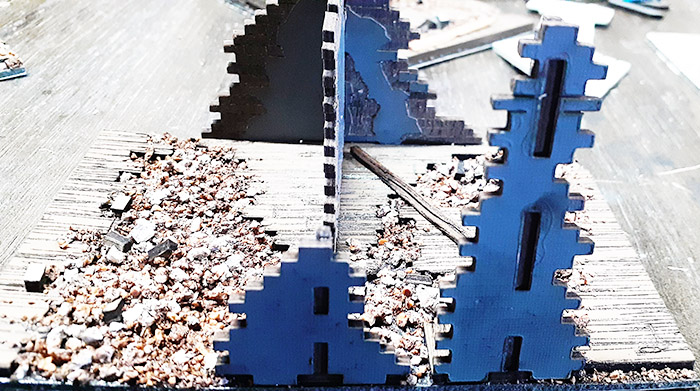
Above - Before the spackle and painting of the walls.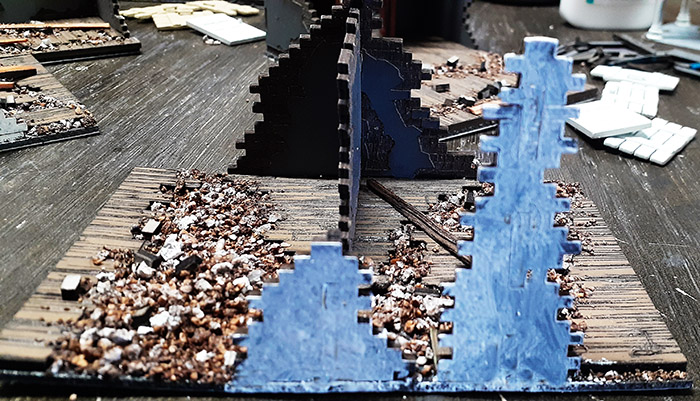
Above- After the Spackle and paint has been added, wash will come after it drys.!
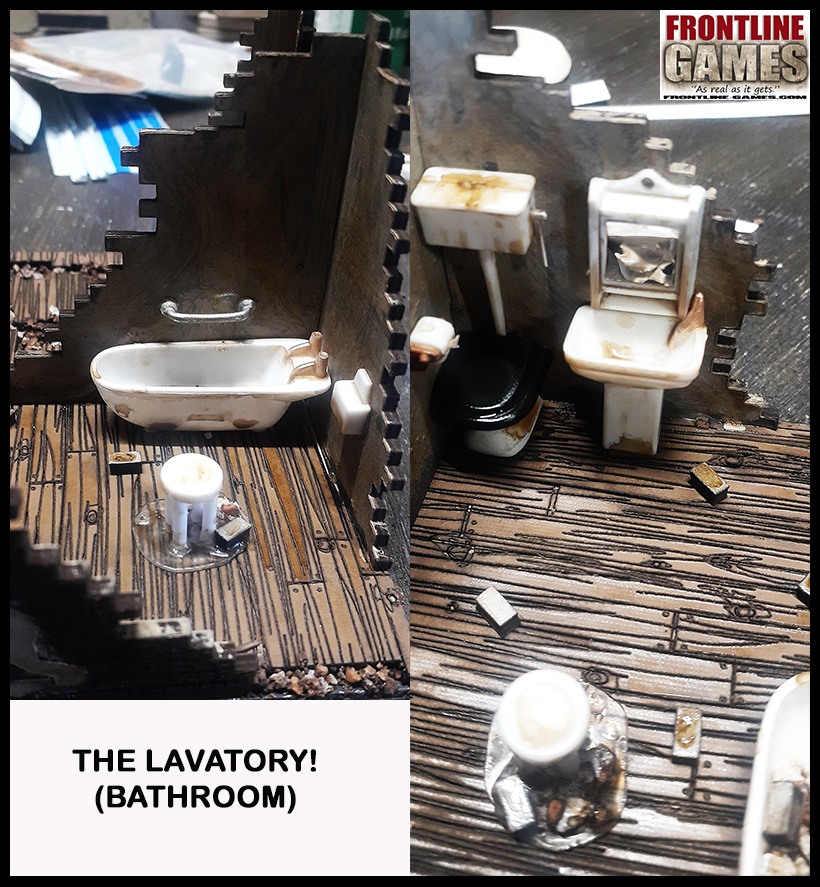
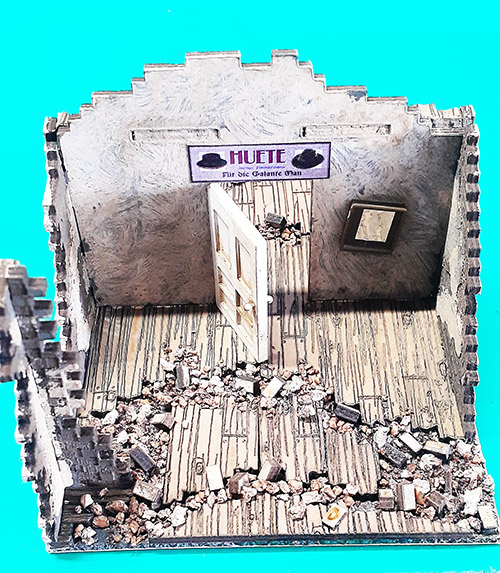
Next we are going to add some color to the various rooms, below are examples of rooms painted with different colors to add even more character. We even added posters and wall paper in some cases (find the ones you like online and make them the right size and print in color - cut out and add as you desire)...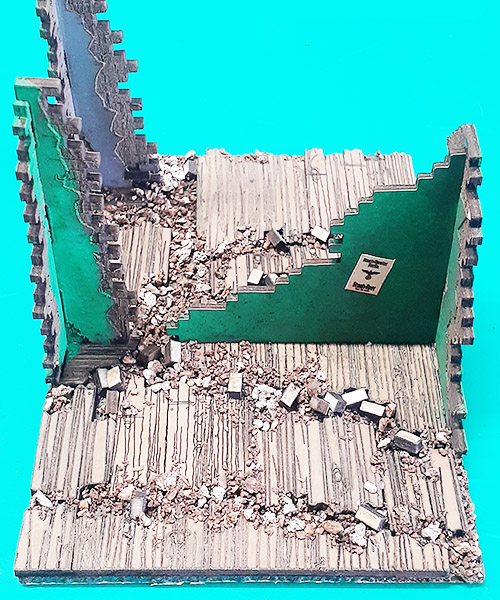
ADDING EXTRA DETAIL TO THE OUTSIDE OF THE BUILDINGS
We added signage to some of the building fronts, used Business cars magnets to make them changeable by attaching the signs to the magnets and adding a magnet strip to the building facade. Now depending on where the battle is happening we can change out various signs according to that. Heave a look. 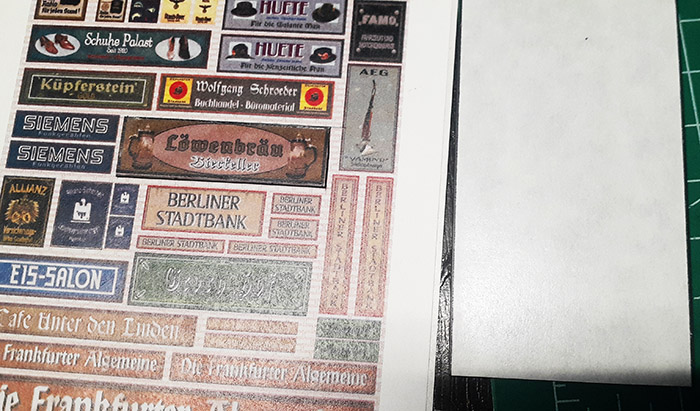
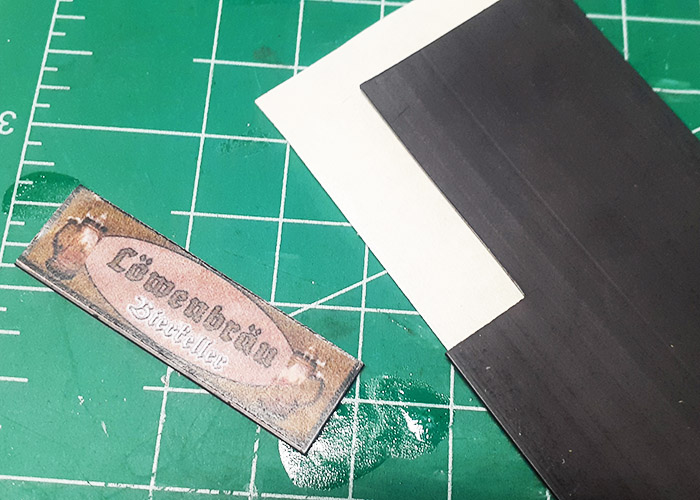
Above - Signs and magnetic credit card strips, sign added to magnet.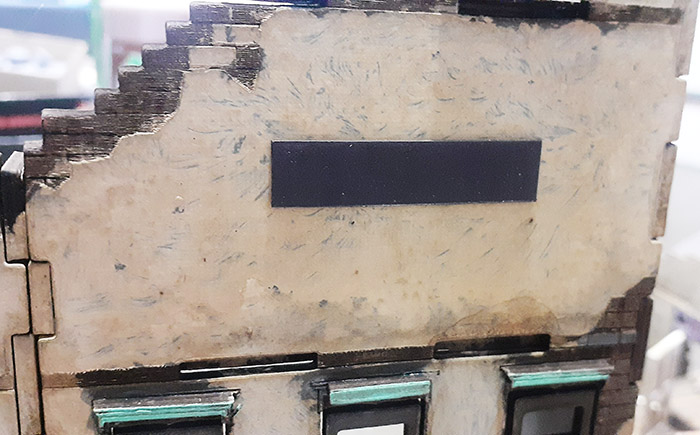
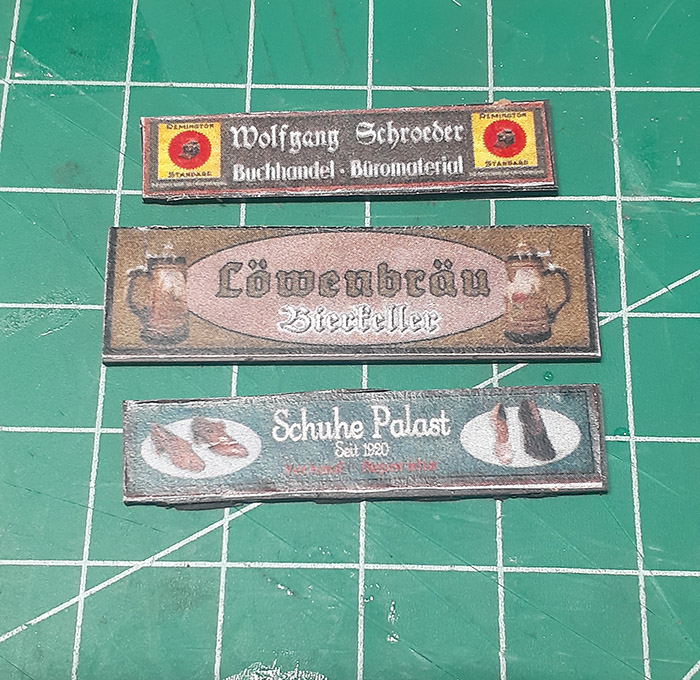
Above - Magnet strip added to the top of the wall of the building as seen and more signs made to change as desired.
Above - one of the signs on the building.
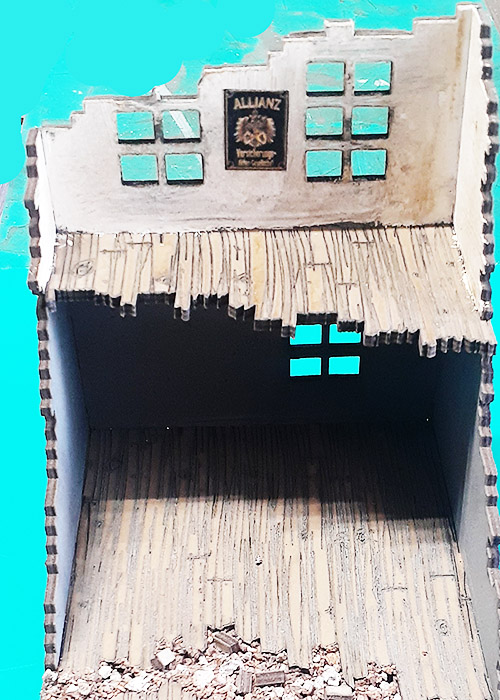
SOME FINISHED BUILDINGS WITH VARIOUS COLORS!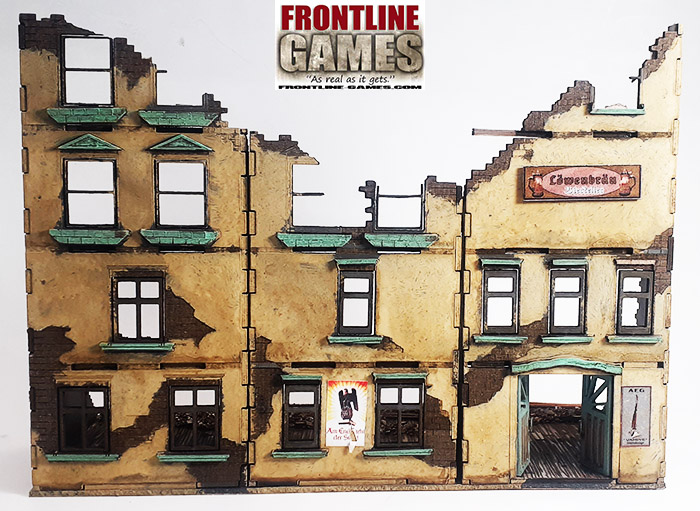
Above - Spackle with off white paint avoiding the bricked areas, window decor and door painted with a light green.
Posters and signage added and its all washed with a sepia!
Above - Left the original gray, window decor, awnings and door painted with a light blue & green.
signage added and its all washed with a sepia!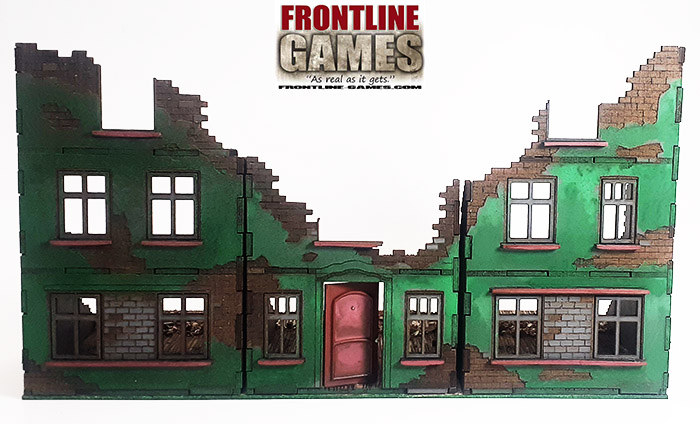
Above - Spackle with forest green paint avoiding the bricked areas, window decor and door painted with a reddish-brown.
All washed with a sepia!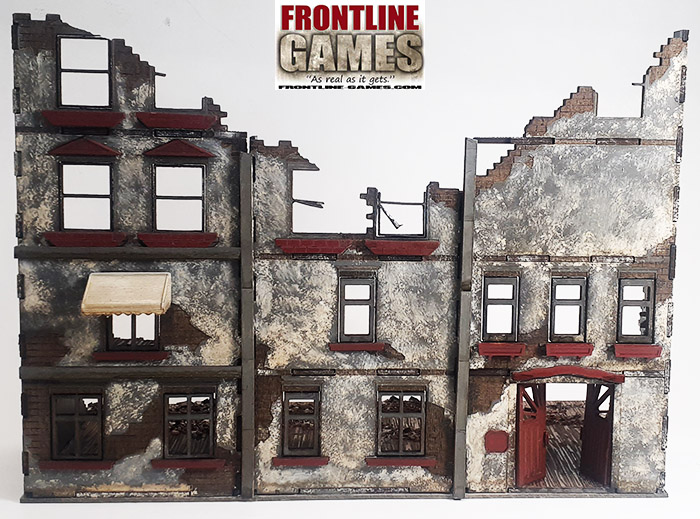
Above - Spackle with white paint avoiding the bricked areas, window decor and door painted with a reddish-brown. Awning added and painted an off white, all washed with a sepia!
TO BE CONTINUED, PLEASE CHECK BACK FOR THE REST OF THE TUTORIAL IN THE NEXT COUPLE OF DAYS - HAPPY GAMING!
IN THE MEAN TIME HERE IS A LITTLE TEASER OF ONE OF THE ROOMS WE ARE WORKING ON WITH THE FURNITURE (MOUNTED ON CLEAR BASES W/RUBBLE)