LARGE TWO STORY HOUSE ASSEMBLYPlease read these instructions completely before building. We recommend using a GEL SUPER GLUE for best results when gluing this model as the material in some places is porous, and it is the type of glue that works best. Dry-fit parts together before gluing to get the best results. You may need a hobby knife as well in some cases.
|
|
|
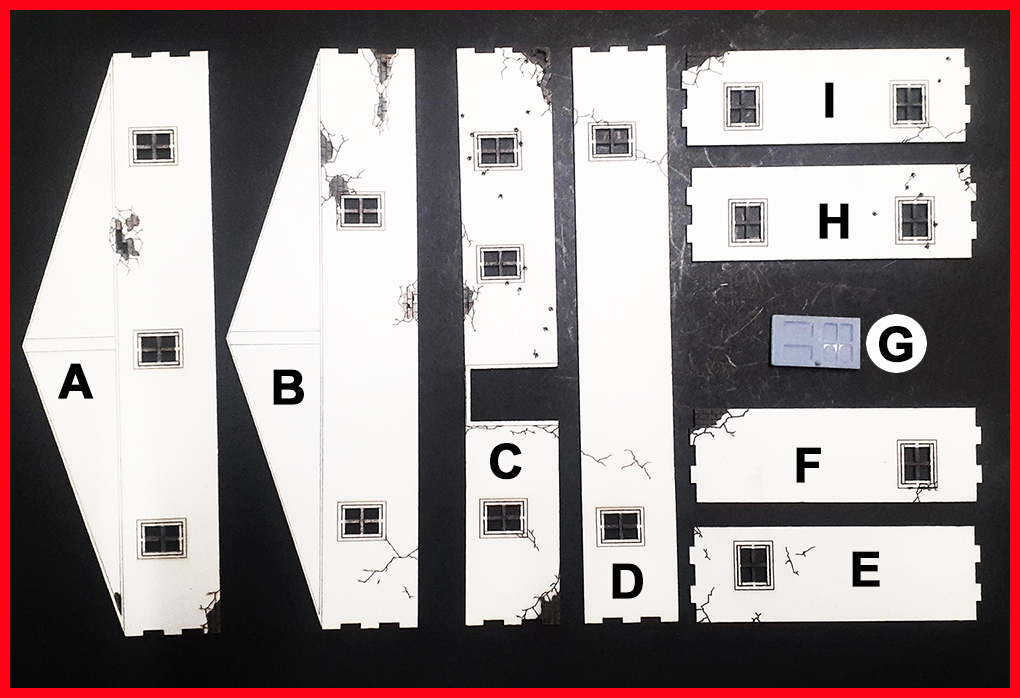
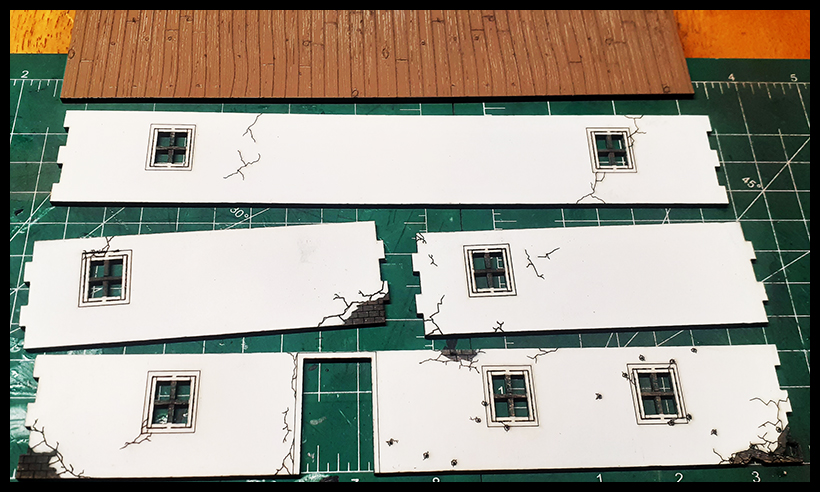
SHEET #1 - LARGE TWO STORY HOUSE A/B - Upper story front & rear walls
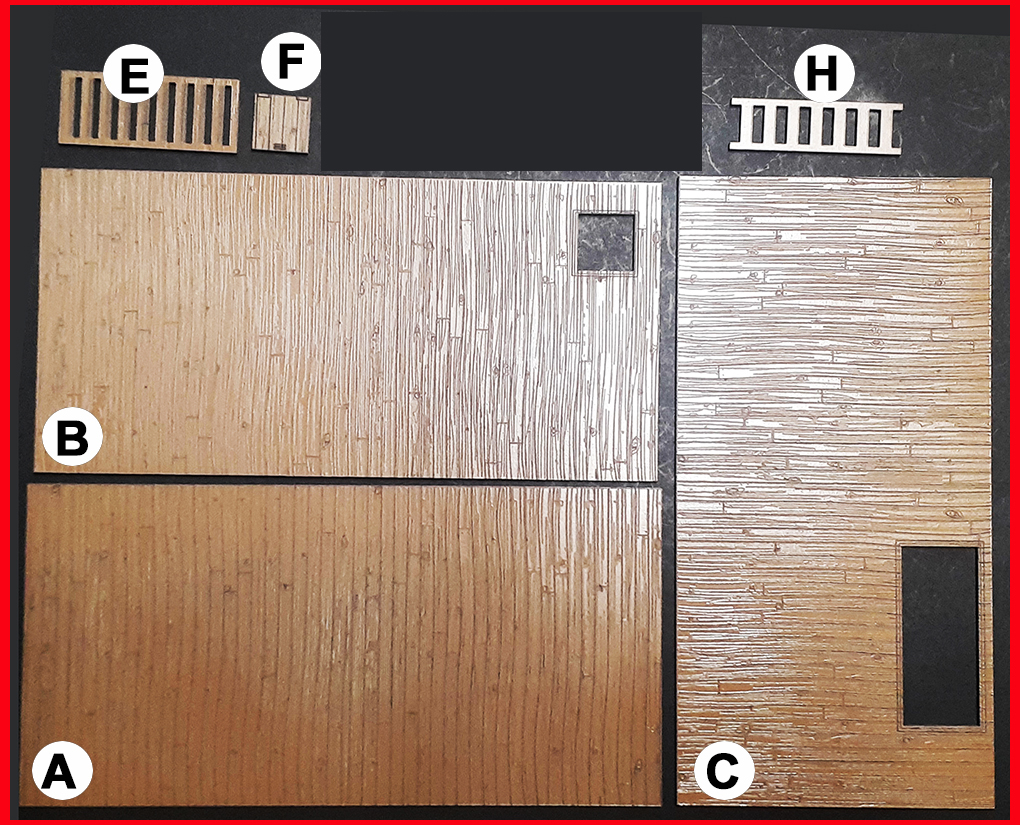
SHEET #2 - FLOORS & ACCESSORIES
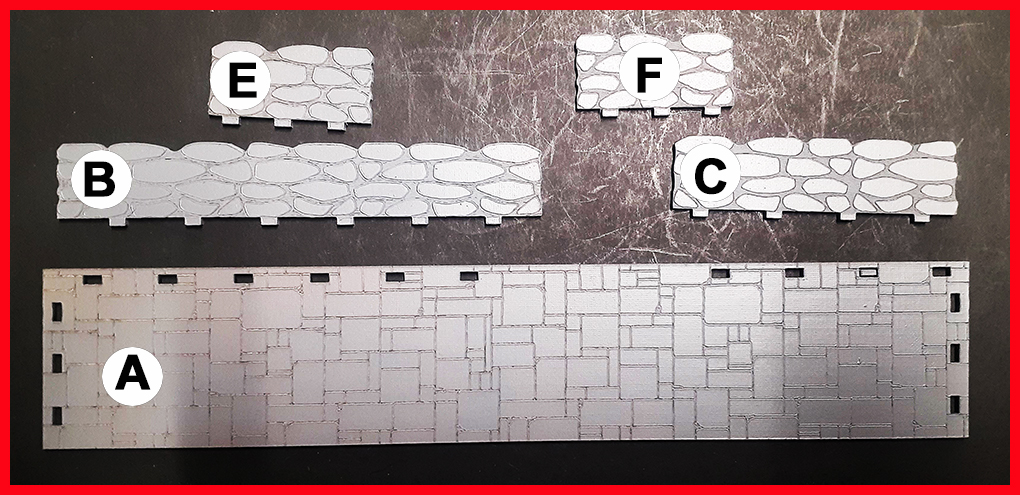
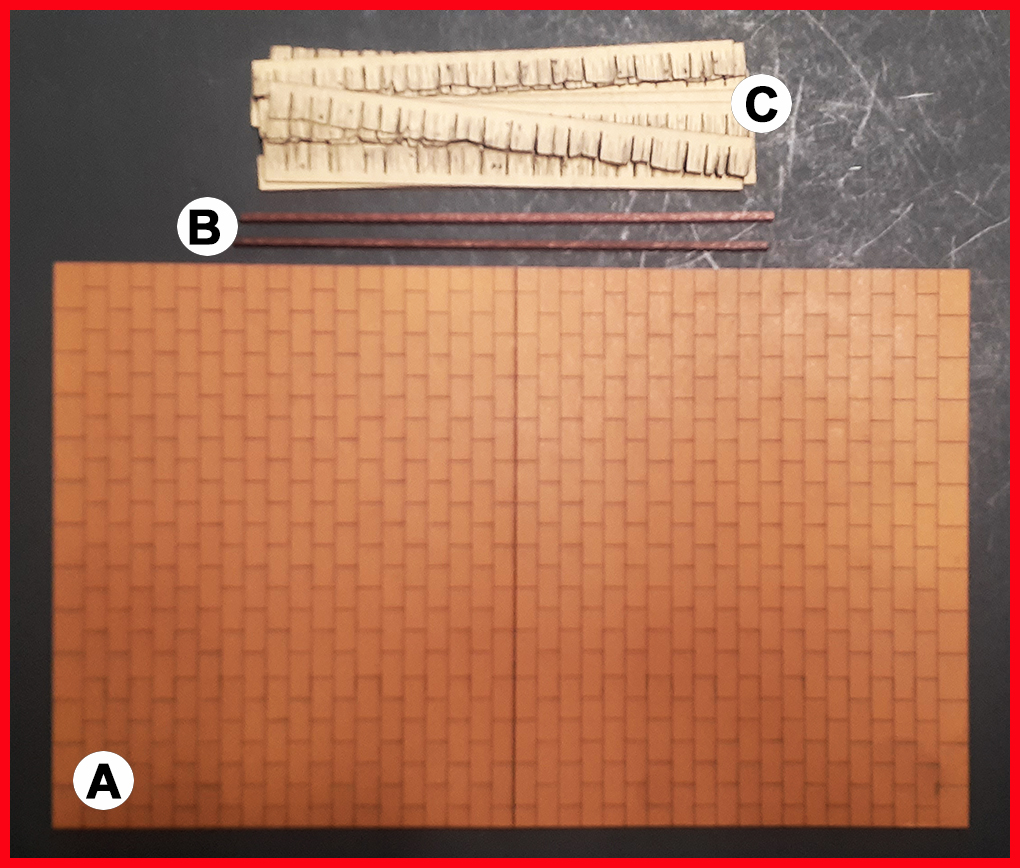
SHEET #3 - TERRACE WIT WALLS A - Terrace stone floor SHEET #4 - ROOF A - Roof section
|
|
|
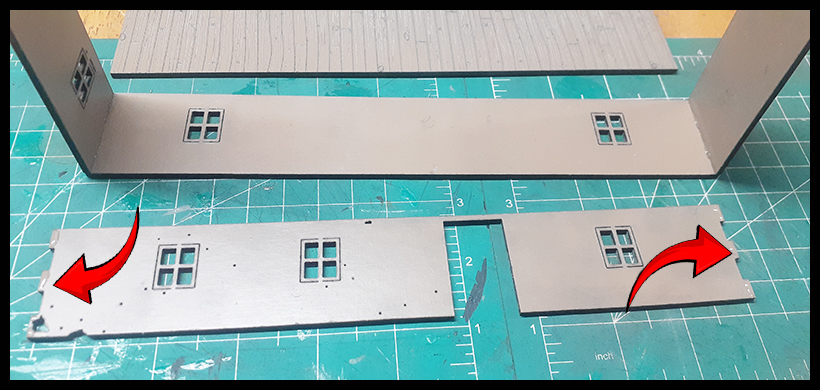
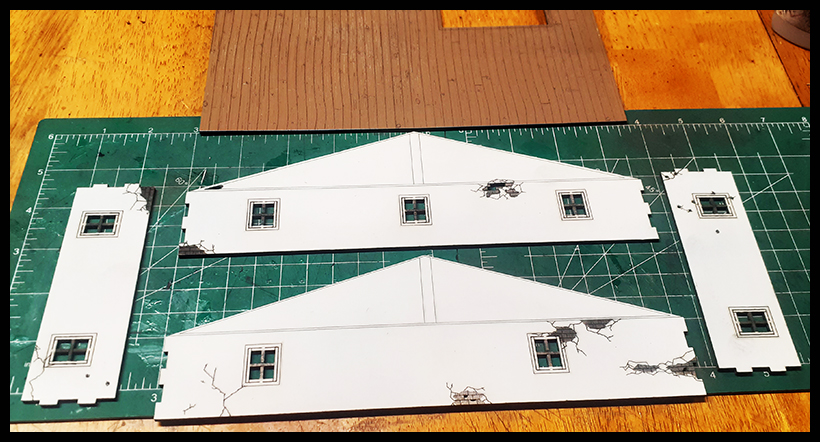
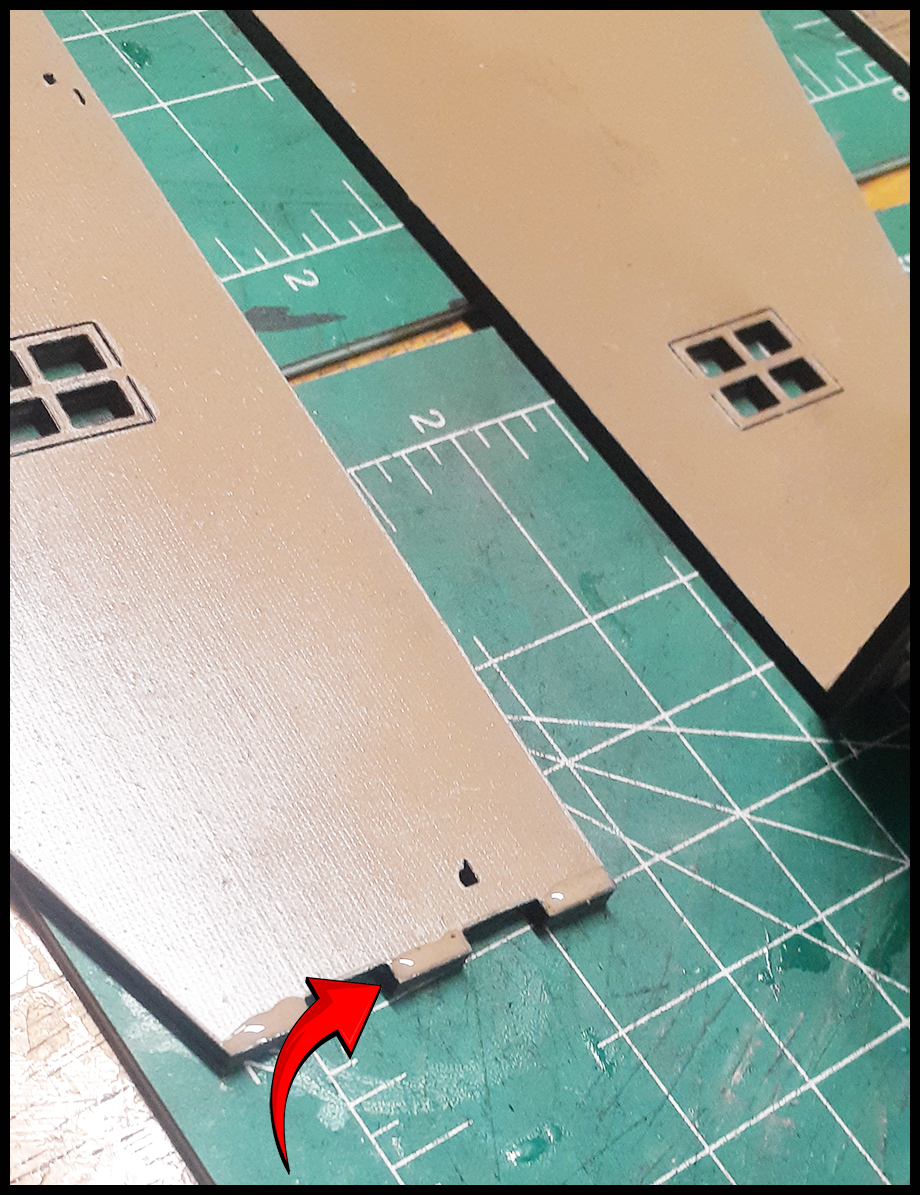
Locate the walls and floor from sheet #1 (C, D, and any of the side walls you choose) and main floor from sheet #2. Make sure the windows are in the correct position. The larger space below the window is the bottom, and the smaller space above the window is the top.
|
As a note, be VERY careful with the door section as it has a very thin space above. This will be stronger once the wall is glued to the floor. |
|
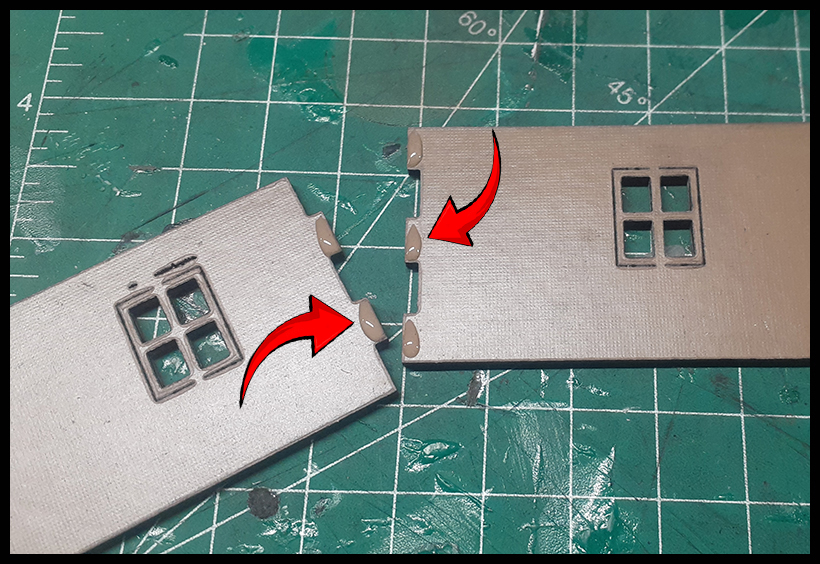
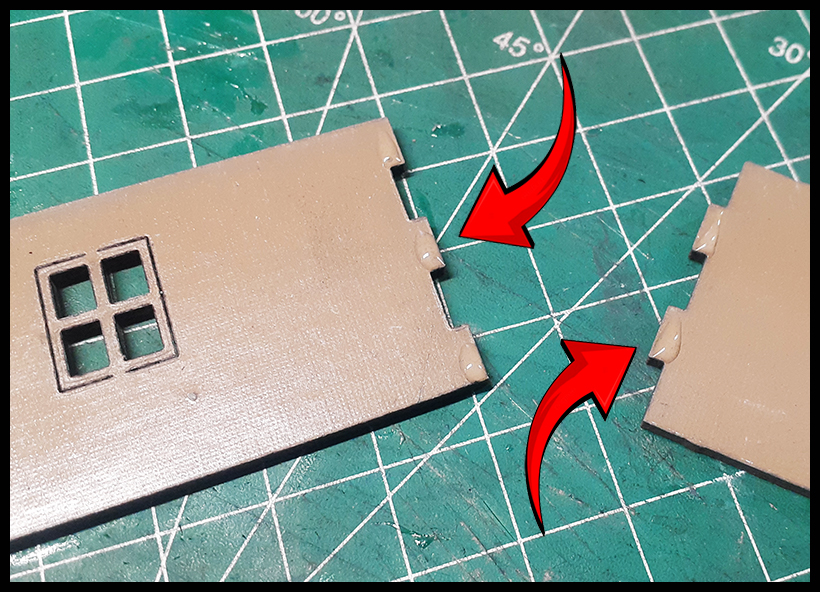
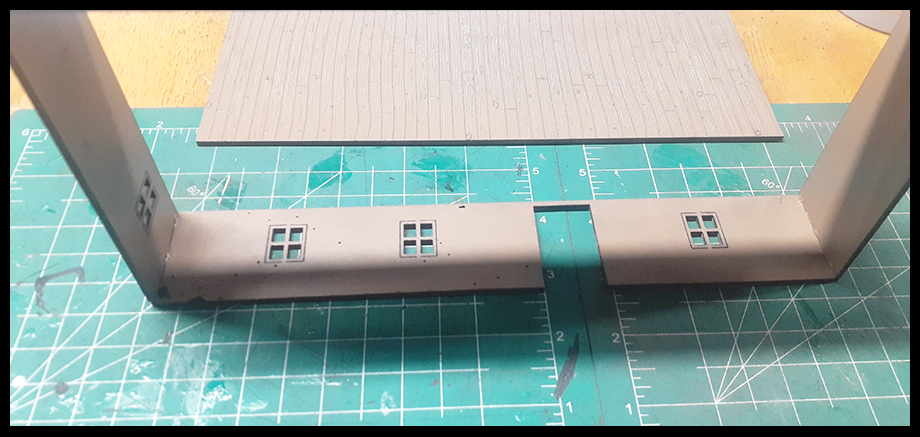
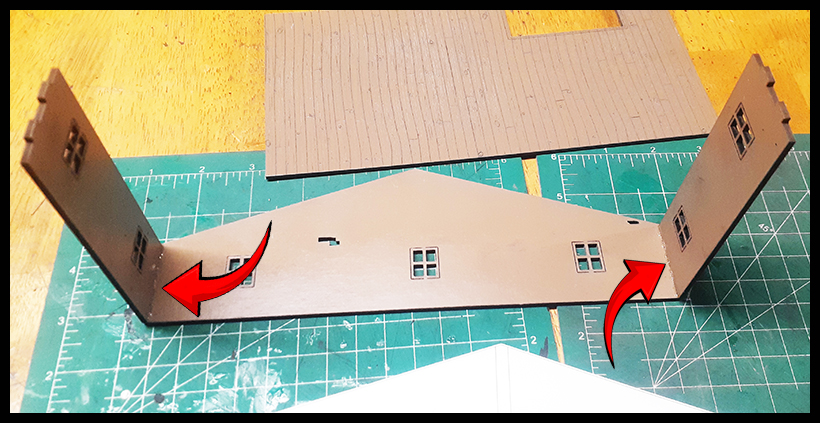
Repeat with the other wall sections. |
Gently press the tabs together and let dry for both walls. |
|
Next, CAREFULLY, being very mindful of the door area (as stated above concerning the doorway), repeat the same steps above to glue in place.
|
Let dry before next step. |
|
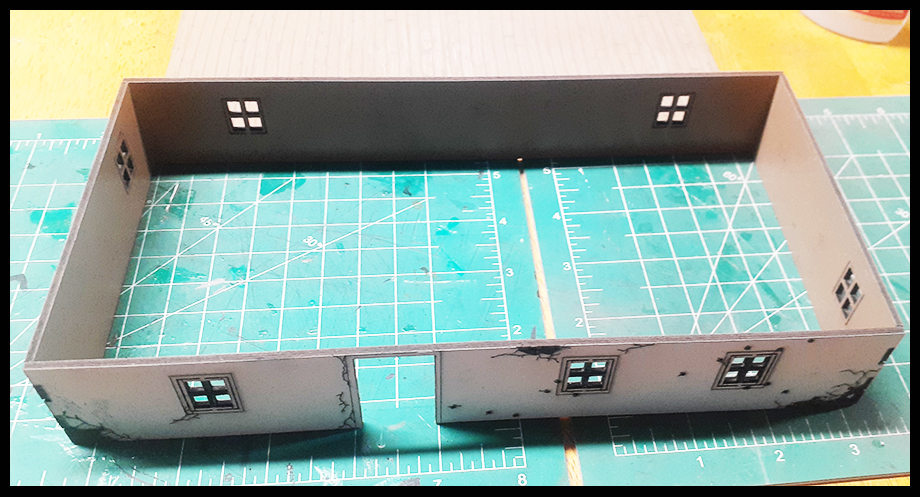
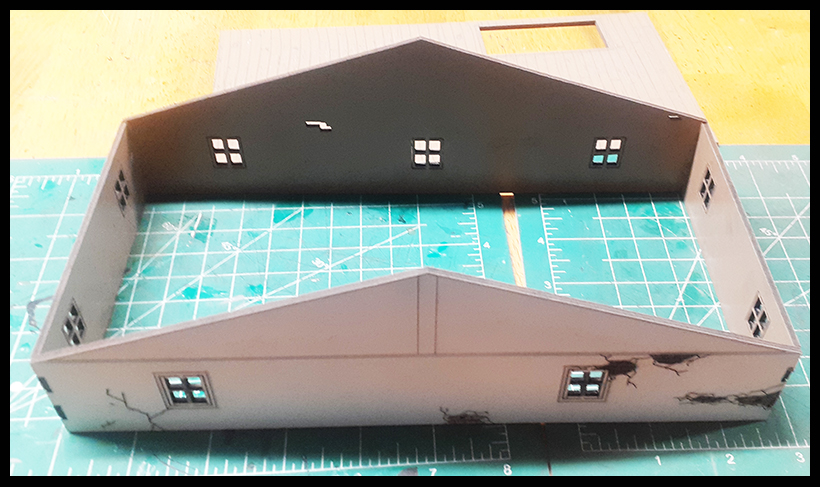
Should look like this when finished with this step. |
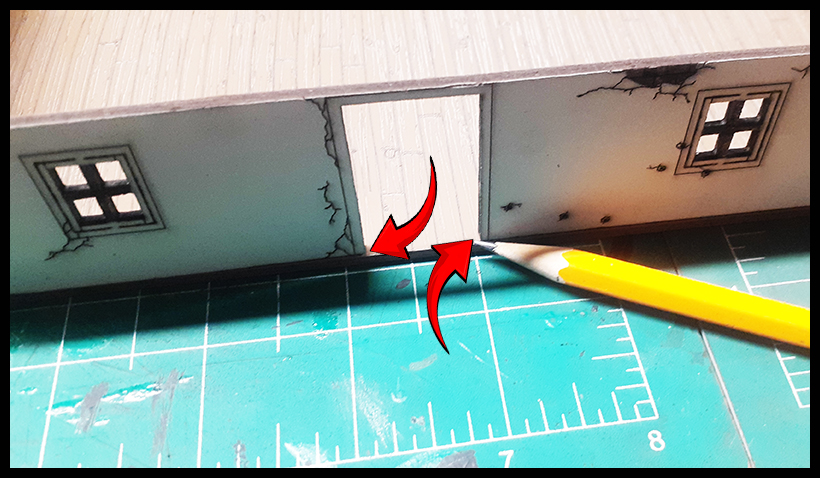
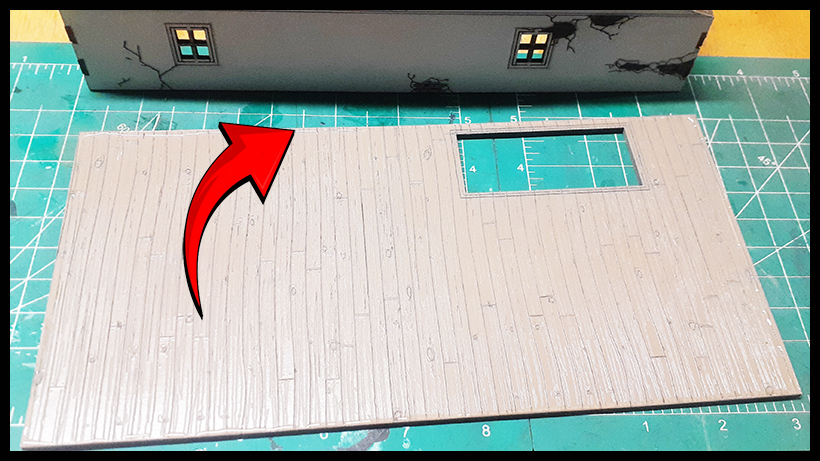
Next, place the lower building section on the main floor and mark where the doorway will be. This is so you DO NOT put glue in this area.
|
|
Run a glue bead along the parameter of the main floor, except in the area where the door will be. Place the 1st floor on its side and gently line the floor up with it and raise it as show above to make contact.
|
Make sure it is in place, and then press the corners to secure it in place. |
|
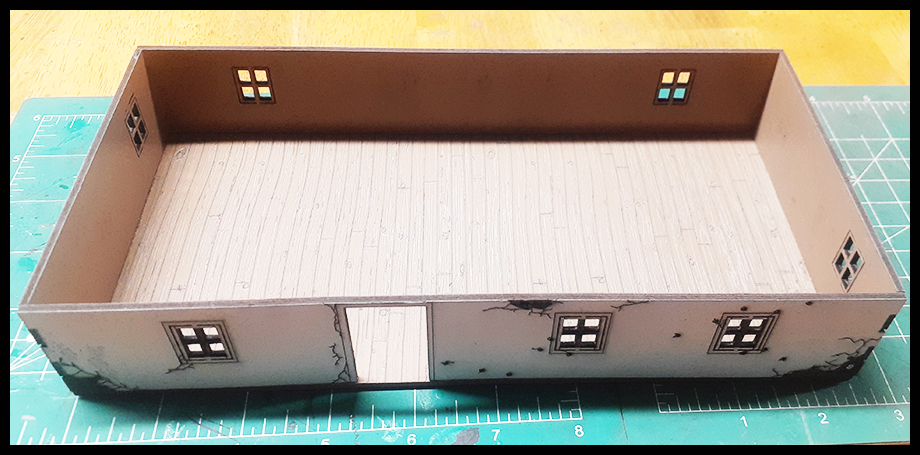
Let dry. Once complete it should look like the above. |
|
|
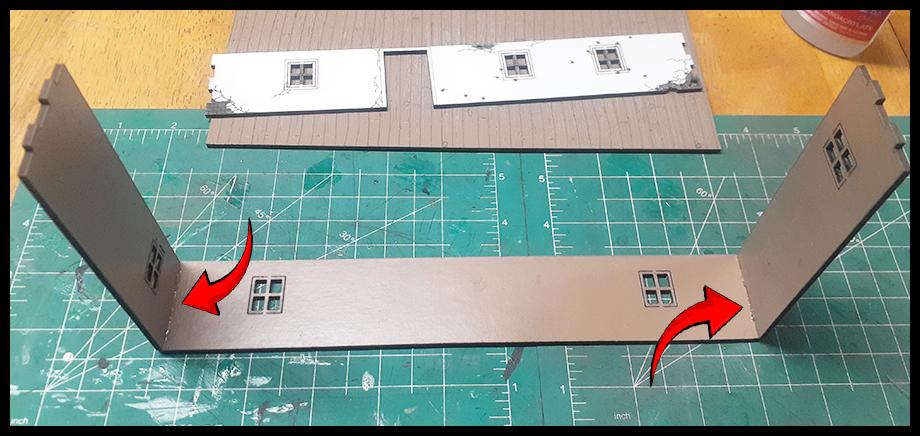
As with the first floor, glue the
|
Once again, as above, gently attach the walls by the tabs as seen above. Repeat the same step as before for the remaining wall to be attached. |
|
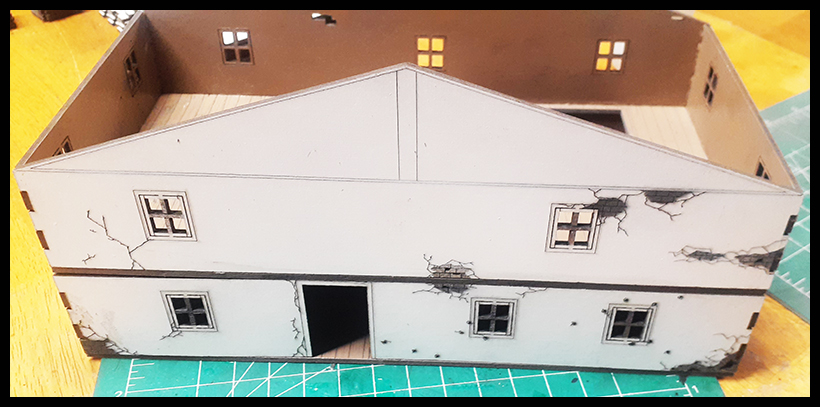
Once complete it should look like this.
|
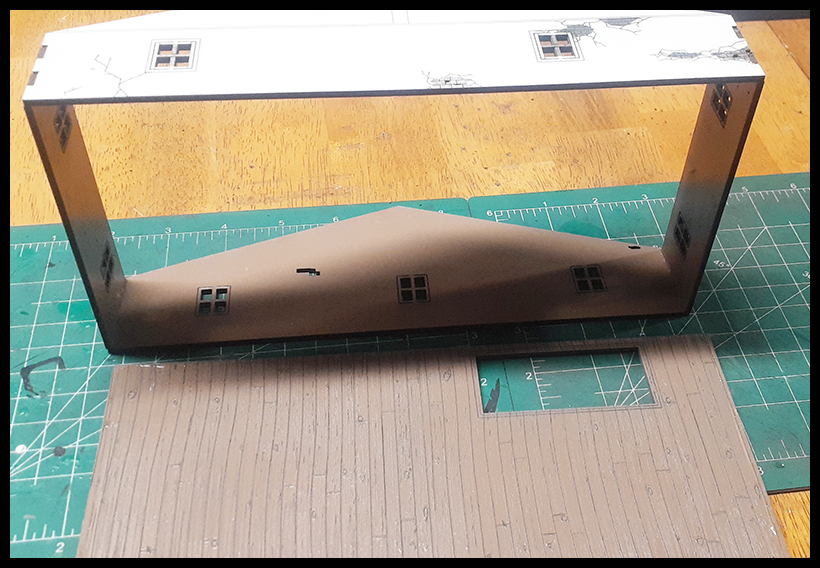
Next, run a bead of glue around the parameter of the second story floor . |
|
Line the floor and the upper story up with each other, and then carefully raise the floor to make contact with the floor.
|
Line up both floor and building second floor and gently press to secure. Let dry. |
|
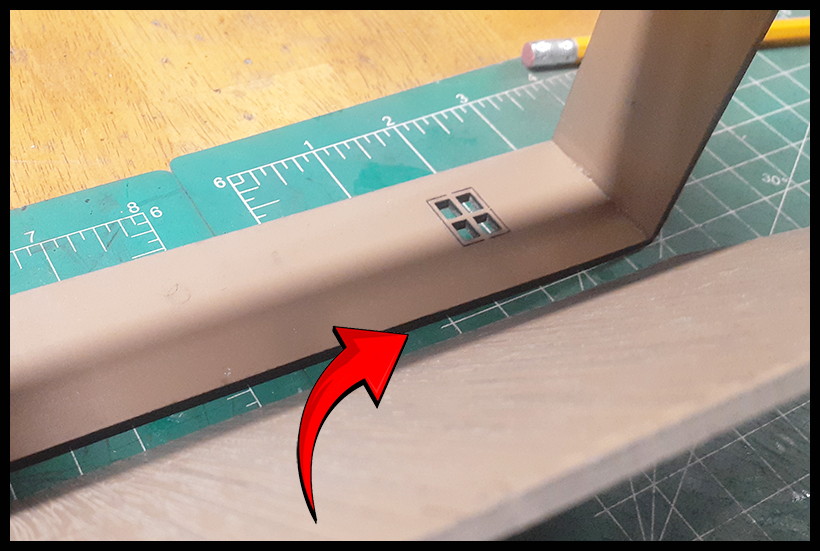
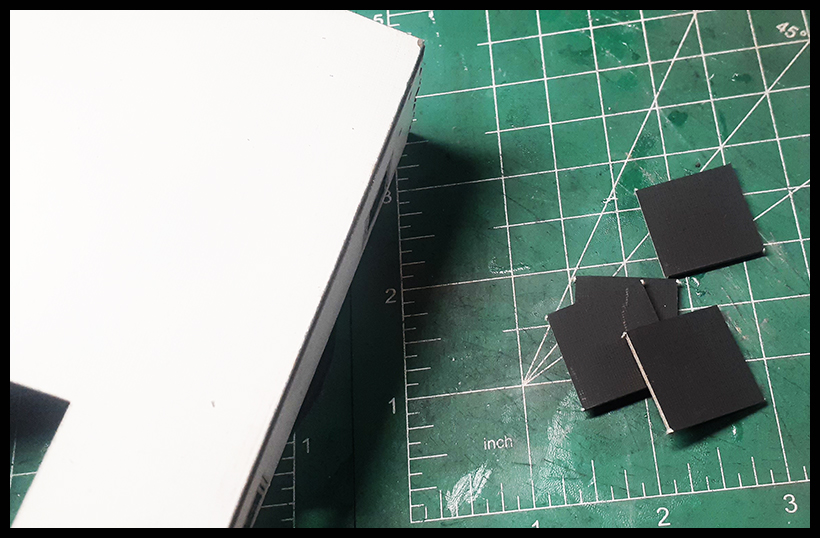
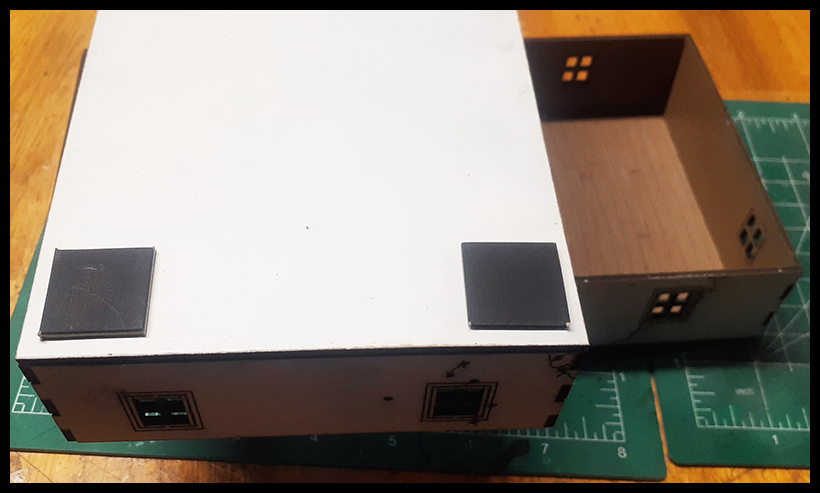
Locate the squares (may vary from kit to kit) as seen above. These are so your building can sit on the top of the first floor with out sliding off (may be cut in half).
|
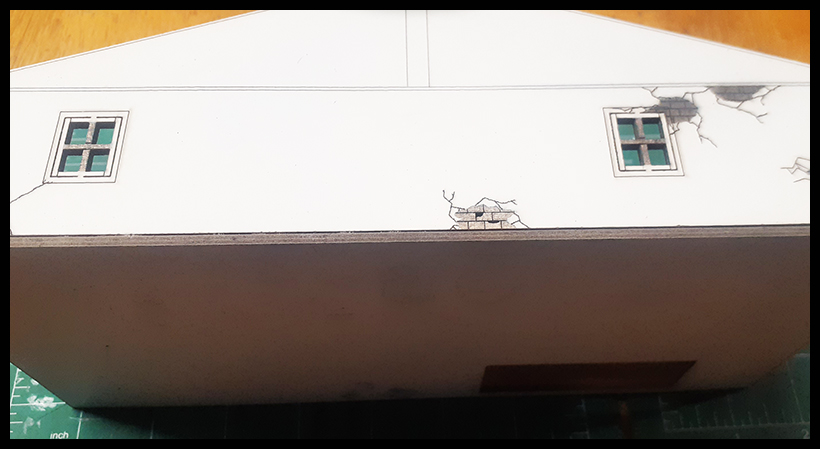
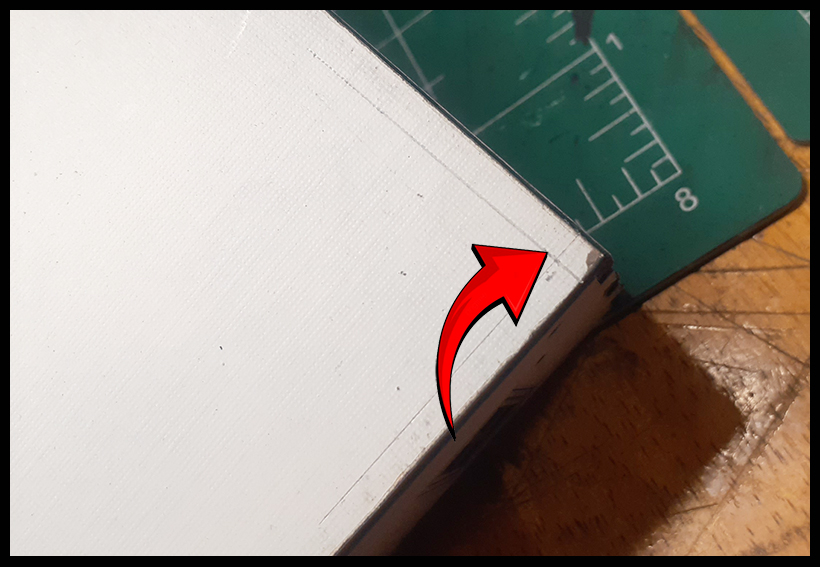
Measure 1/8th of an inch on each corner, and draw a line to make a corner. This is so you know where to place squares. |
|
It should look something like the above.
|
Now glue the squares into the marked space as above. |
|
Before placing the second floor on the first, make sure the squares completely dry. |
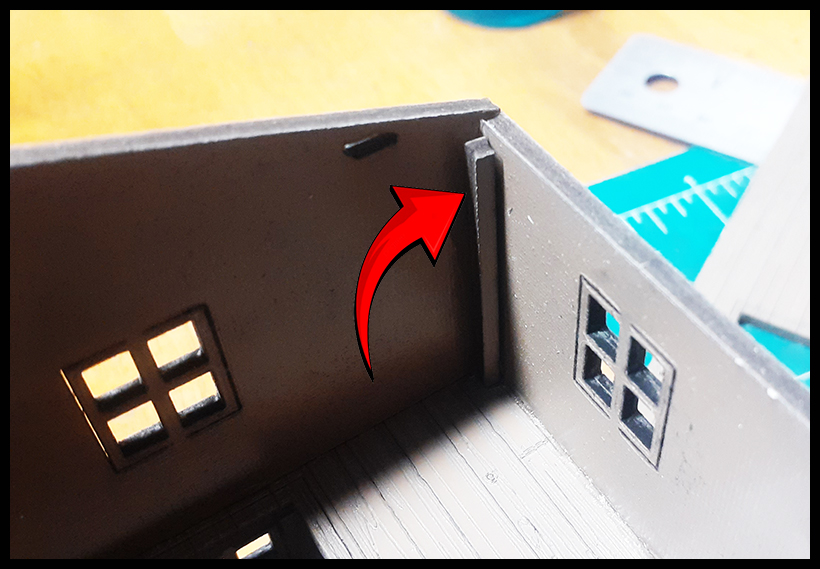
Locate the resting posts. They will most
|
|
Next, glue them in each corner of the second story floor. This is for the attic floor to rest on. |
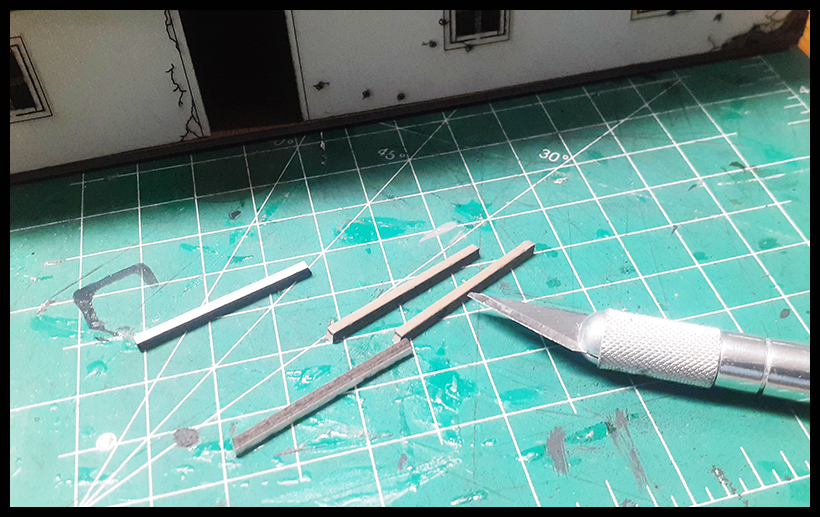
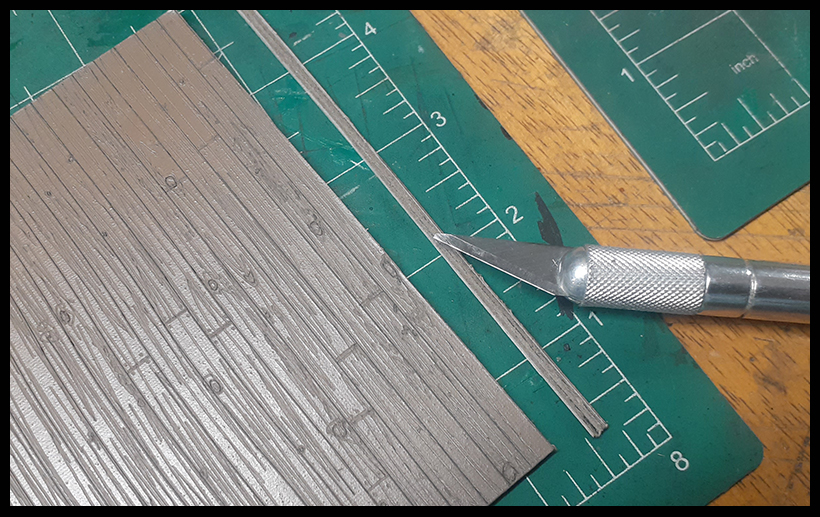
Locate the attic floor and do a dry-test to see how it fits inside of the second story floor. It may need to be trimmed slightly. Do this carefully with a metal ruler and a hobby knife as above.
|
|
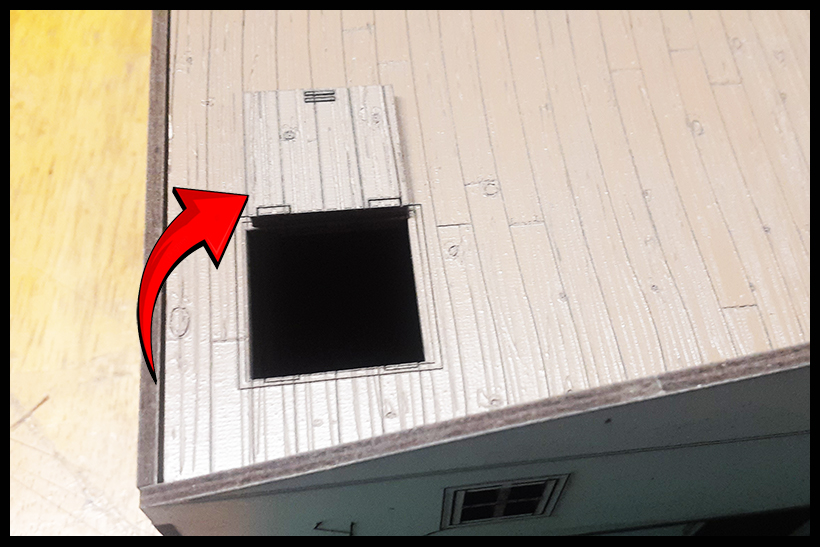
Once complete, you can add the trap door as above. |
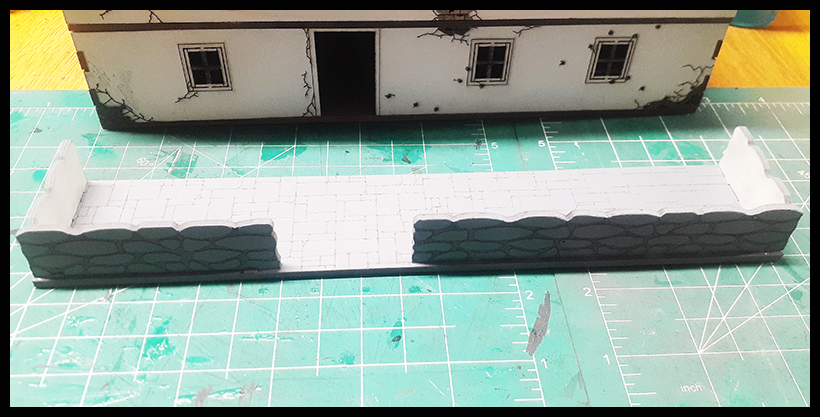
Next, locate the Terrace pieces from sheet #3 as seen above. Do a dry-test by adding the walls to the stone floor to make sure they are the correct pieces for the area they are being added to.
|
|
Once satisfied, you have the correct pieces for the location on the stone floor. Glue them in place by adding glue to each contact point including on the walls themselves.
|
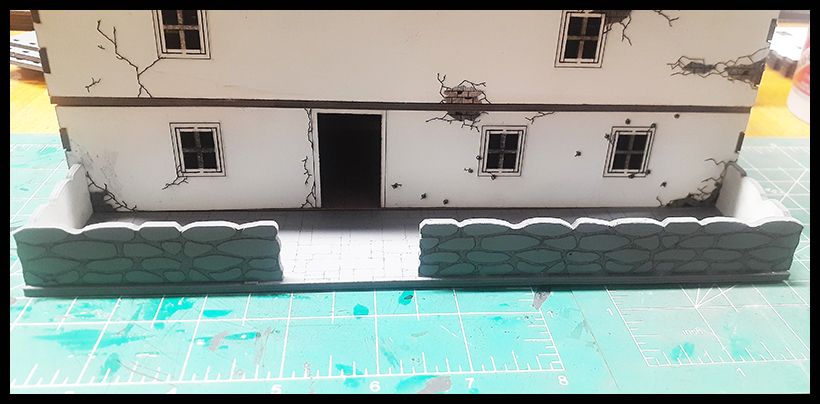
It should look like this once complete. |
|
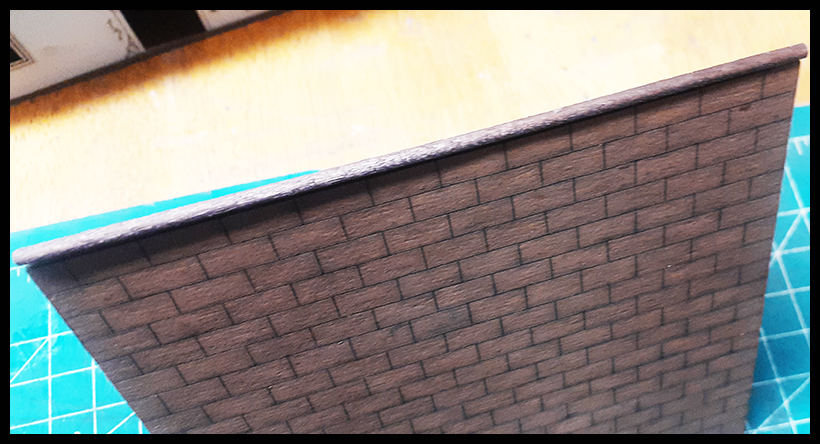
Locate the roof parts from sheet #4
|
Fold the roof section as above. |
|
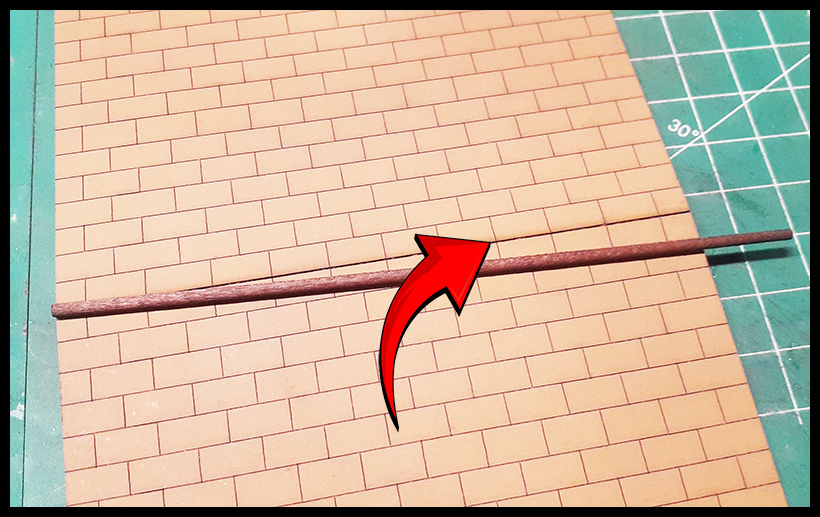
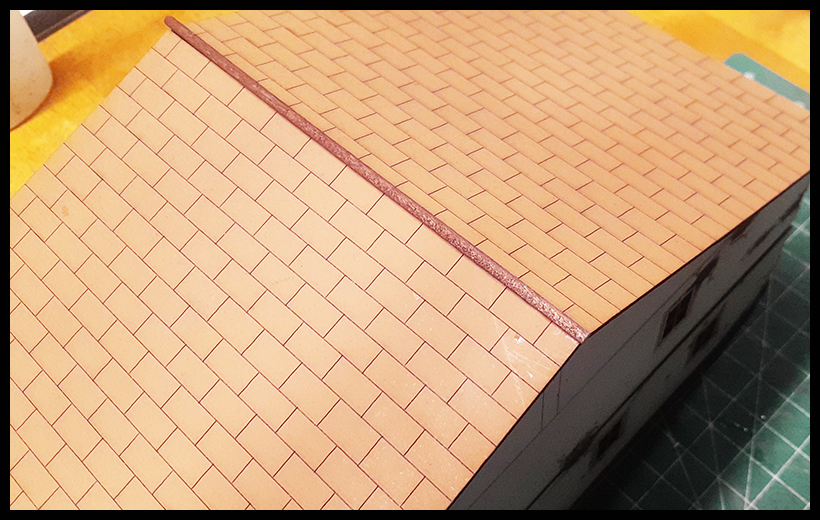
Place roof section on the building. Run a bead of glue in the fold on top of the roof. Add the roof pole & hold in place on the roof until dry. This will ensure your roof has the correct shape for your building.
|
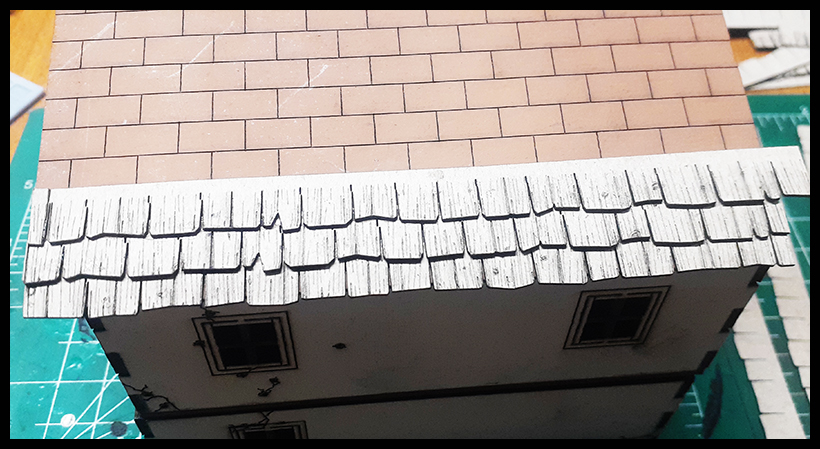
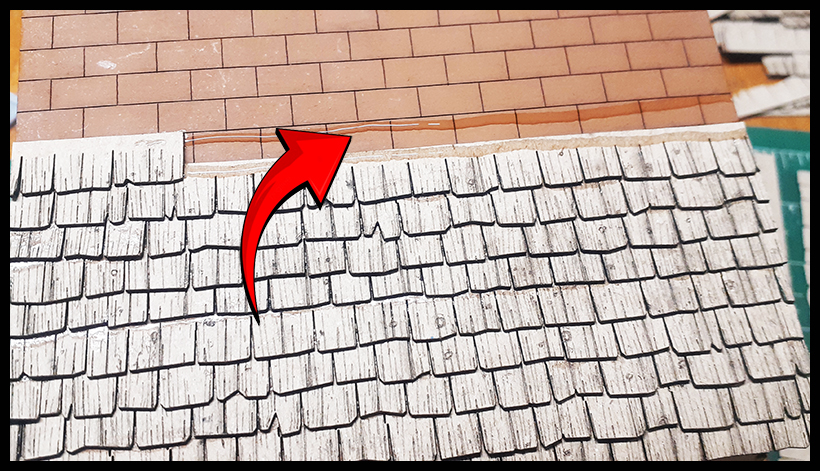
Now locate the shingles and glue them onto the roof section. The lines on the roof is where the top of each shingle should be glued starting from the bottom of the roof as seen above. |
|
As you add shingles to your roof, cut the excess off each end and use that piece to begin the new row. This will give a different look per row of shingles.
|
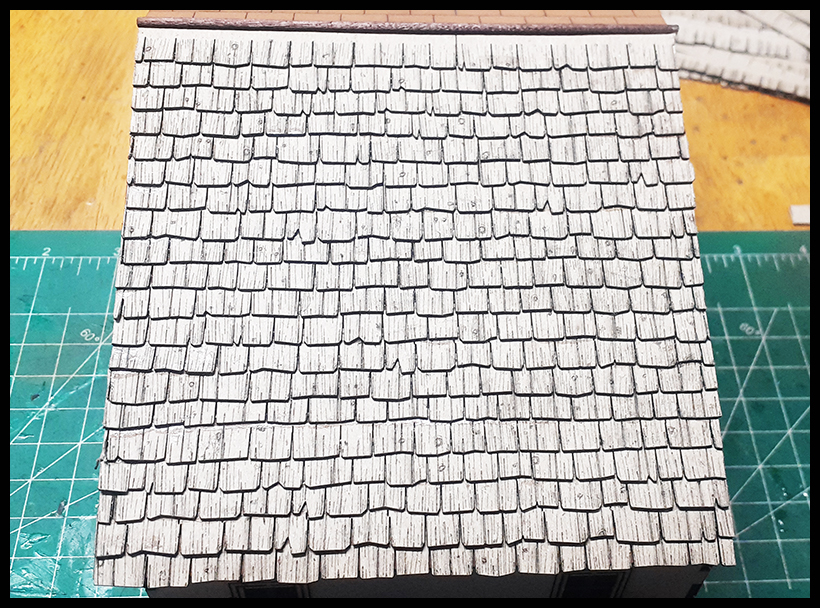
Continue until the roof is complete. |
|
Once complete, it will look like the above.
|
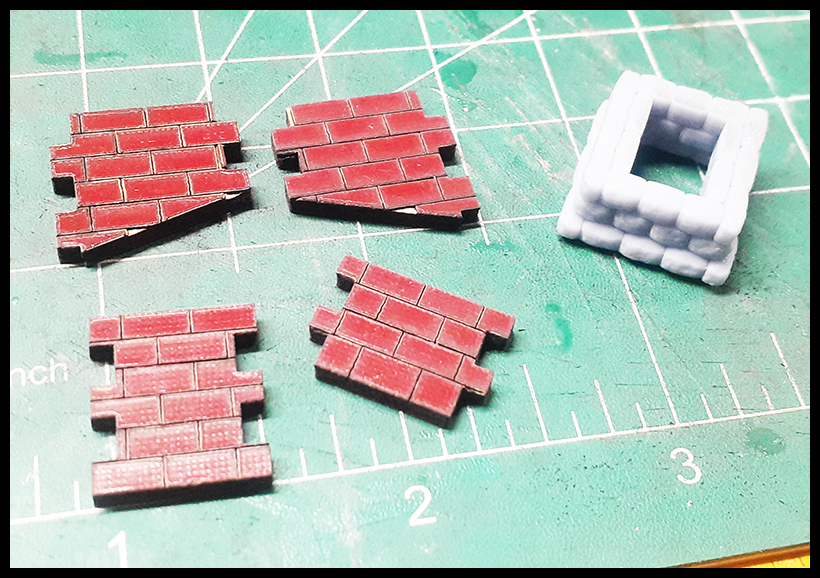
Next, locate the chimney parts. |
|
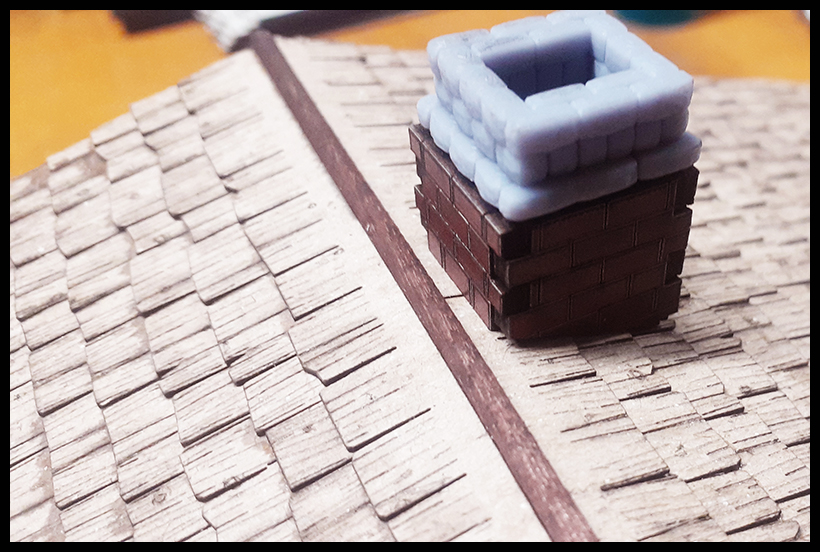
Carefully glue each tab of the chimney sections to complete. Glue the top to the base of the chimney (see chimney assembly for detailed instructions).
|
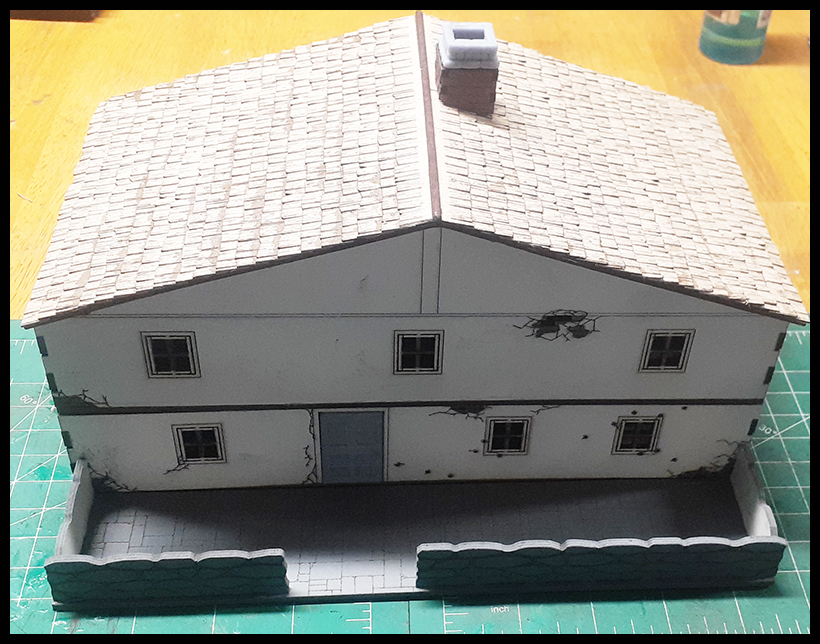
And there you have it - complete! |