TWO STORY HOUSE #1 ASSEMBLYPlease read these instructions completely before building. We recommend using a GEL SUPER GLUE for best results when gluing this model as the material in some places is porous, and it is the type of glue that works best. Dry-fit parts together before gluing to get the best results. You may need a hobby knife as well in some cases. |
|
|
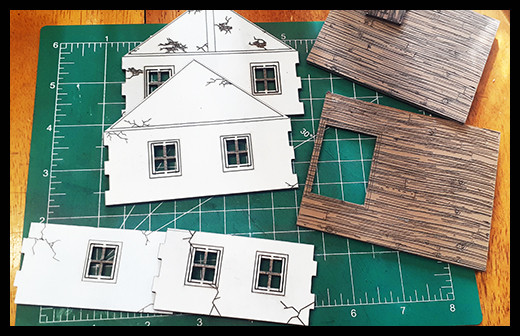
SHEET #1 - TWO STORY HOUSE #1 A/B - Lower story front & rear walls I - Second story floor P - Chimney |
|
|
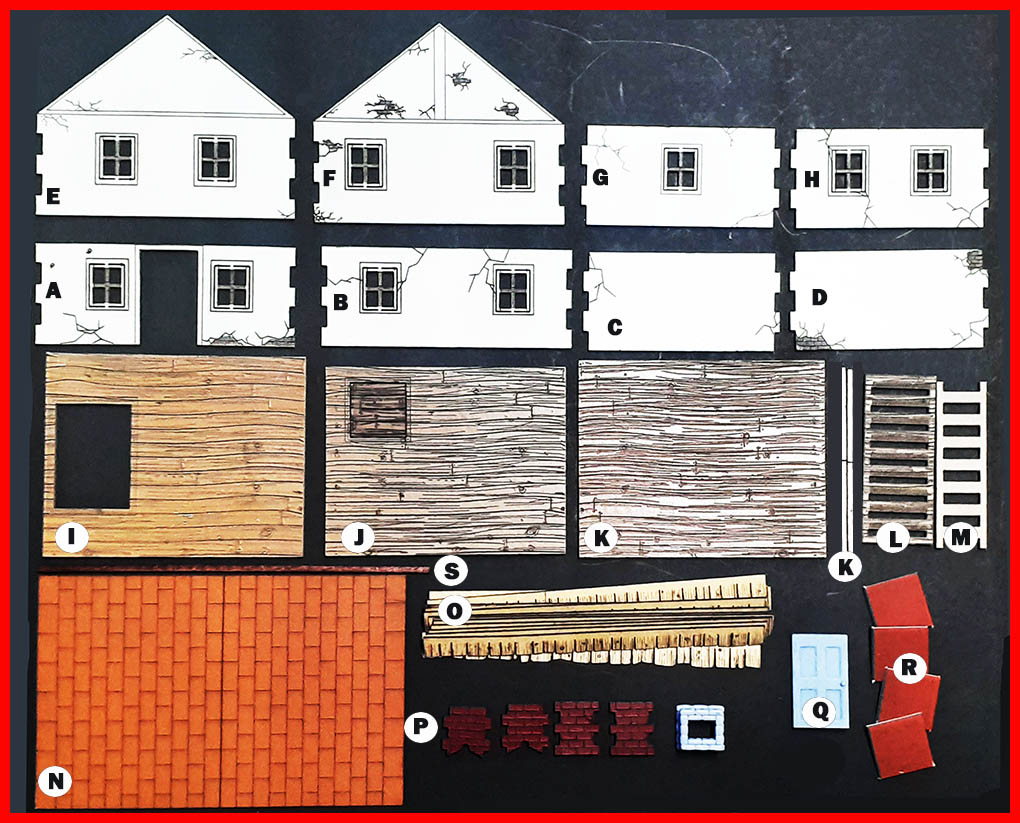
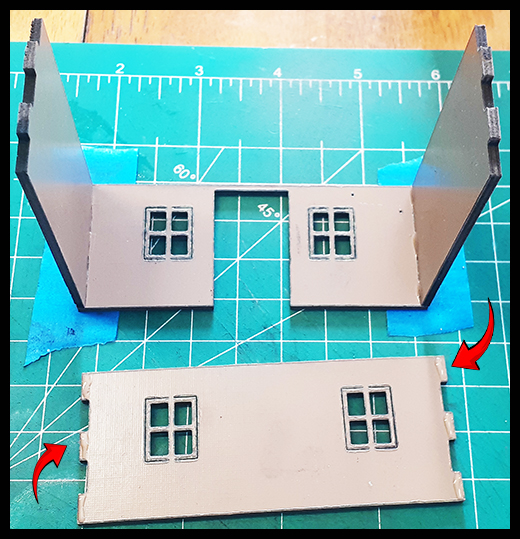
Locate the above house walls (A,B,C,D). Familiarize yourself with the walls. You will notice some details per walls and some may go better together than others. Make sure to position the side walls "right side up" with the windows higher from the bottom than from the top. So the shorter wall space should be above the windows. |
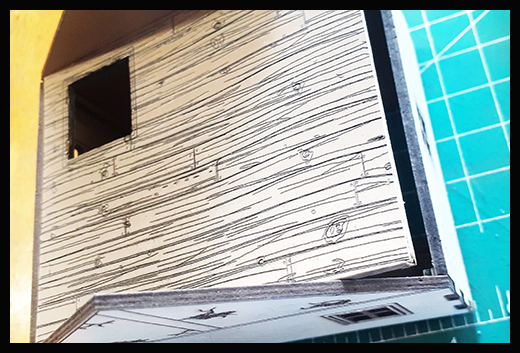
As above, you can see that the detail on these particular walls go very well together. Please note that the walls can vary from kit to kit. |
|
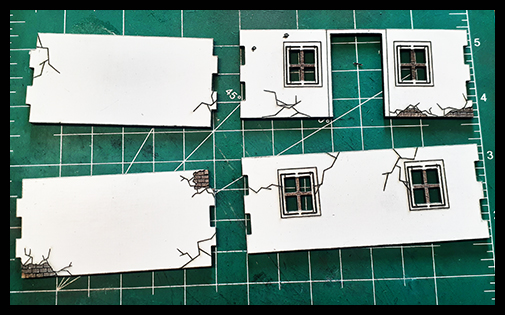
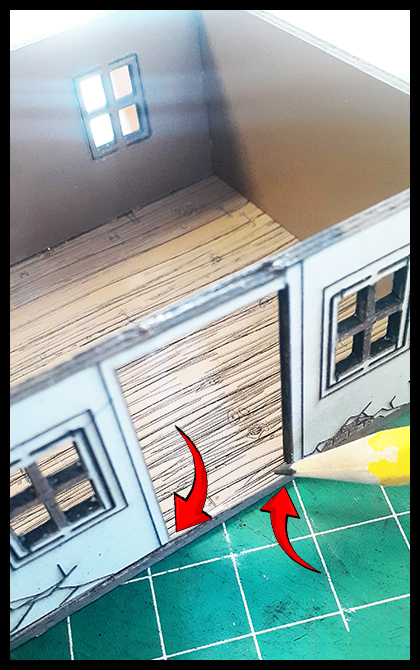
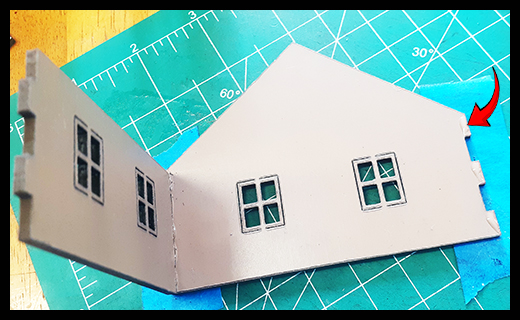
Flip the wall with the door entrance. In the picture above you will see in this build we are using “blue-tape.” It is not required, but can make it easier to assemble. Please note that the door entrance can be fragile due to the thin area above the door. Be VERY careful when assembling this area.
|
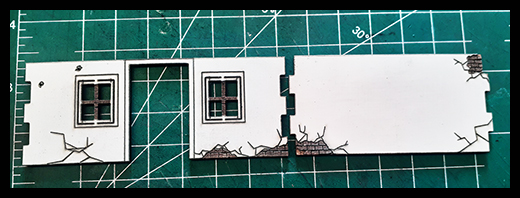
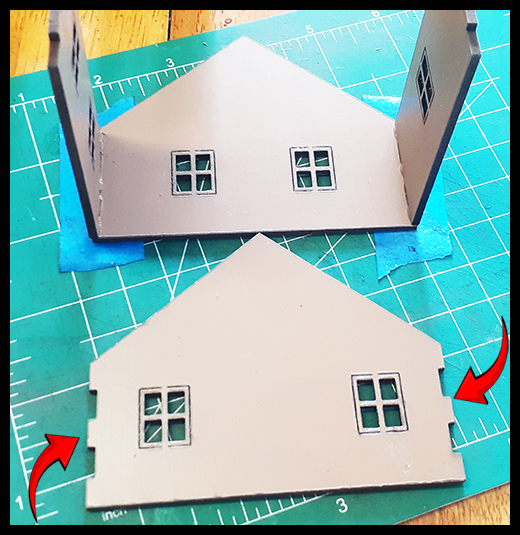
As before, repeat the same steps to add the last wall to the lower story. |
|
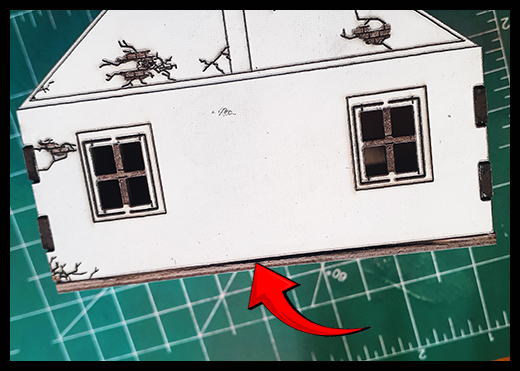
Place the house on top of the floor (NO GLUE) and mark the location of the door opening so you DON’T add glue to this section. |
Add glue to the outer area of the house floor except where marked for the door opening. Line up the bottom of the building and floor and gently press the floor to the bottom of the building to get into place. |
|
Add a bead of glue to each corner as above for the resting post. Carefully attach each resting post by pressing gently but firmly into place and let dry. |
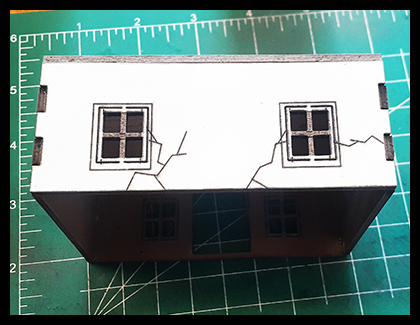
It will look like the above once complete. |
|
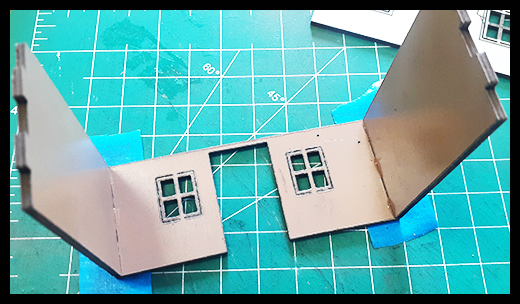
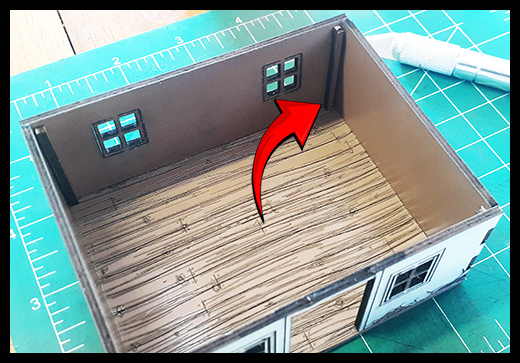
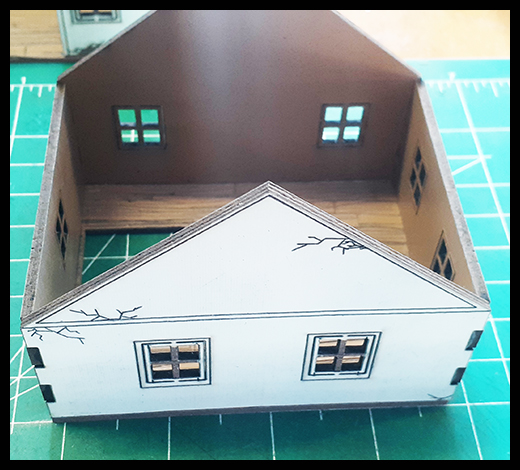
Locate the parts for the second story (E/F & two side walls as well as I/J second story floor and attic floor. |
As with the main floor, apply glue to the tabs of the walls being glued, gently attach the tabs, and press into place. Repeat for the next wall. |
|
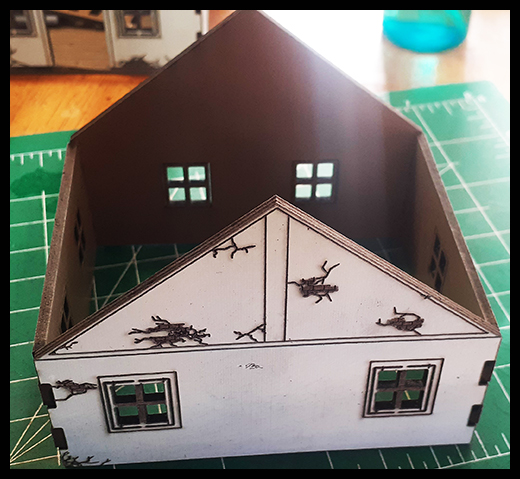
Add the remaining second story wall as before. |
It will look like the above once complete. |
|
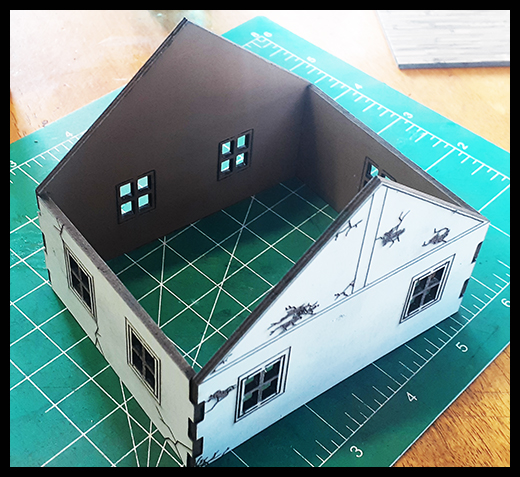
A different view. |
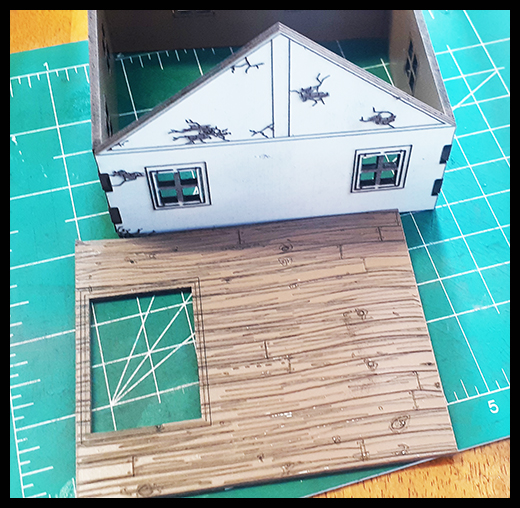
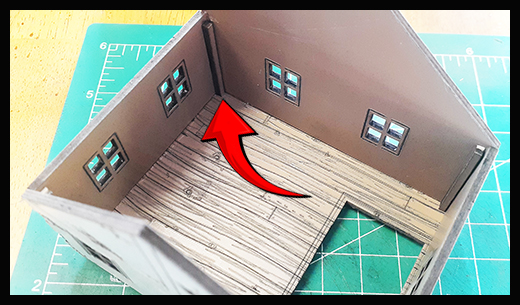
Next, locate the second story floor.
|
|
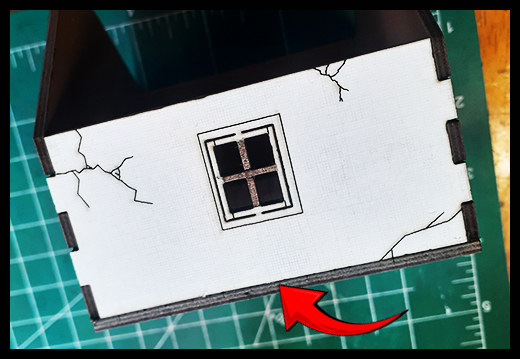
Run a bead of glue around the parameter of the 2nd floor. |
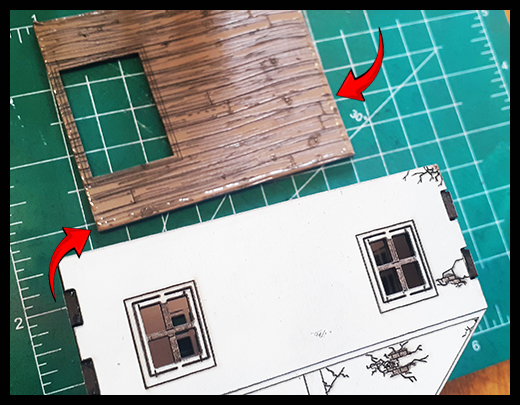
Line up the bottom of the building and floor and gently press the floor to the bottom of the building to get into place. |
|
Make sure the wall/floor line up and press into place to secure. |
It will look like the above once this part is complete. |
|
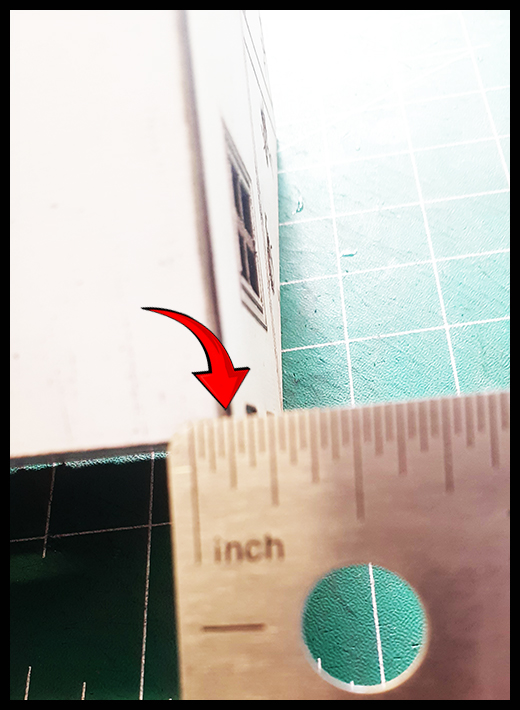
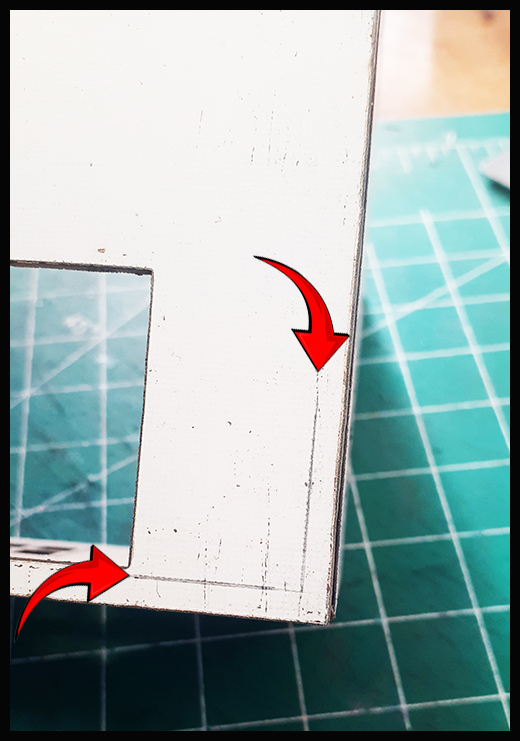
Measure on the bottom of the floor 1/8th of an inch above.
|
Once complete as above, this is the area you glue the squares into place so you can set the upper story building on top of the main floor with out it slipping off. |
|
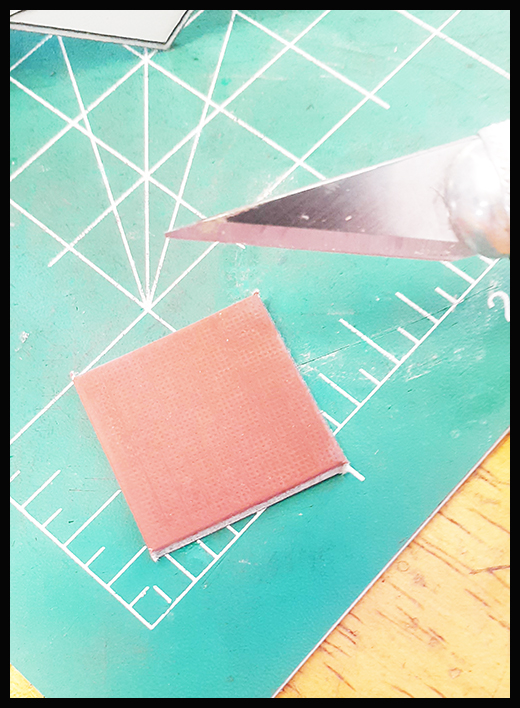
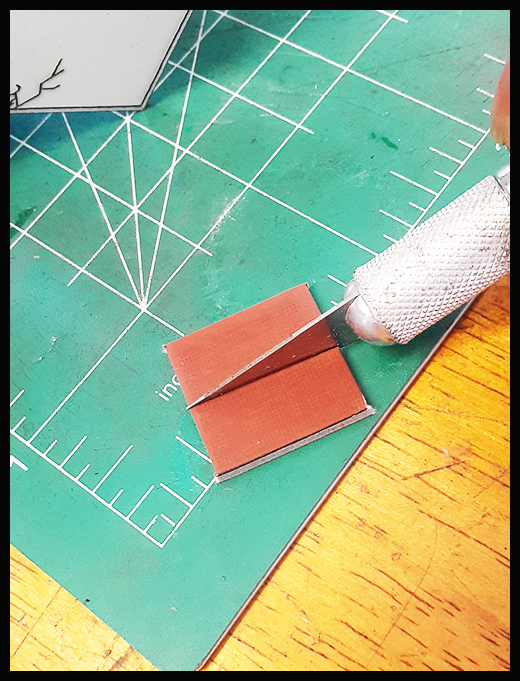
Locate the squares as above. They may vary in color, shape and size. |
You may have to cut them in half. |
|
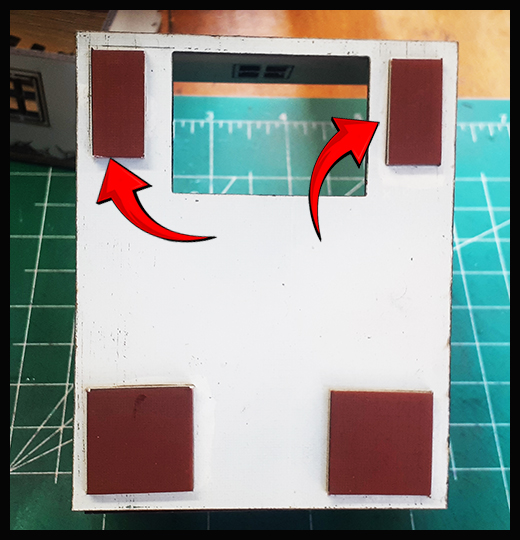
Attach the squares as above within the outlined area previously marked. |
Once dry, you can add this to the main floor. |
|
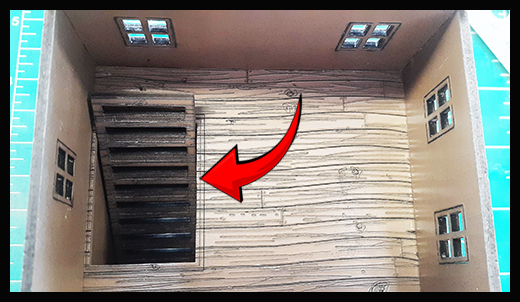
The stairs are added as above. |
Next add the resting posts as above. |
|
Once the resting posts are completely dry, do a dry-fit for the attic floor. Sometimes the floor may have to be trimmed to fit. |
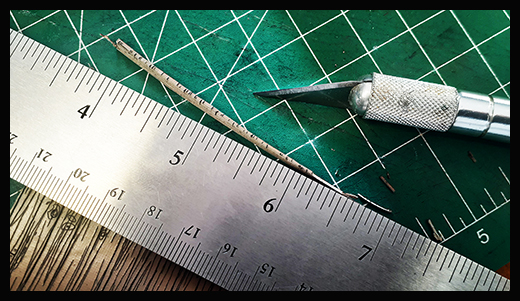
Place a metal ruler on the edge and cut once you have determined how much needs to be trimmed to have a proper fit. Again, this may or may not be necessary. |
|
Next, add the trap door for the attic. You can leave loose or glue into place as you desire. |
Next you will want to add the roof sections to your building. Please see the roof instructions to complete this task. |
|
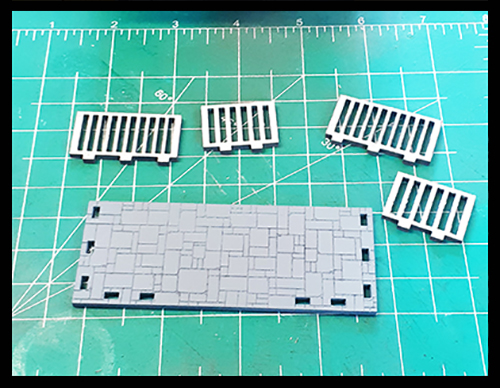
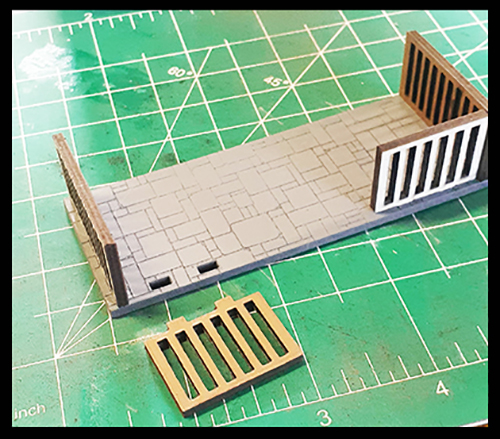
Now onto the terrace. |
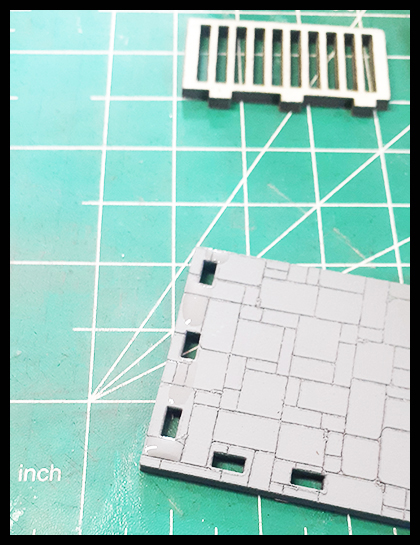
The terrace has notches for each of the railings. Do a dry-run to get a feel of how these are to be attached. |
|
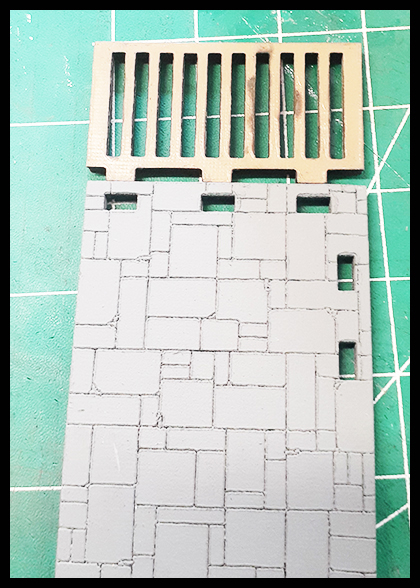
Add glue to each of the blank areas between each tab where the railings will be attached. Also run a bead of glue to the areas where the railings will connect to each other. |
This is how it should look as it is being assembled. |
|
And it is complete. |
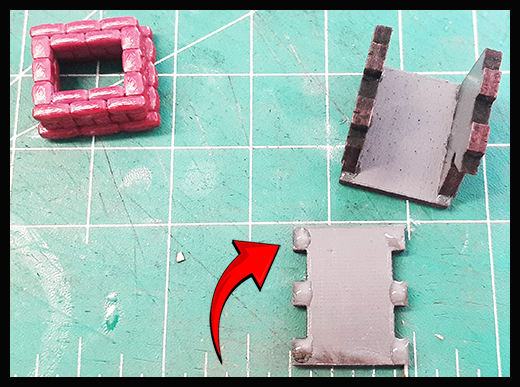
Locate the chimney parts. |
|
Add glue to each tab. |
Complete them by pressing each section gently into each other. |
|
Locate the top of chimney. |
Glue into place. |
|
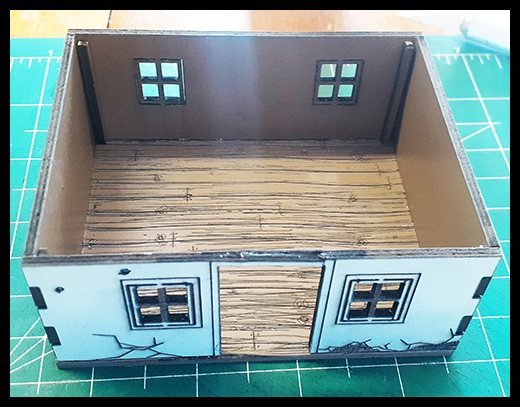
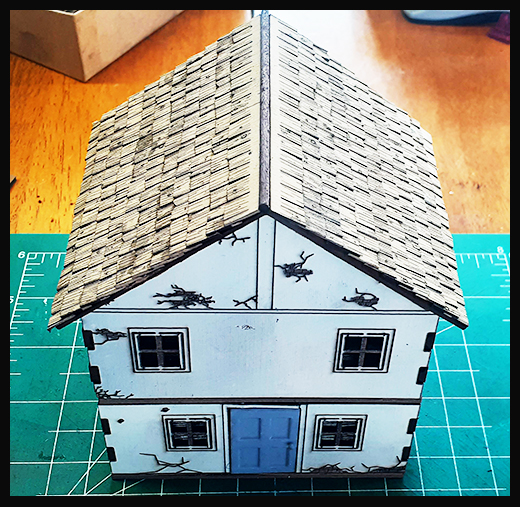
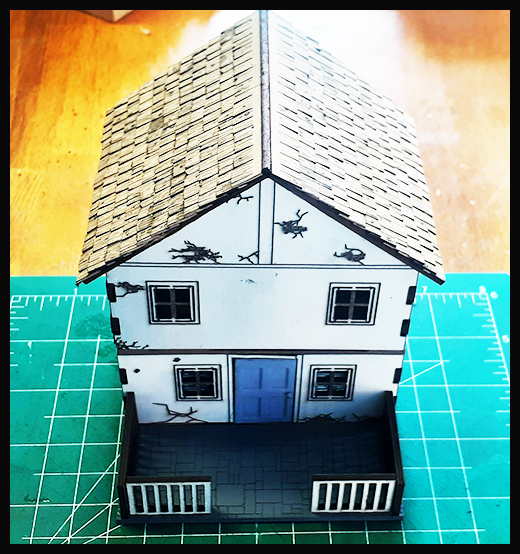
This is an example of how the building will look once complete! |
|