MEDIUM “L” SHAPED HOUSE ASSEMBLY
|
|
|
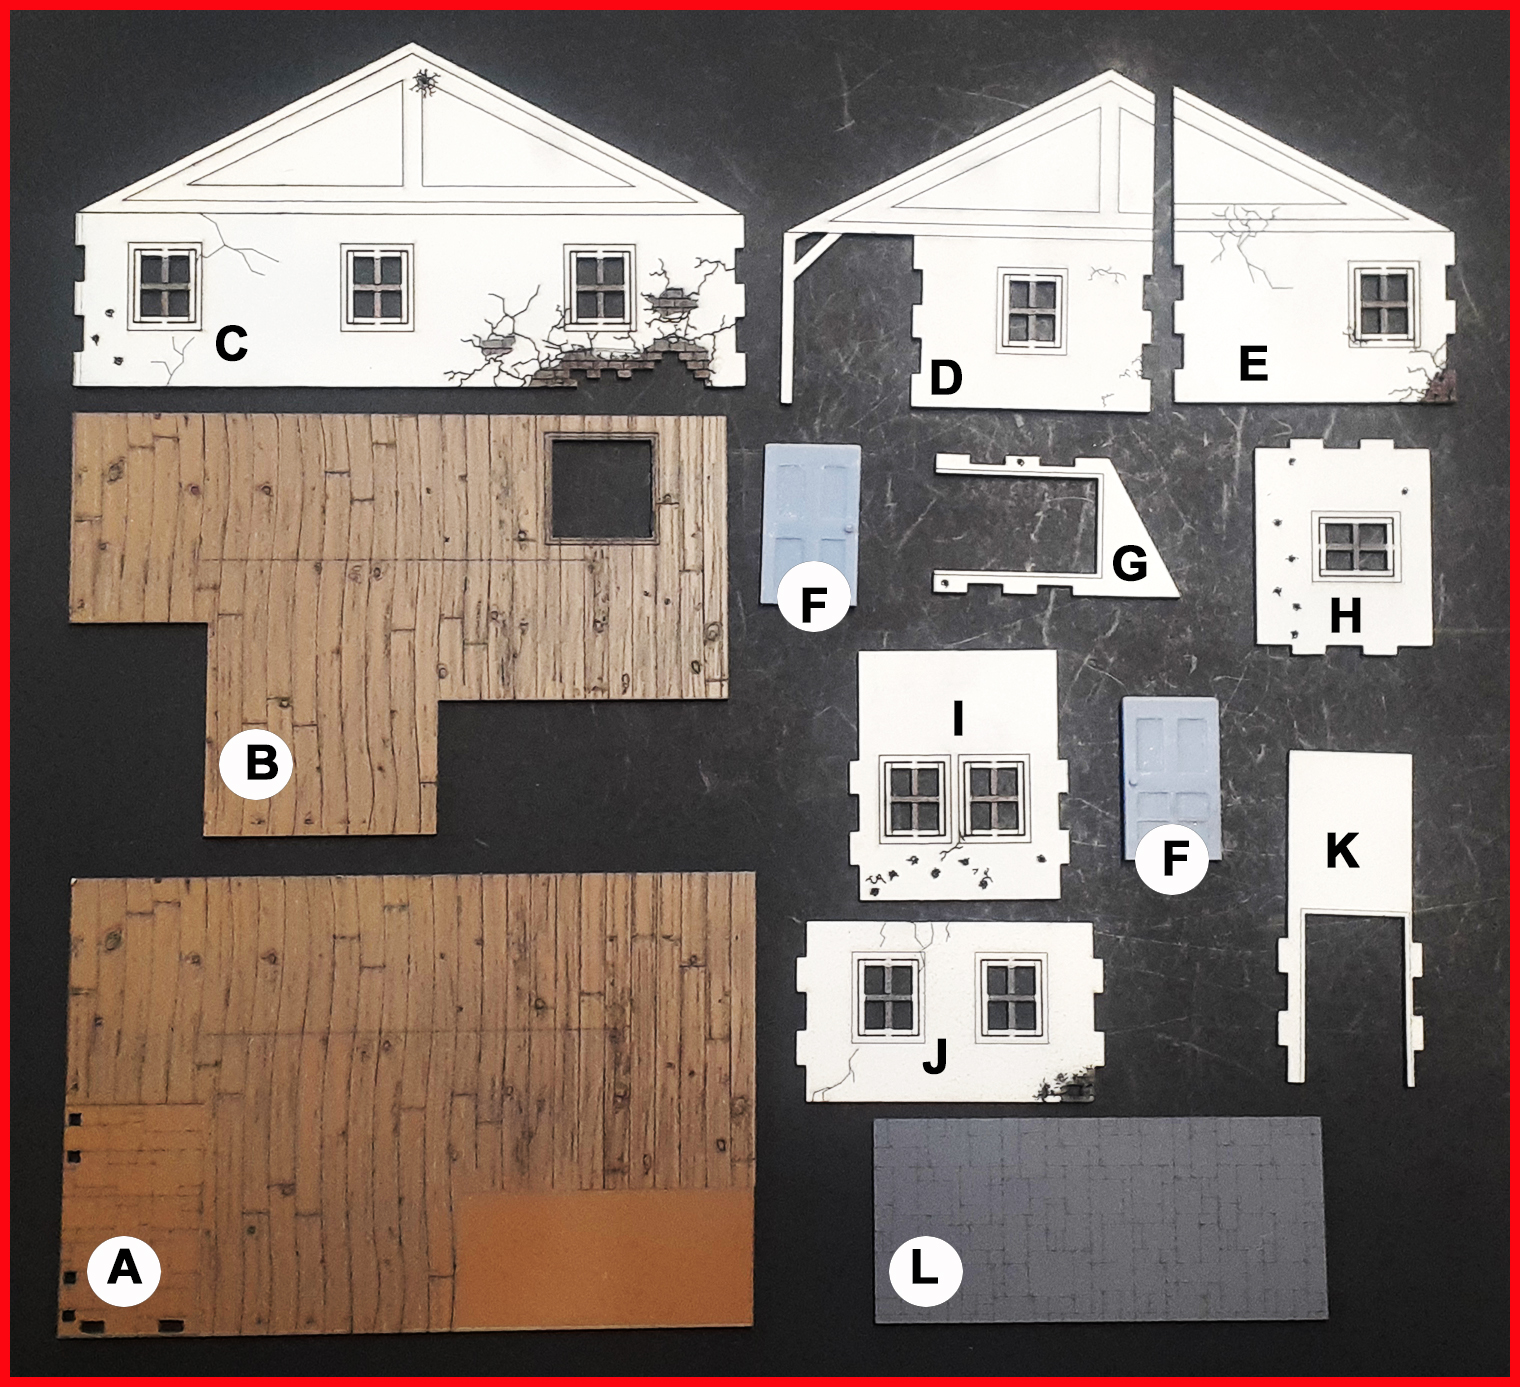
SHEET #1 - MEDIUM “L” SHAPED HOUSE A - Main floor SHEET #2 - ROOF SECTION A - Roof section
SHEET #3 - INNER PORCH WITH RAIL FENCE A - Long fence section
|
|
|
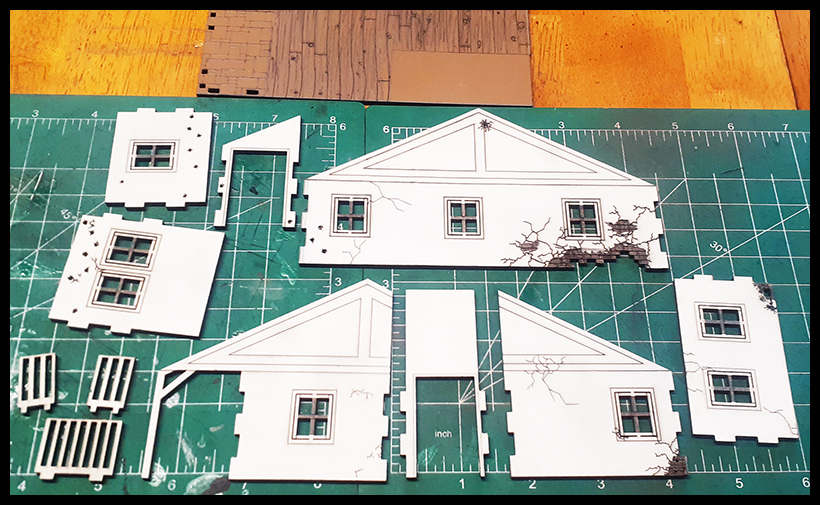
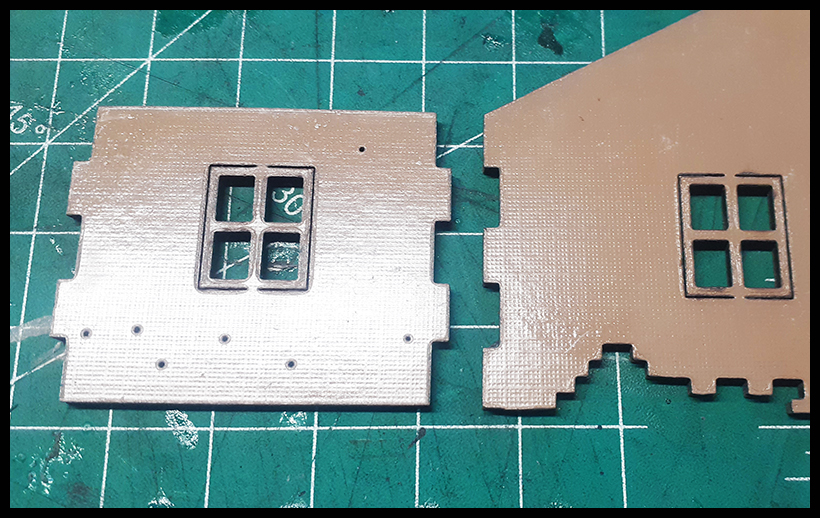
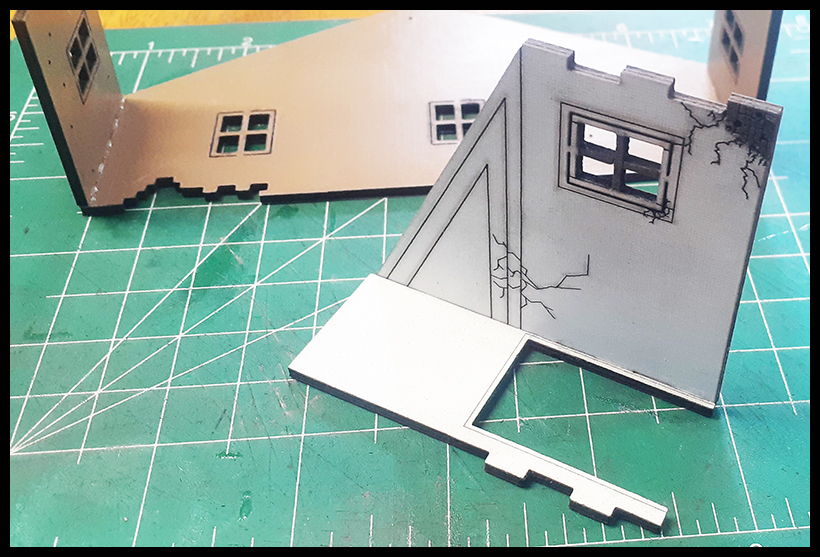
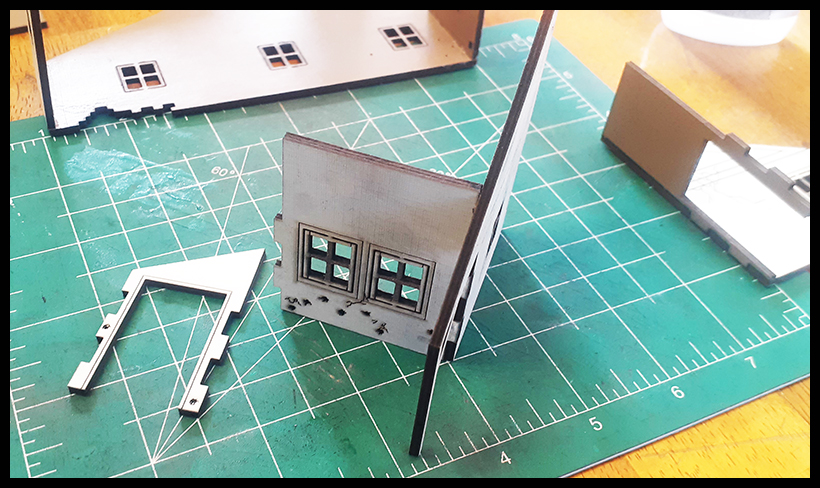
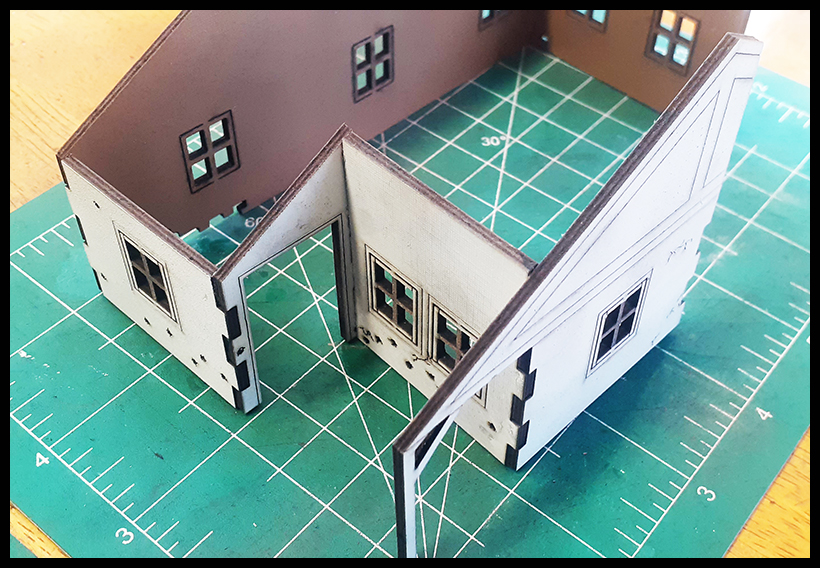
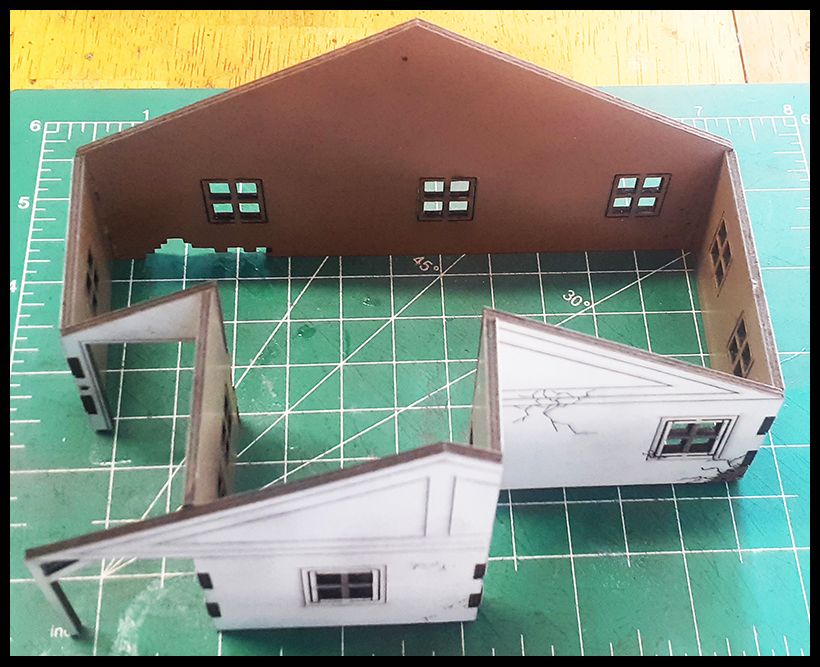
Locate all of the walls and the main floor.
|
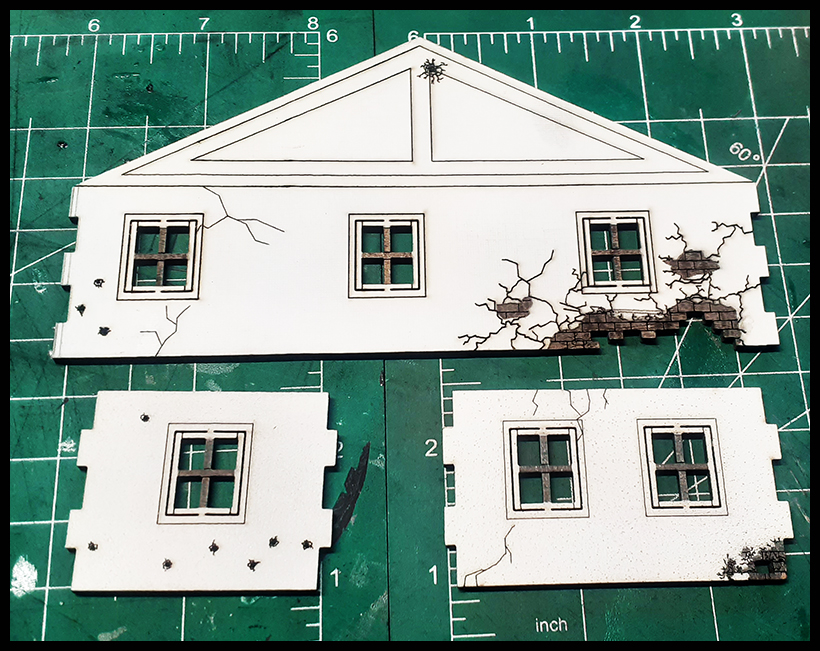
We will start with C/H/J from sheet #1. |
|
Flip parts over as above.
|
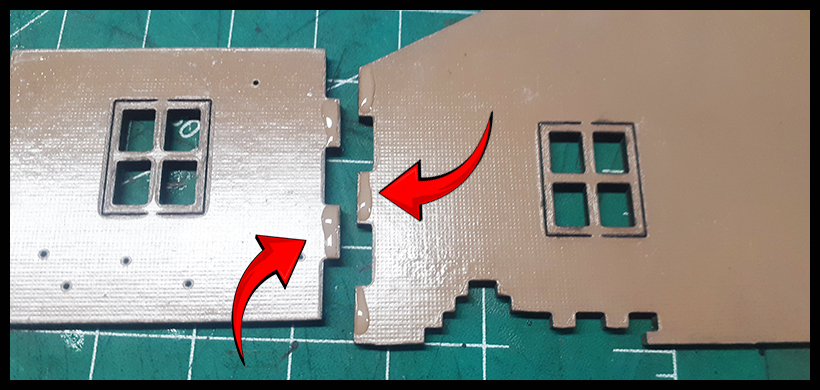
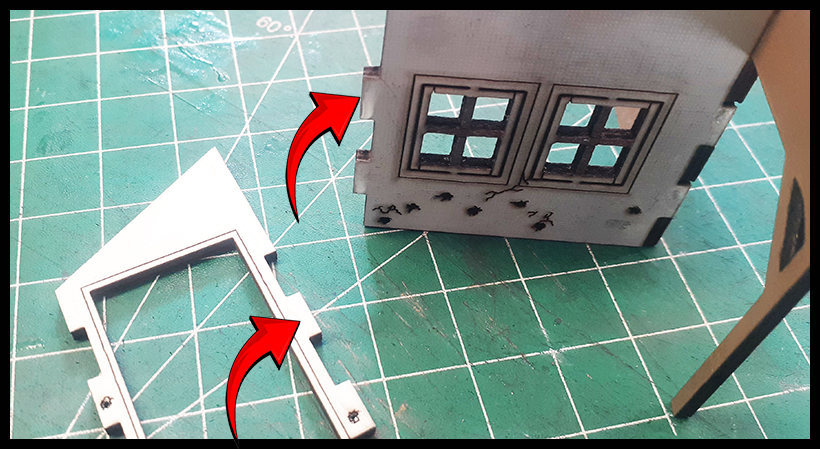
Add glue to each tab. |
|
Attach the first walls together as above, gently but firm & let dry. |
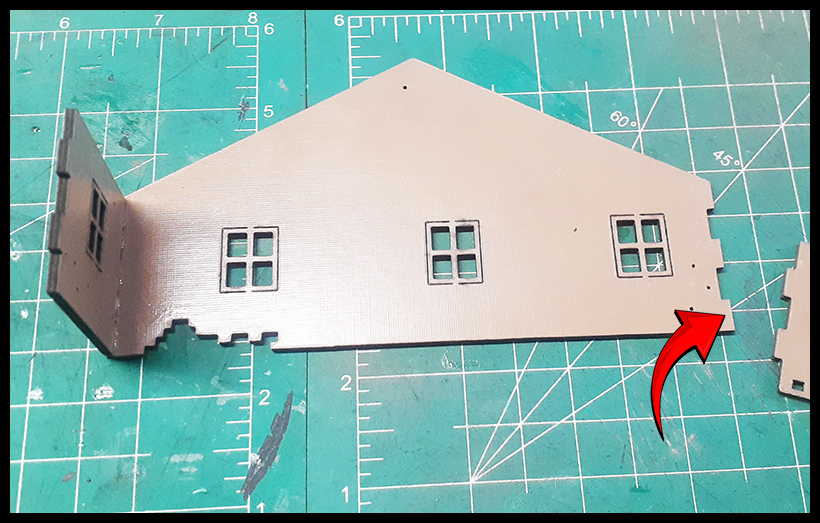
Do the same for the second wall & let dry. |
|
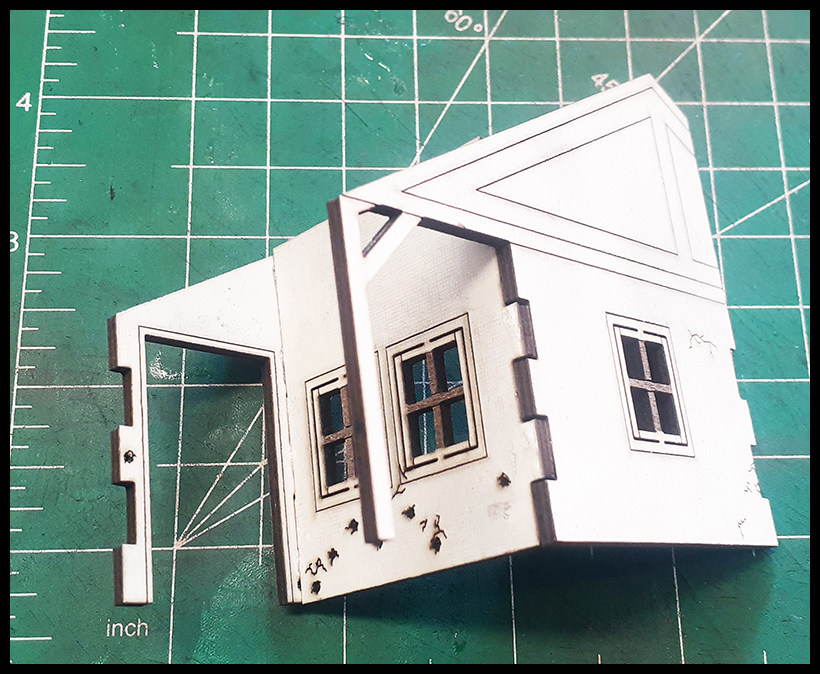
Next, walls E/K as above. Apply glue, and as above, attach and let dry. |
It should look like this once complete. Let these dry well, as the next walls will be in different shapes to form the “L” shape. |
|
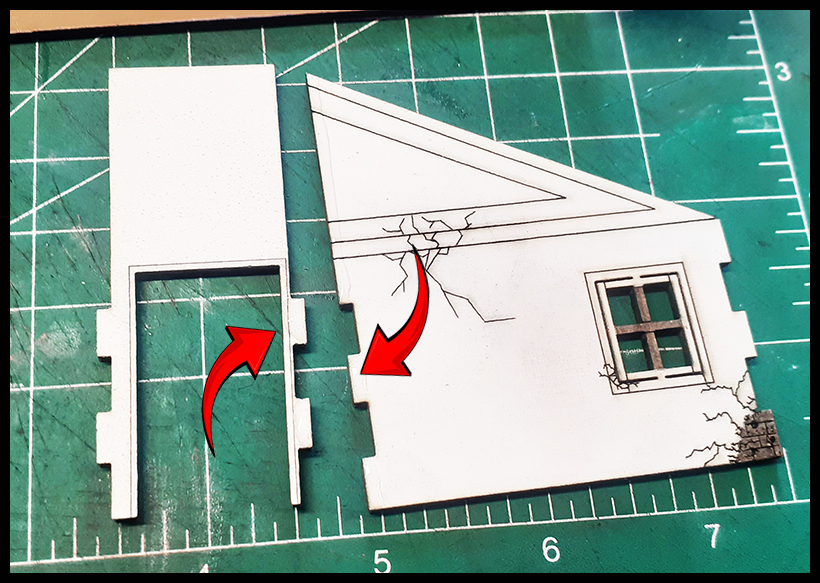
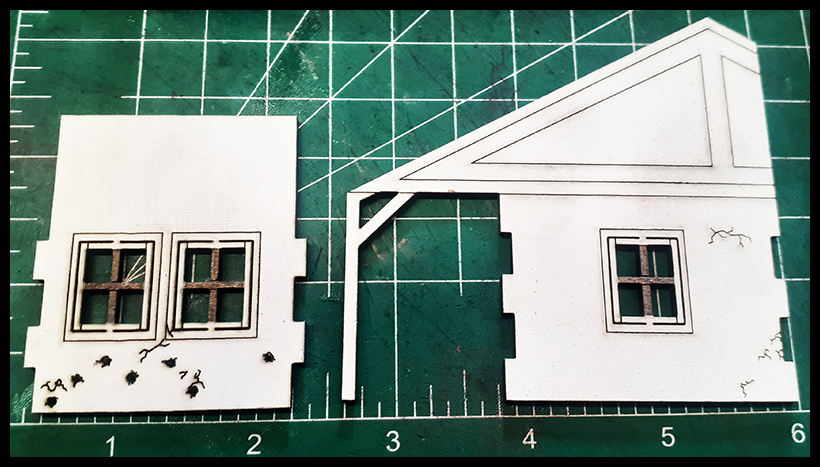
Next are walls I/D. |
Again, add glue to each tab as above. |
|
Glue together as above, gently but firmly, and let dry. |
It should look like this once complete. |
|
Locate wall G (inner door wall). Add glue to each tab to be connected. |
Attach together as above and let dry. |
|
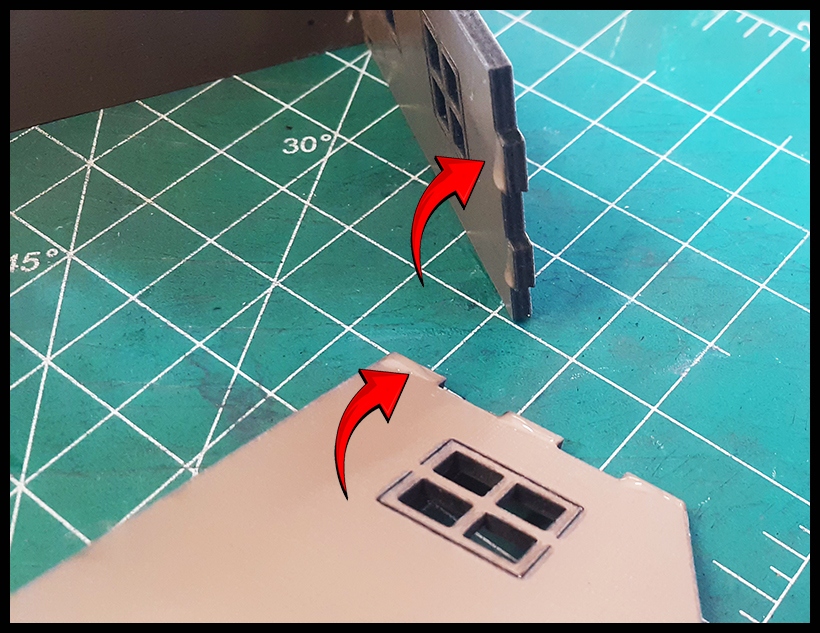
As above, add glue to each tab being glued and then glue together. |
The model should look like the above at this stage. |
|
|
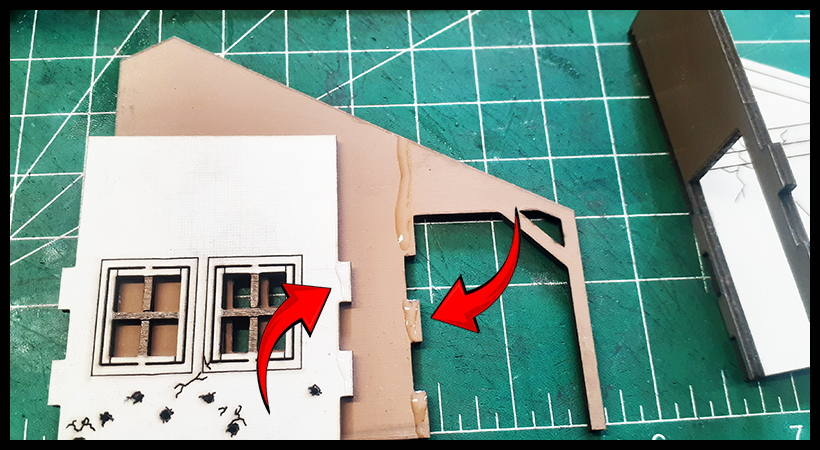
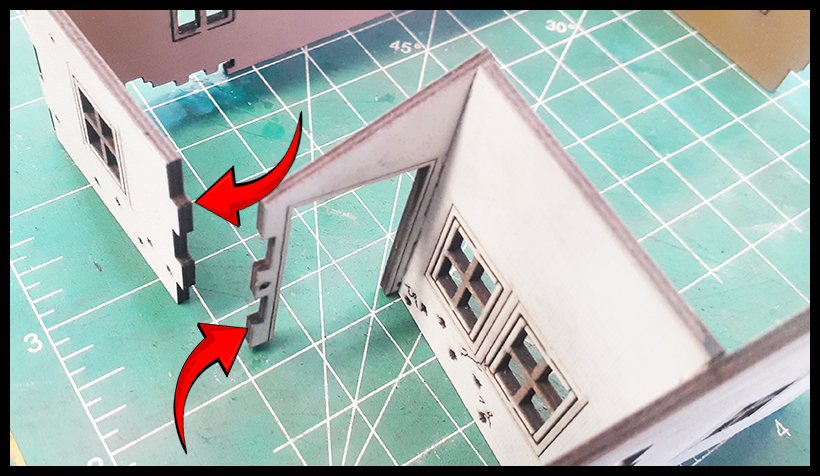
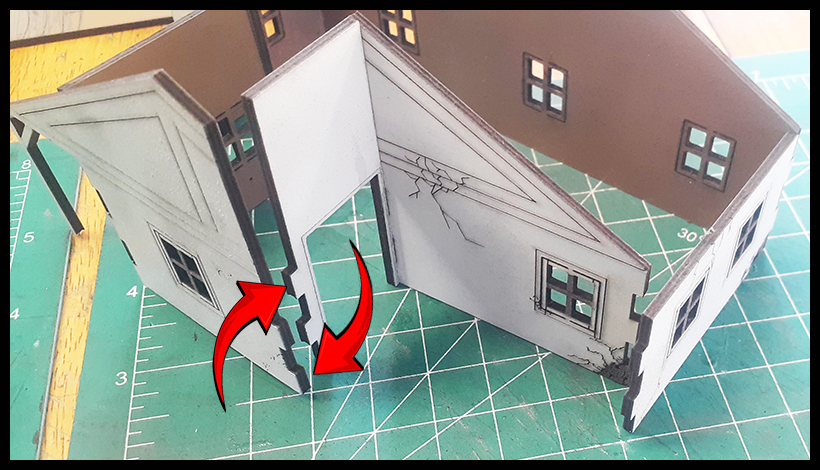
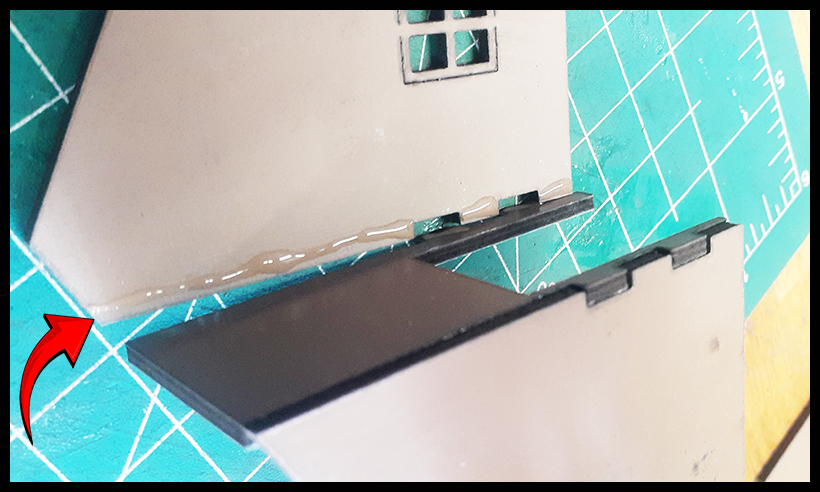
Add glue to the other side as well (the high side) and connect both sides carefully. This will connect the building together and complete its shape. |
|
Another angle showing how to add the glue to attach these sections. |
It should connect like this. |
|
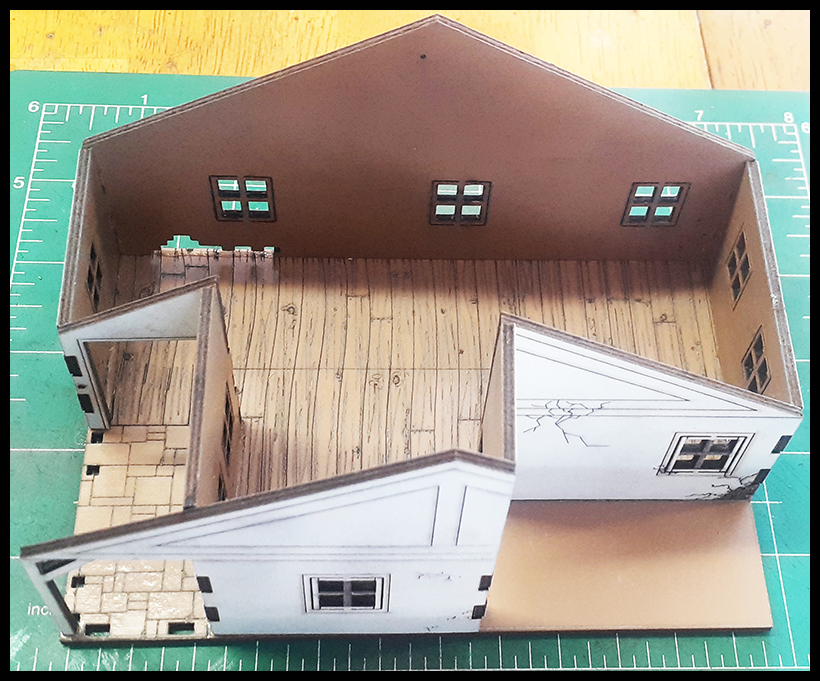
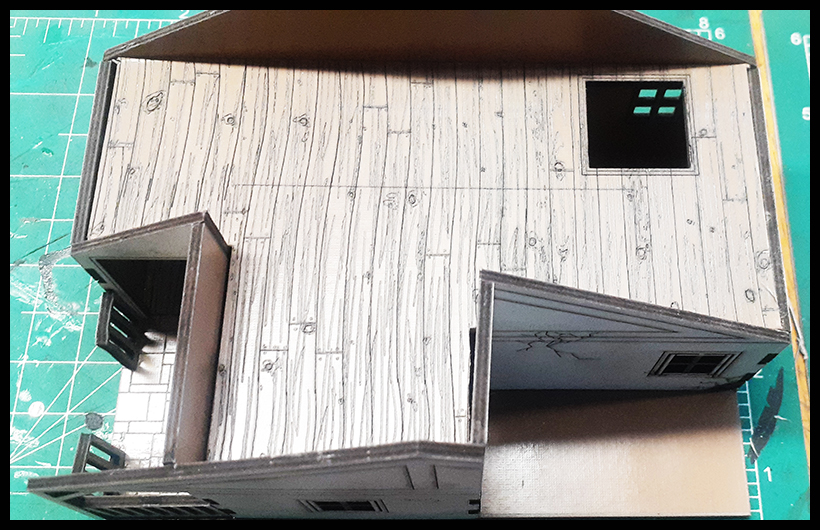
Now the building is complete. |
Add the main floor by running a bead of glue around the edges. DO NOT add glue to the door opening areas. Do a dry-fit first & mark the door openings. |
|
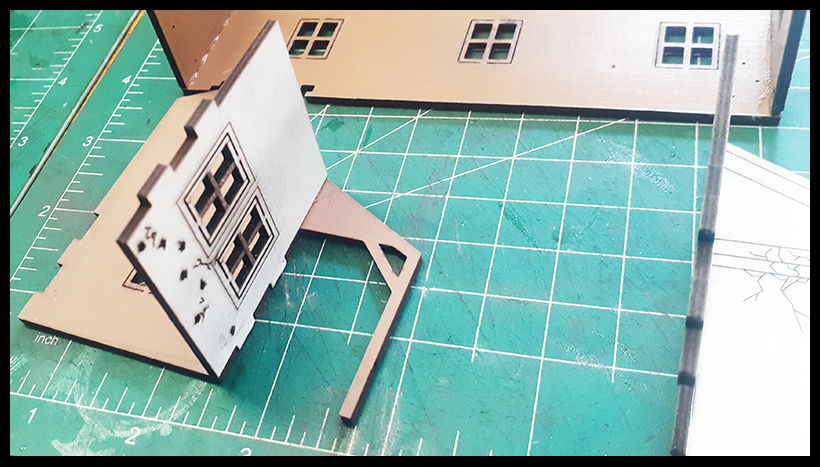
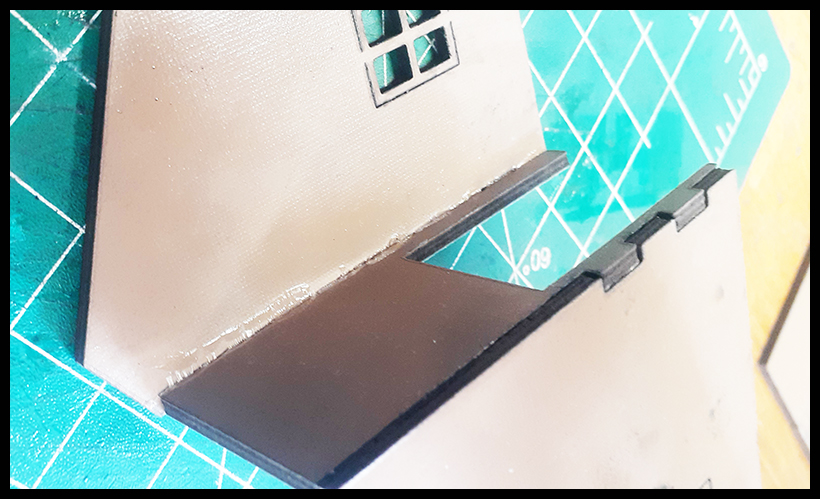
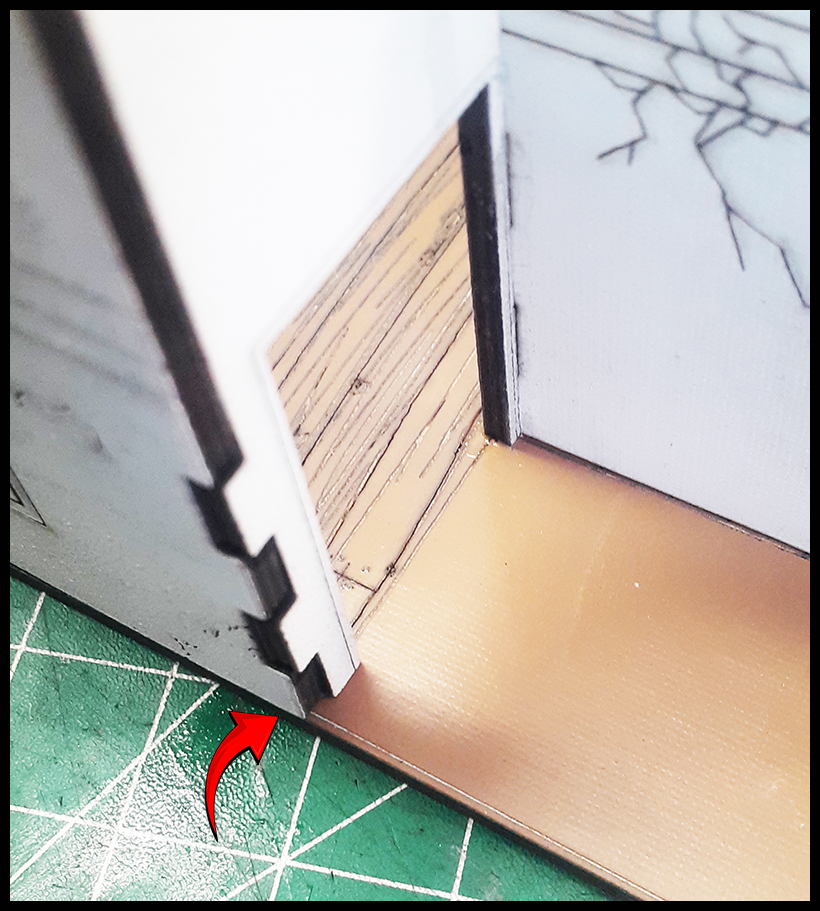
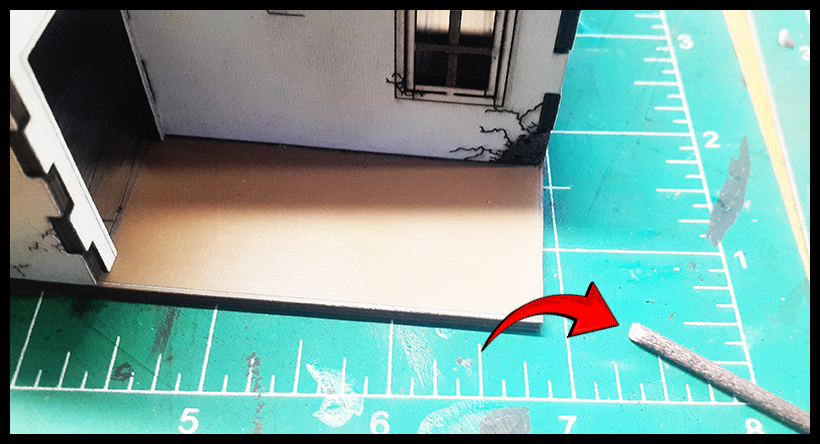
Next, locate the above area and glue the pillar in place as above. |
See above how the corner is not in the corner as it should be. |
|
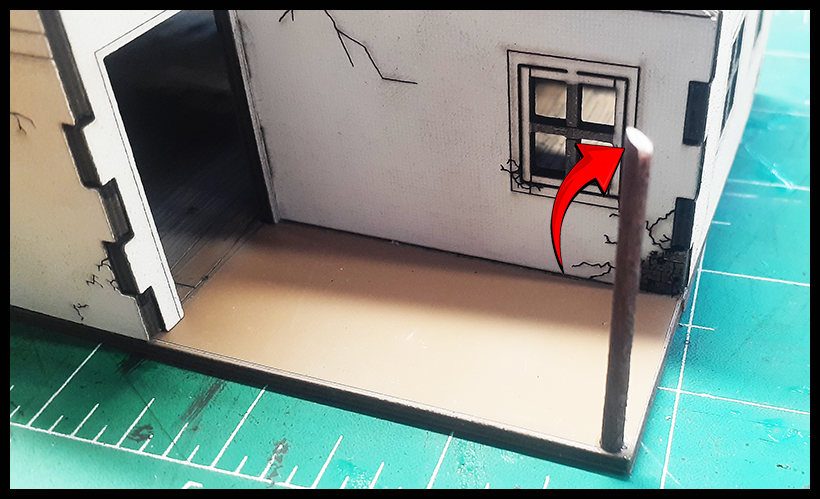
Now after adjusting it, it is as it should be. Add glue to keep it in place if necessary. |
Check all of your corners to make sure they are sitting in the correct position. |
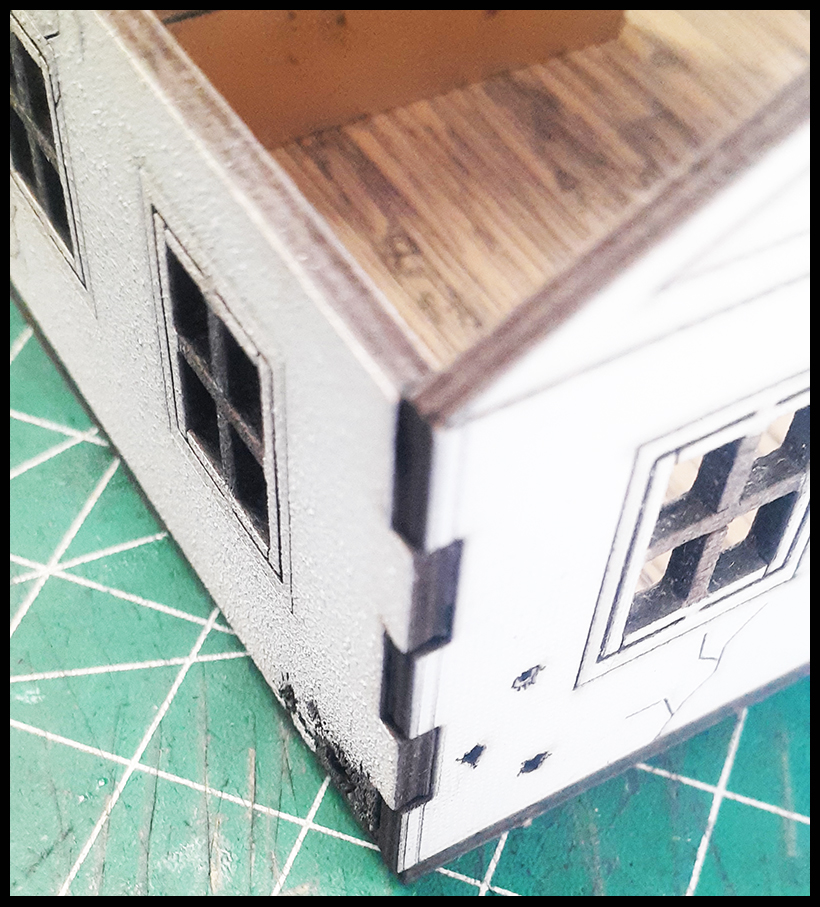
|
And this one also. |
This is how it should look after completion. |
|
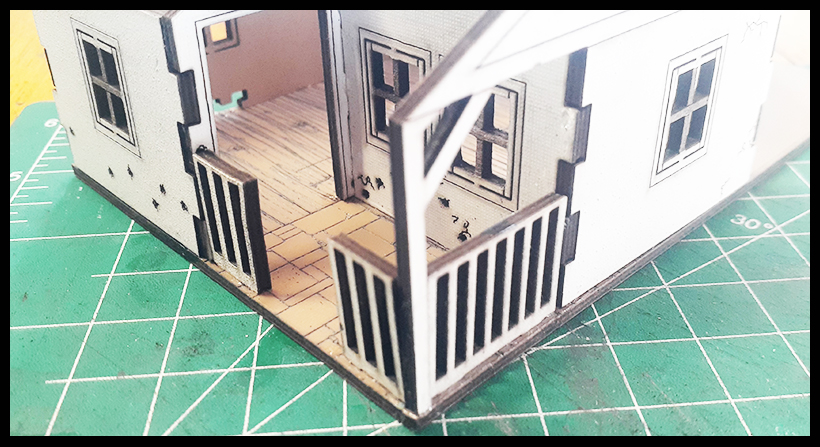
Now locate the porch fence parts. Add glue to the areas between the tab holes and glue the fence parts into place. It is good to do a dry-fit first to make sure parts fit. |
This is how it should look once complete. |
|
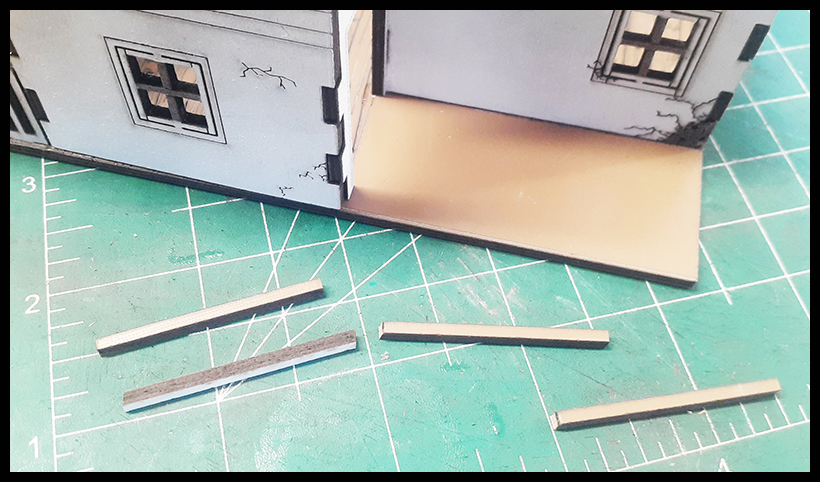
Next locate the resting posts as above. |
|
|
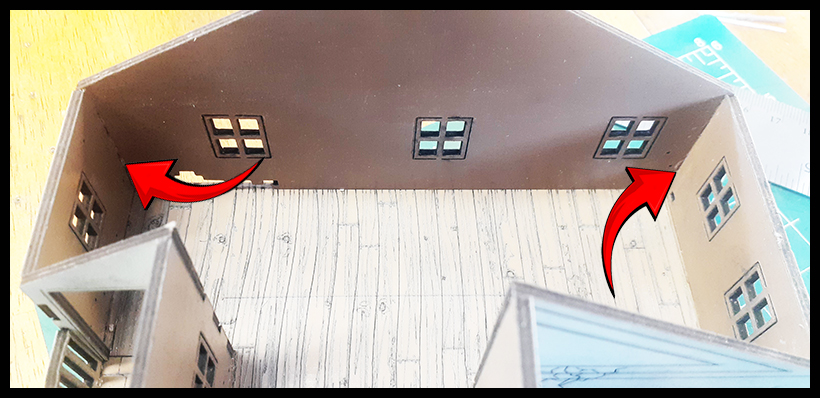
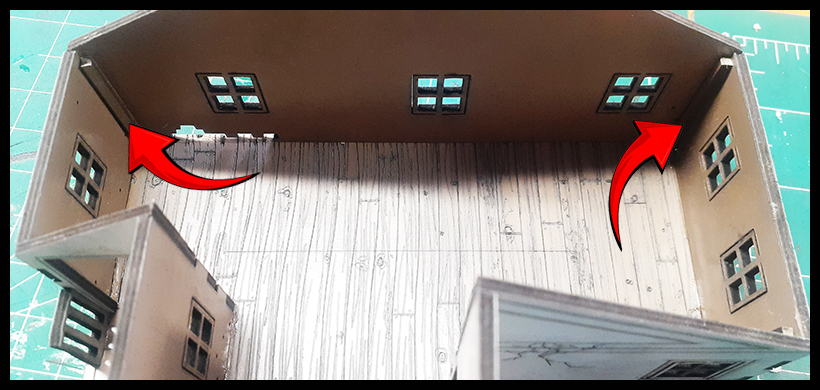
Glue a resting post in each corner of the building. These will support the attic floor once in place. |
This is how they will look once in place. |
|
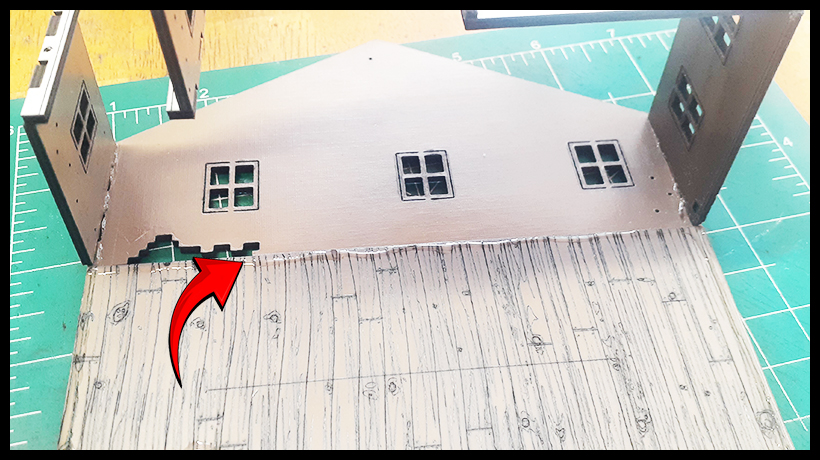
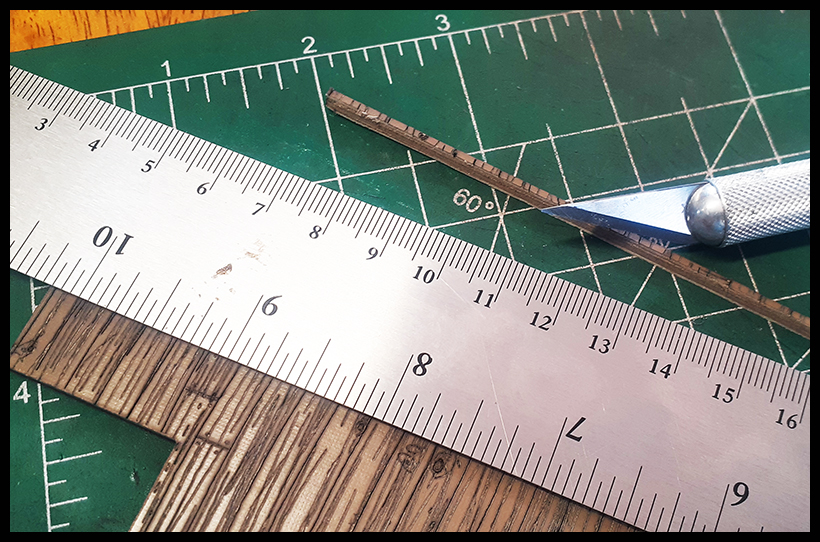
Fit the attic floor in place. In some cases you may have to trim the attic floor slightly to ensure a good fit as above. Use a ruler and a hobby knife. Carefully trim slightly until fit is good. |
Once complete, it will go into place as above. You can add your attic door as you please by leaving it loose or gluing it into place. |
|
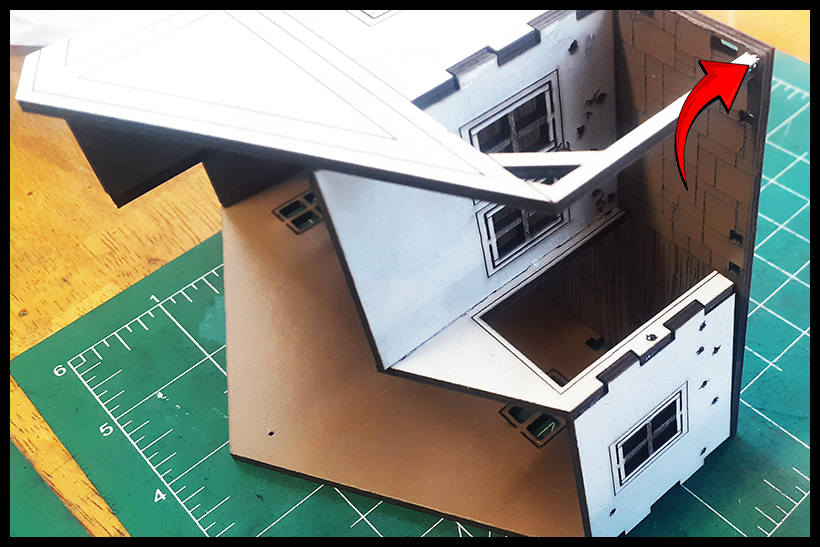
Locate the roof section and fold carefully. Place the roof on the house then add a bead of glue into the fold. |
Press the roof post into place as above and the let dry. Cut the excess away, and it will look like the above once complete. |
|
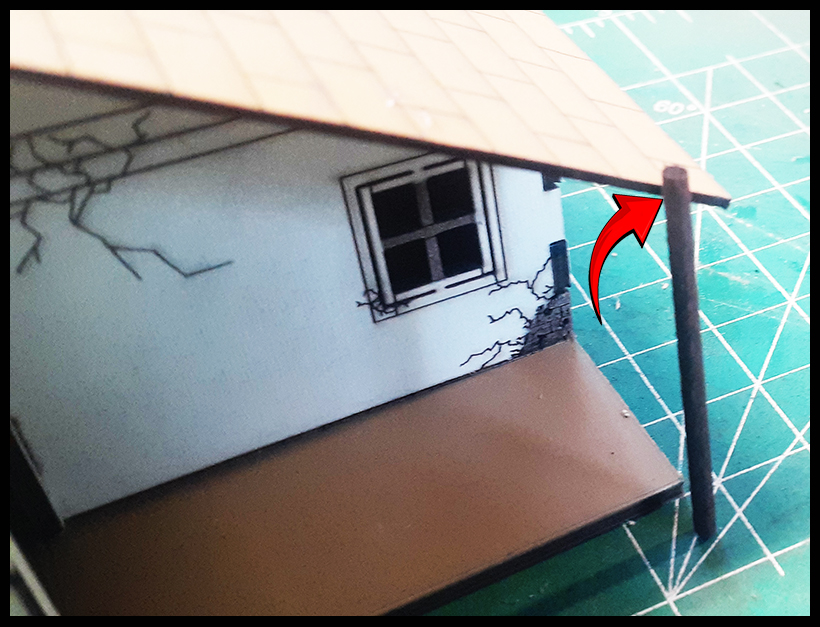
Use the remaining roof post for the porch post as above by lining up the post with the wall. |
Cut at an angle to fit the roof angle. |
|
|
How it will look when complete. |
|
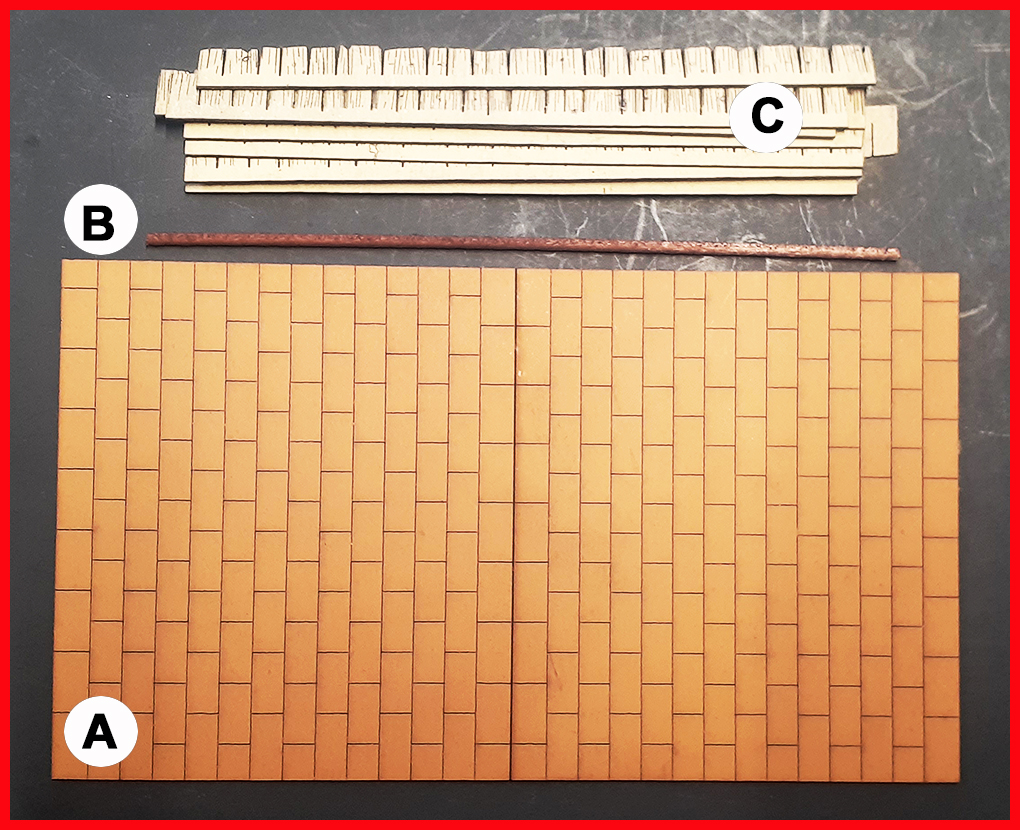
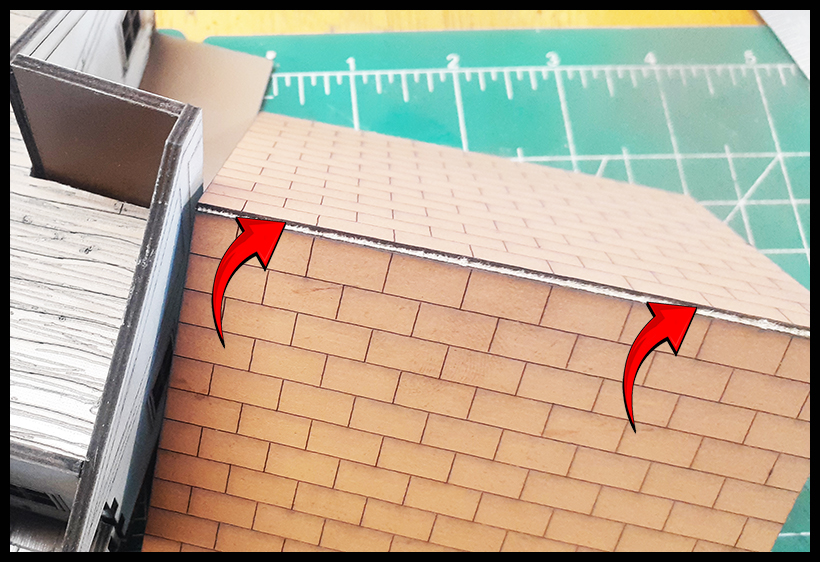
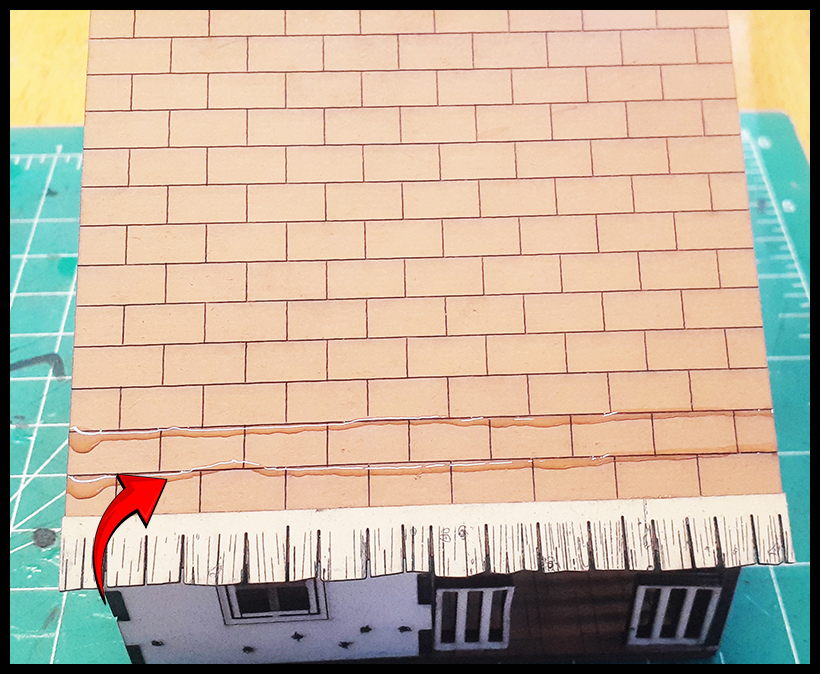
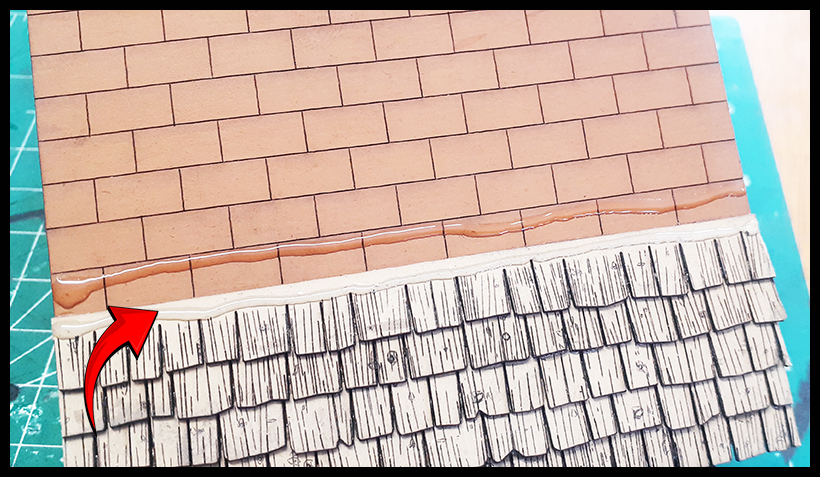
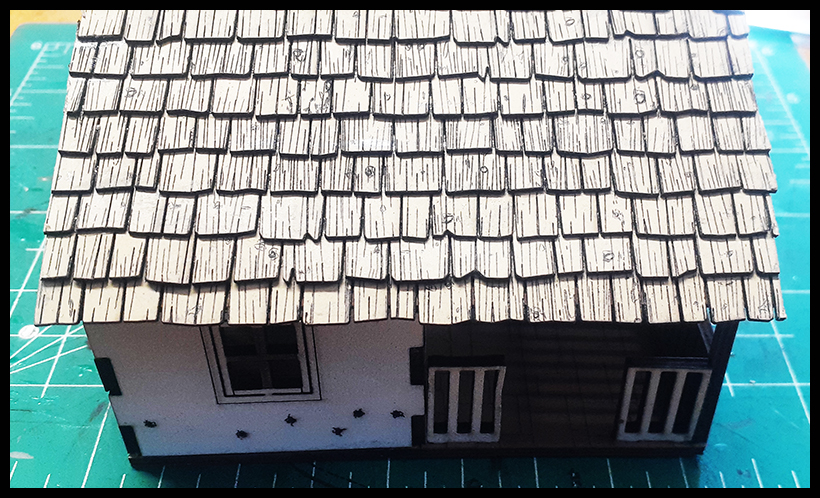
Now add the shingles. We have a roof instruction page in the instructions area for more detailed information. |
As before and above, add the first row of shingles to the first row. Line up each shingle with each line on the roof. Cut the excess off the end and add to the next row and continue until complete. |
|
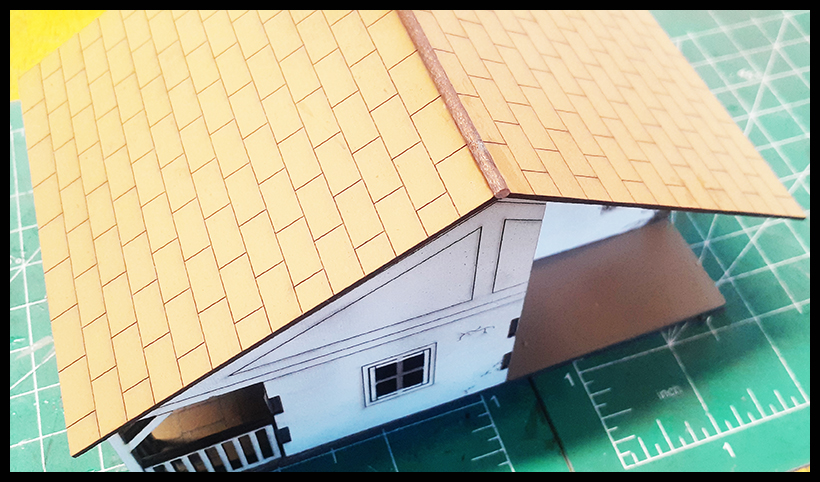
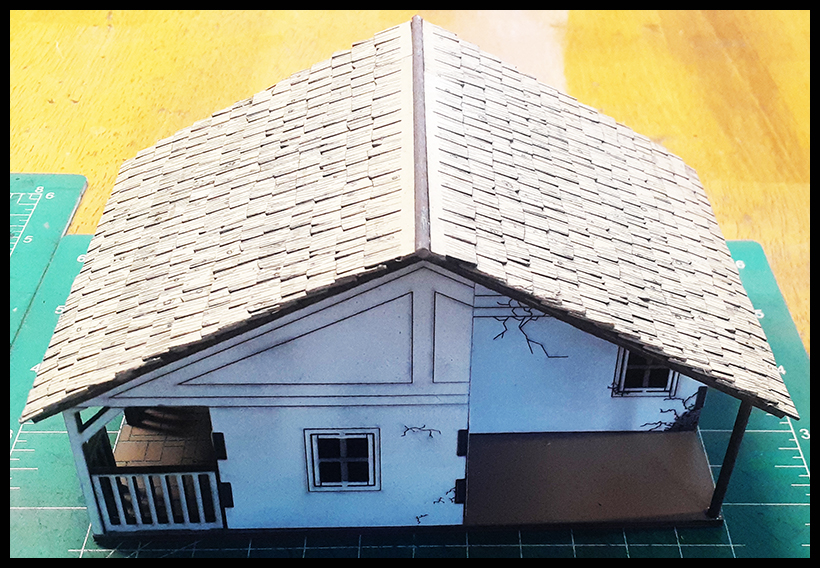
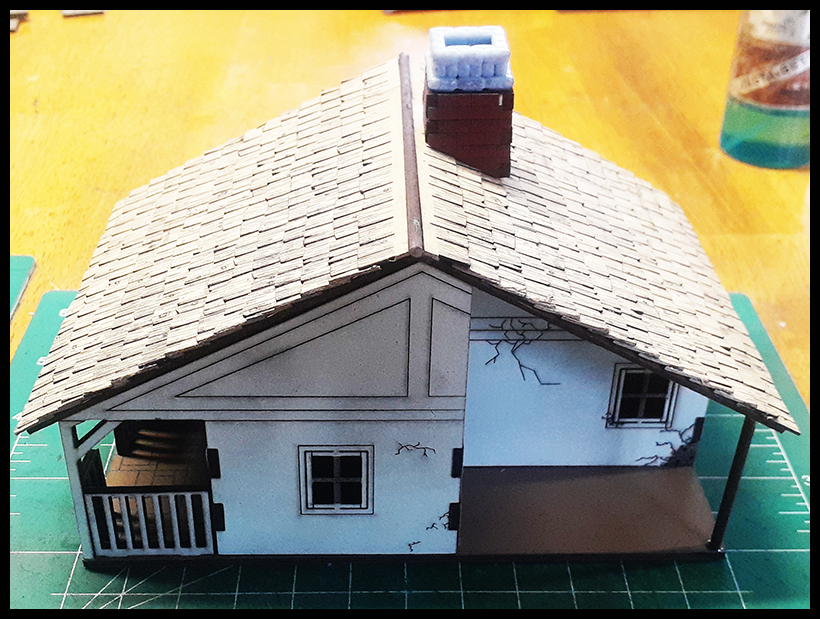
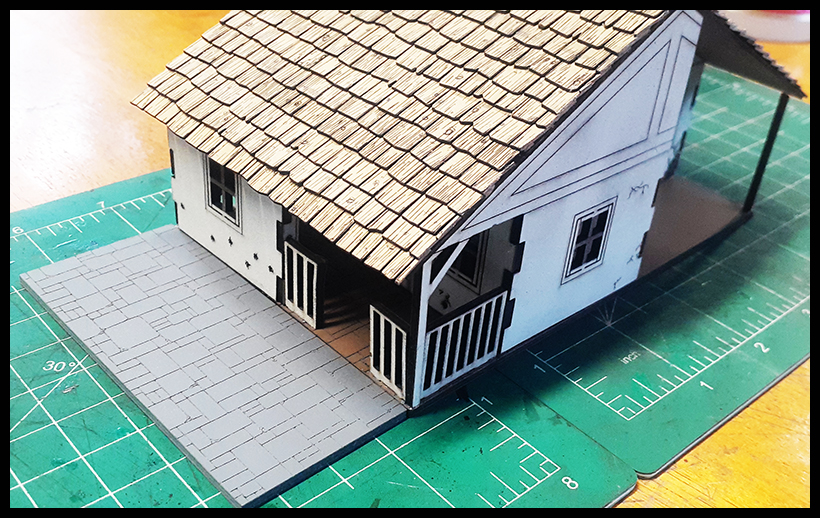
Once complet,e it should look like this. |
Another angle of this building. |
|
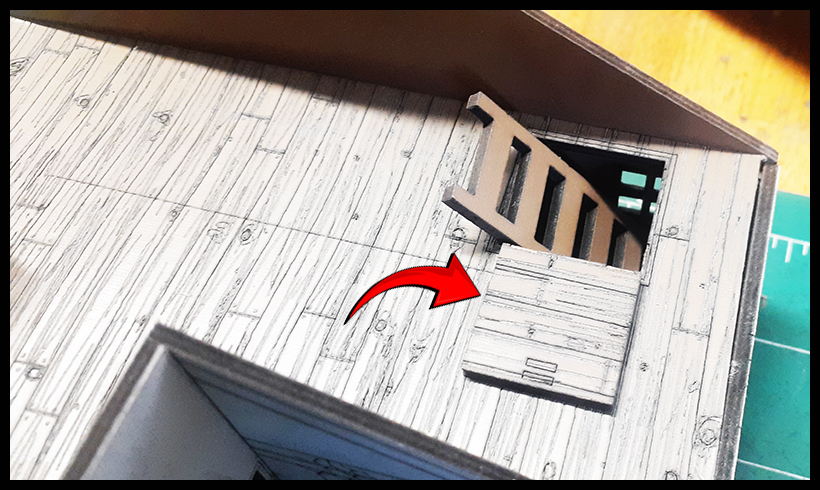
Adding the attic trap door. |
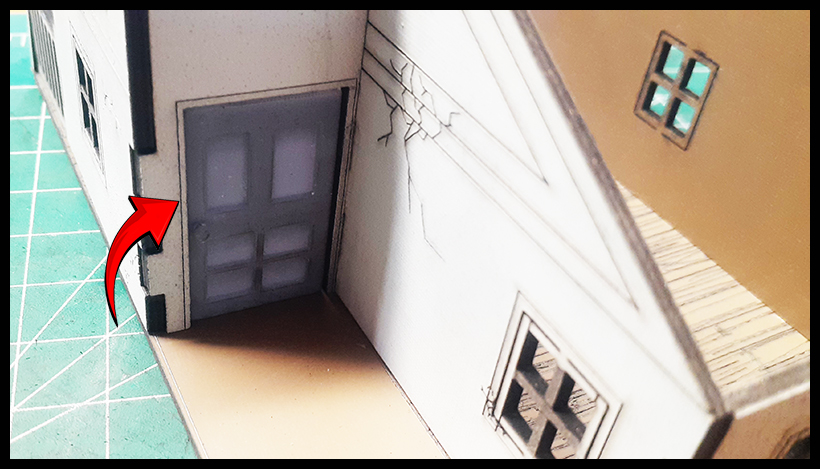
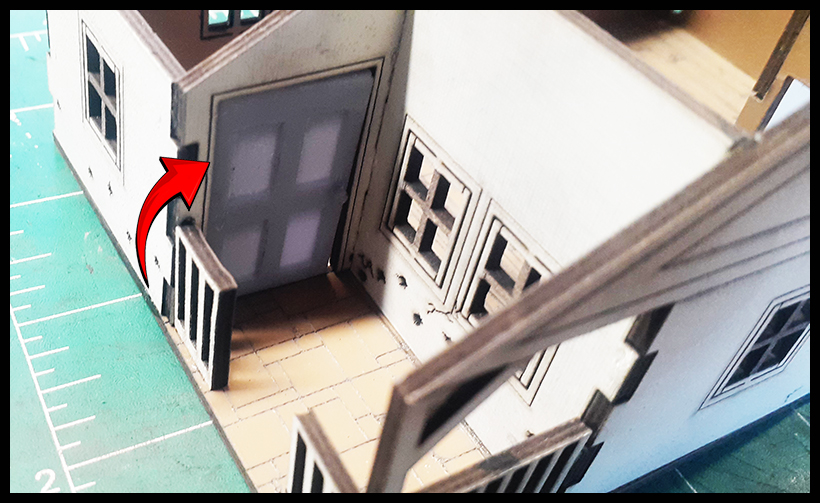
Adding the doors. You can use them as they came or spray paint it whatever color you wish. |
|
Adding the other door. |
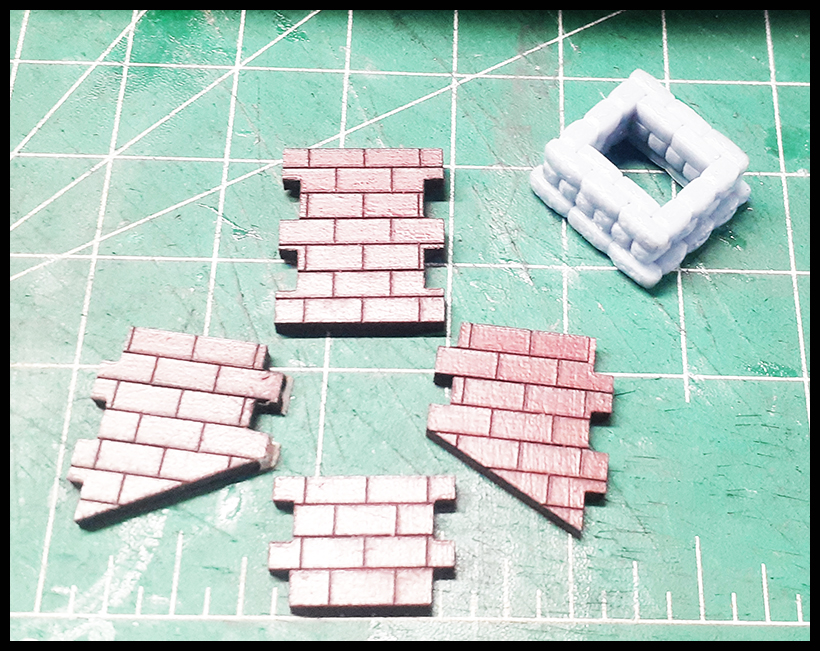
There is a chimney assembly section in the instructions area. Follow those instruction to assemble your chimney. |
|
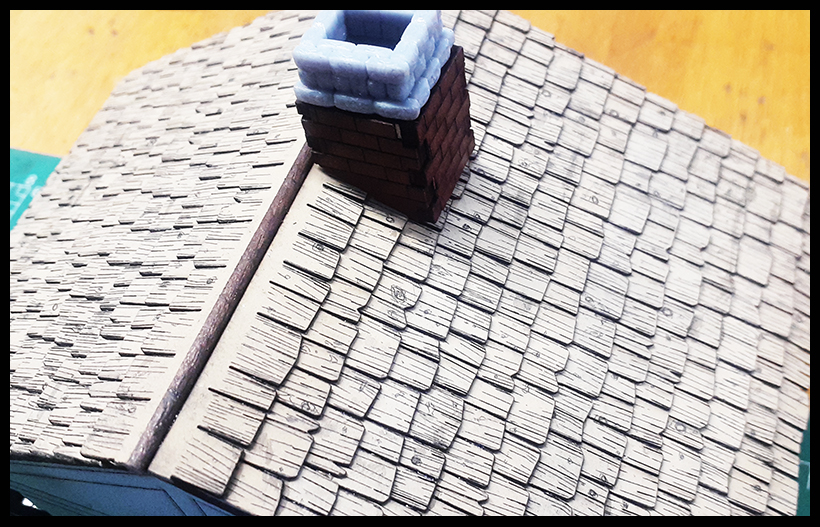
Complete chimney added to the building. |
Another picture of the chimney. |
|
Add your porch and the building is complete! |
Ready to place on your game table! |