MEDIUM TWO STORY HOUSE ASSEMBLY
|
|
|
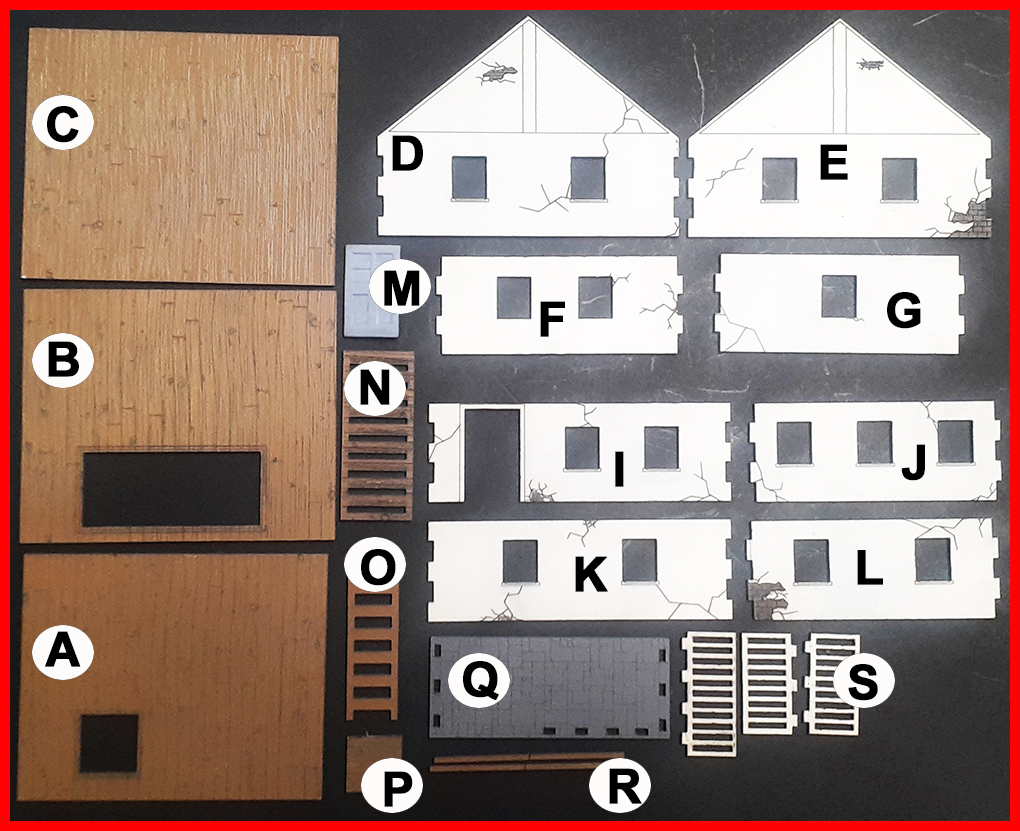
SHEET #1 - MEDIUM TWO STORY HOUSE C - Main floor A - Attic floor I - Front wall O - Ladder
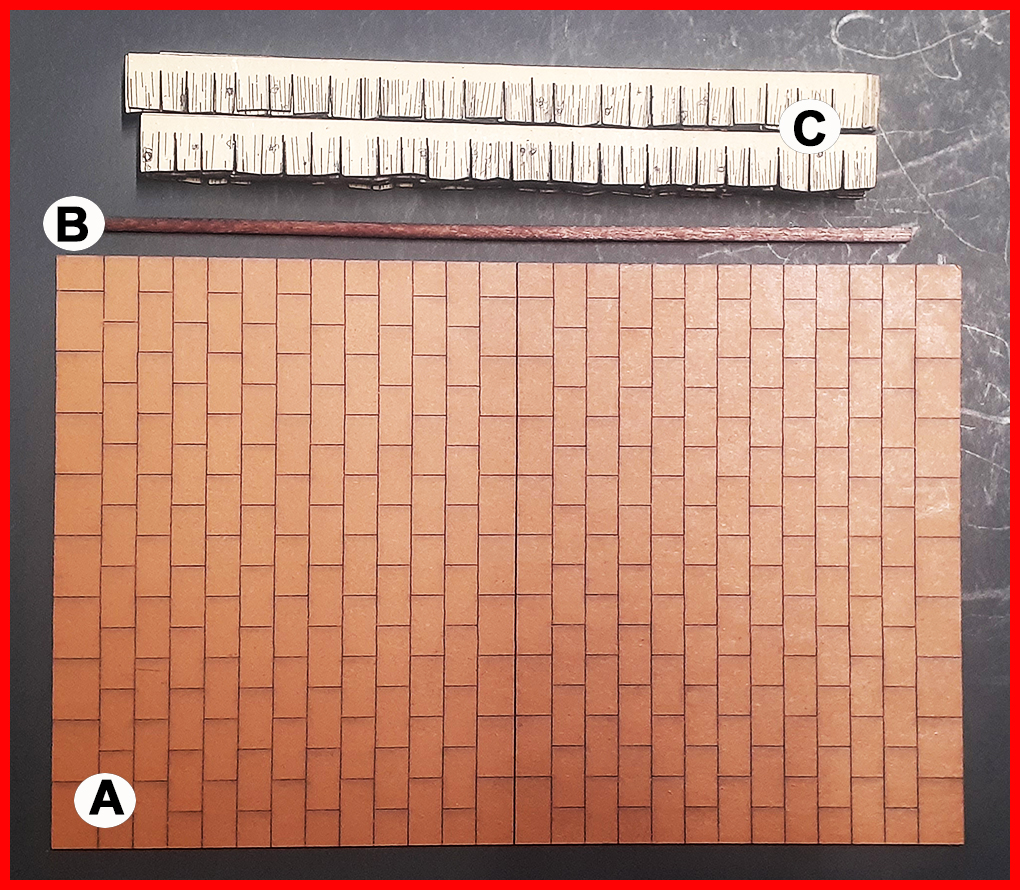
SHEET #2 - ROOF A - Roof section B - Roof post C - Shingles
|
|
|
NOTE: This building is VERY similar to the TWO STORY HOUSE #1. Please look at those instructions for more details on how to assemble this building. Then return to these instructions for more details.
|
|
|
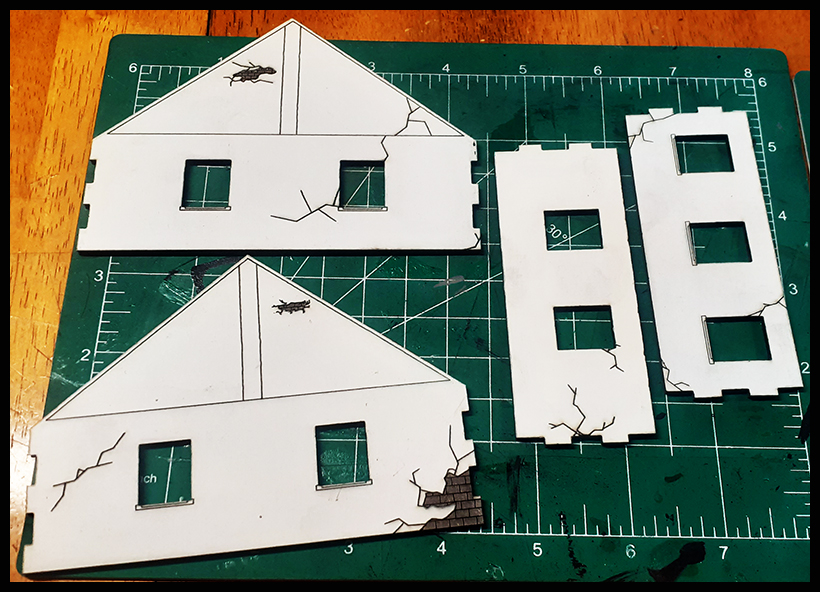
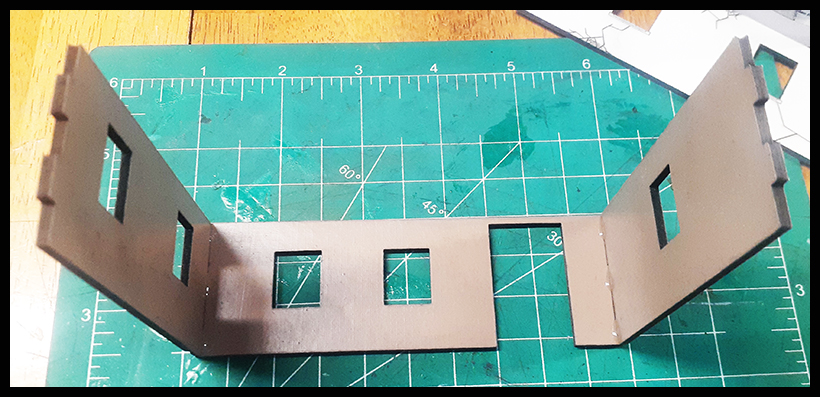
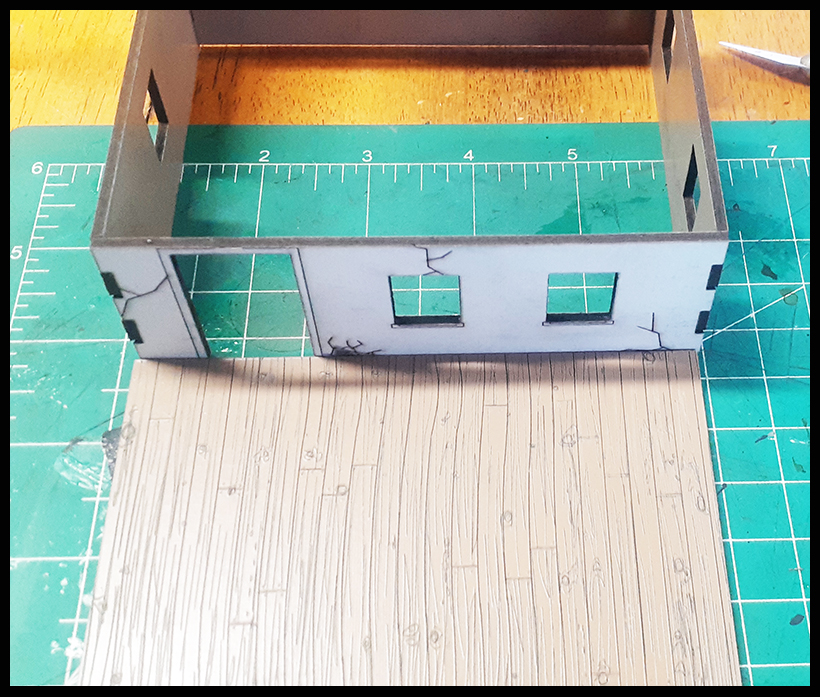
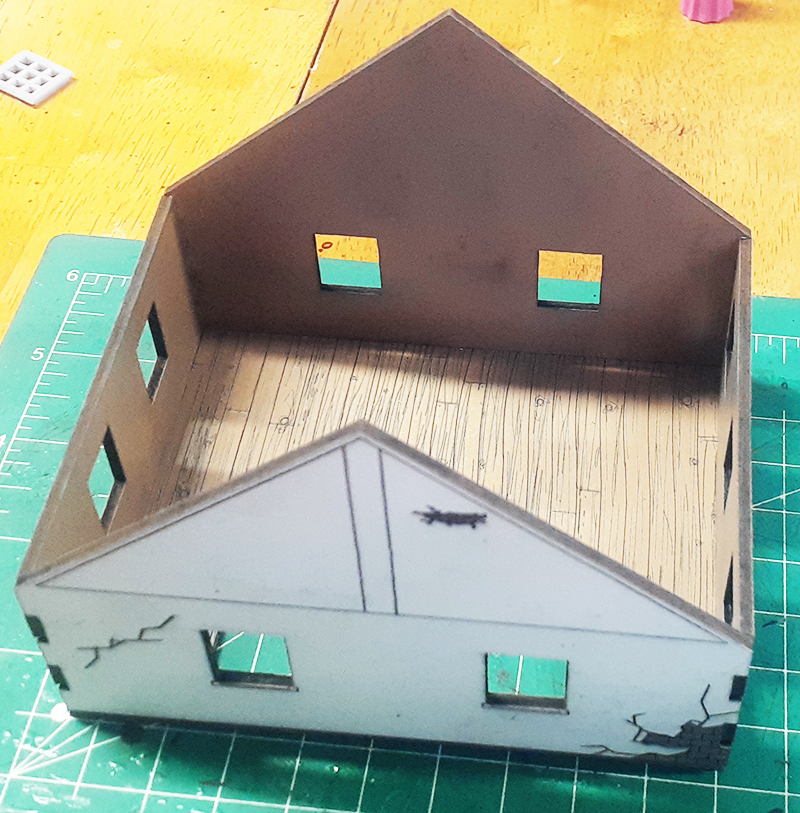
Locate the I/K walls and side walls of your choice. Please handle the door wall very carefully as the top area of the door can be fragile due the the small area above the door frame. |
Add glue to each tabbed area and glue the walls into place. Please note to Make sure to position the side walls "right side up" with the windows higher from the bottom than from the top. So the shorter wall space should be above the windows. Once you get the the point as above, add the rear wall to this section by repeating the steps before. |
|
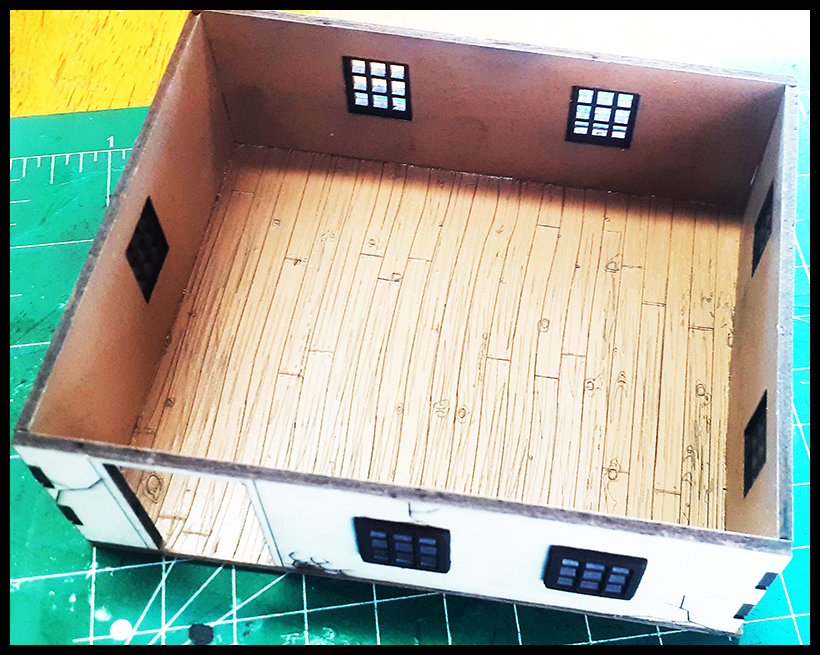
Locate the floor from sheet #1 “C” |
Mark the door opening on the floor by placing the building on top of the floor (NO GLUE) to locate it so you DON’T add glue to this section. Run a bead of glue around the edge of the floor (except the are you marked for the door opening), and glue the building to the floor as above. |
|
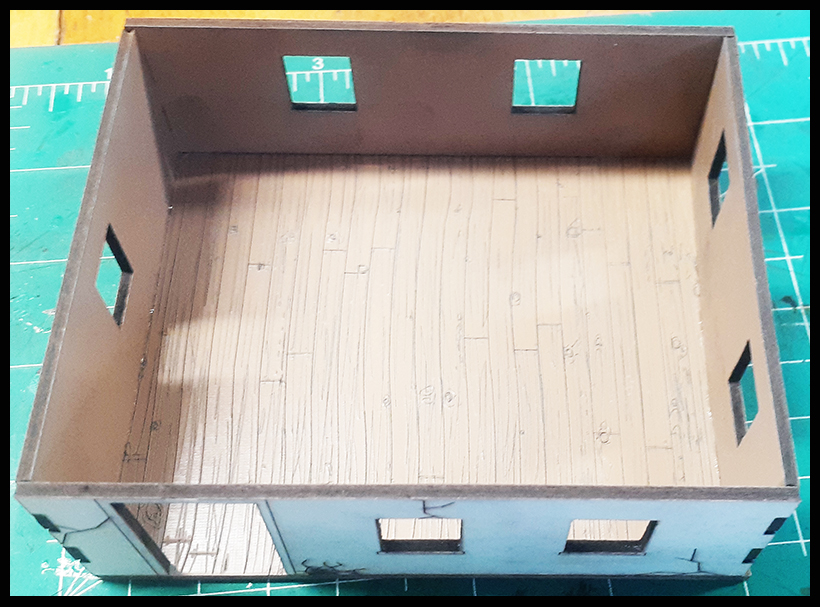
Locate the above walls from sheet #1 D/E and your choice of the side walls and again note the “right side up” orientation of the walls/windows. |
As explained concerning the 1st story above, glue the 2nd story to the 2nd story floor in the same manner. |
|
Now it is complete. |
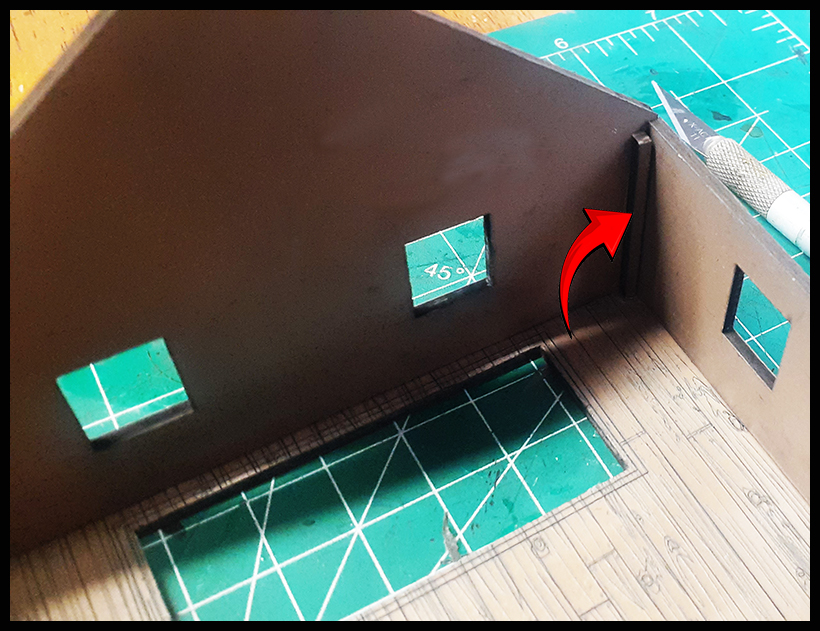
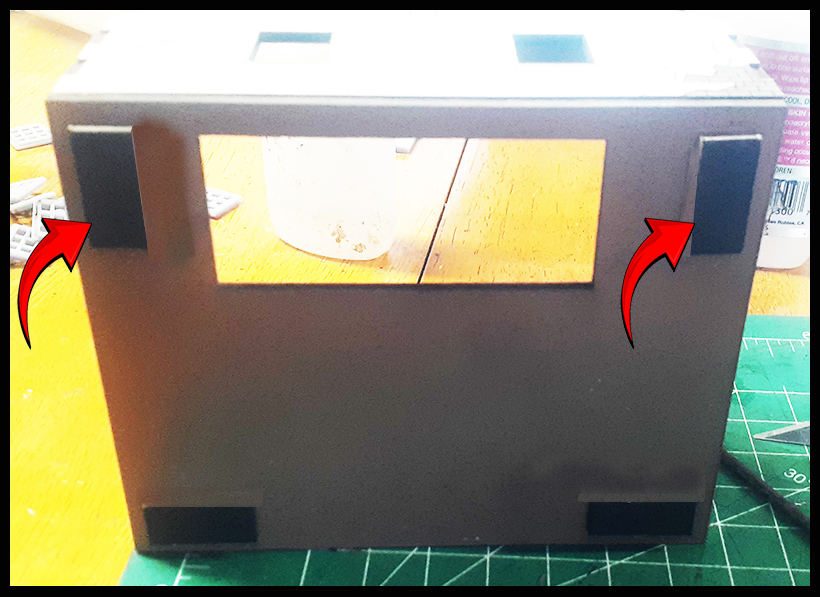
Locate the resting posts (they may have to be cut, and are marked if so). |
|
Glue the resting posts in all four corners. These are for the attic floor to rest on. |
Locate the squares and glue them in place (see TWO STORY HOUSE #1 instructions for further details to complete this step). |
|
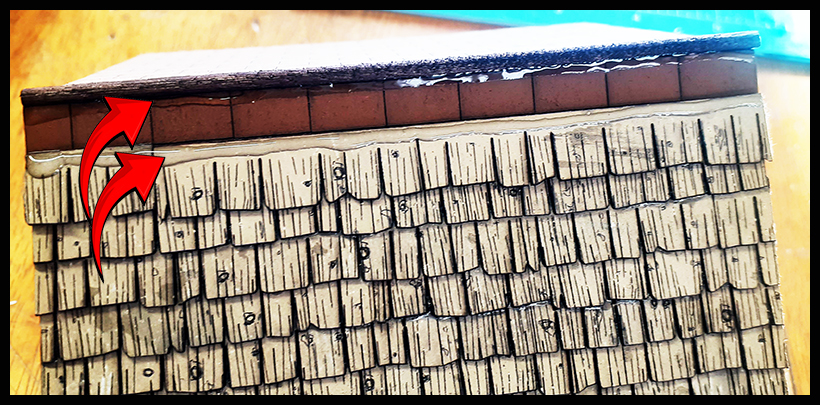
Fold the roof section as above to lay over the house. Run a bead of glue in the top area of the roof fold and press the roof pole in this area and let dry. Trim any excess that extends beyond the roof. |
It should look like this once complete. |
|
As stated above, when building the shingled roof it is best to use a GEL SUPER GLUE as it will not run as much, so will stay in place very well when getting the shingles in place for the roof. |
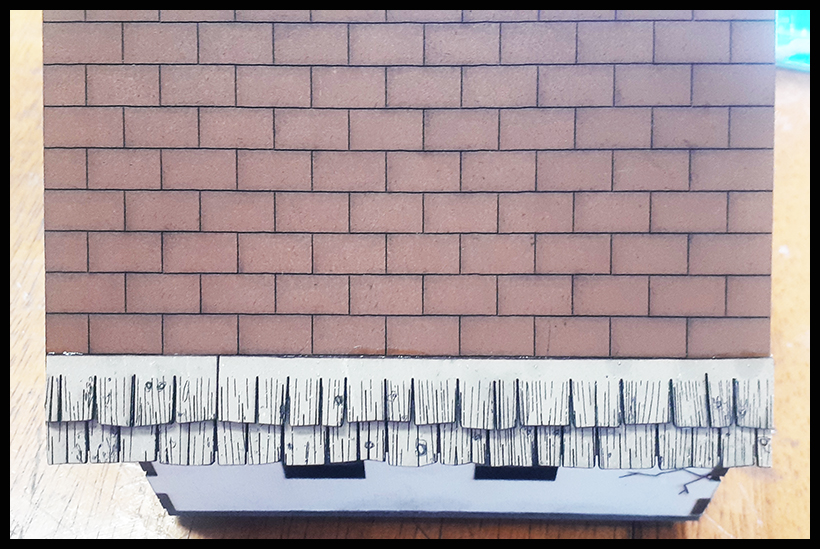
You will begin to add the shingles to your roof once the roof has been assembled and sits on top of your building. |
|
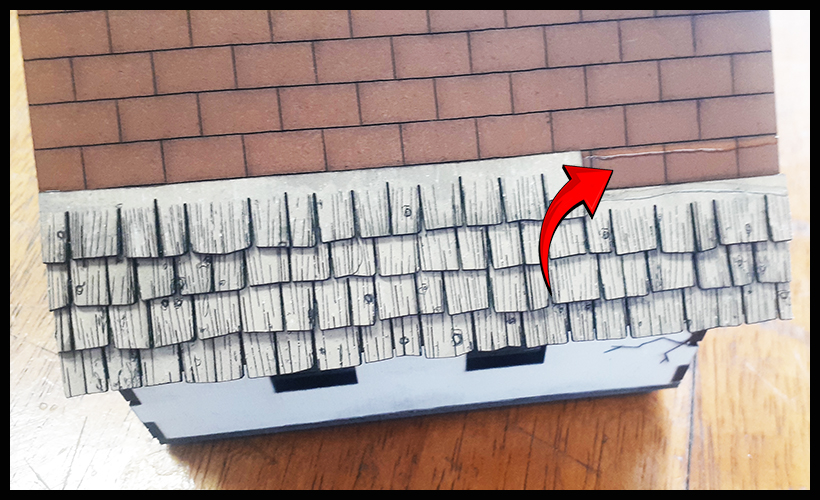
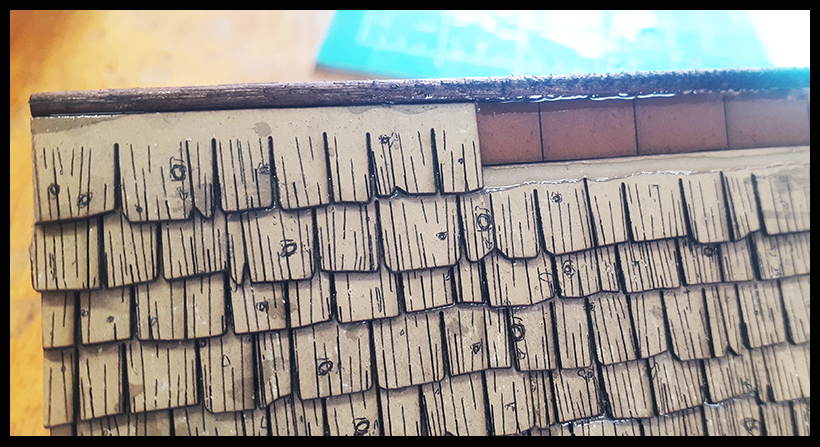
Note that each roof has a pattern on it. Each line running across the roof is for a shingle to be glued on the roof & to overlap the one before it. Start at the bottom edge of the roof and work your way up. |
Glue the shingles by running a bead on the roof and the upper part of the shingle below it. |
|
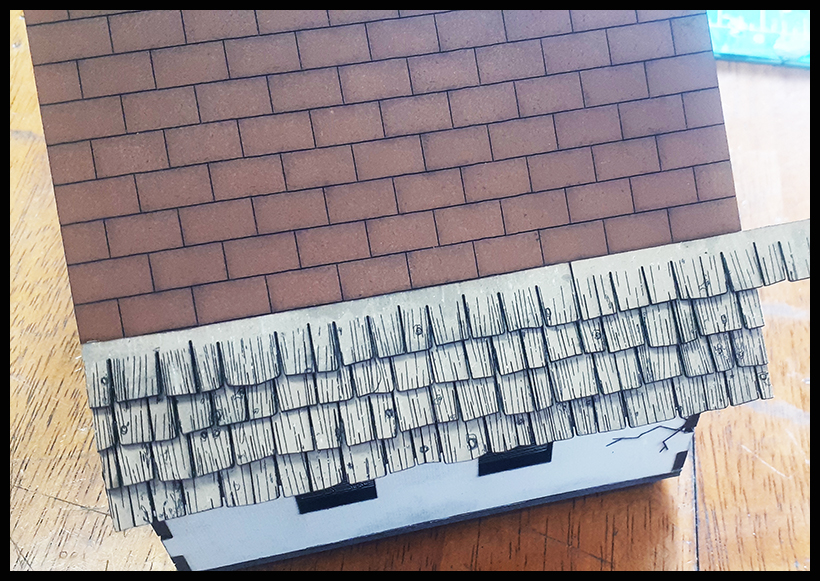
Again, when you have extra that you cut off at the edge, use that piece to start the next row.
|
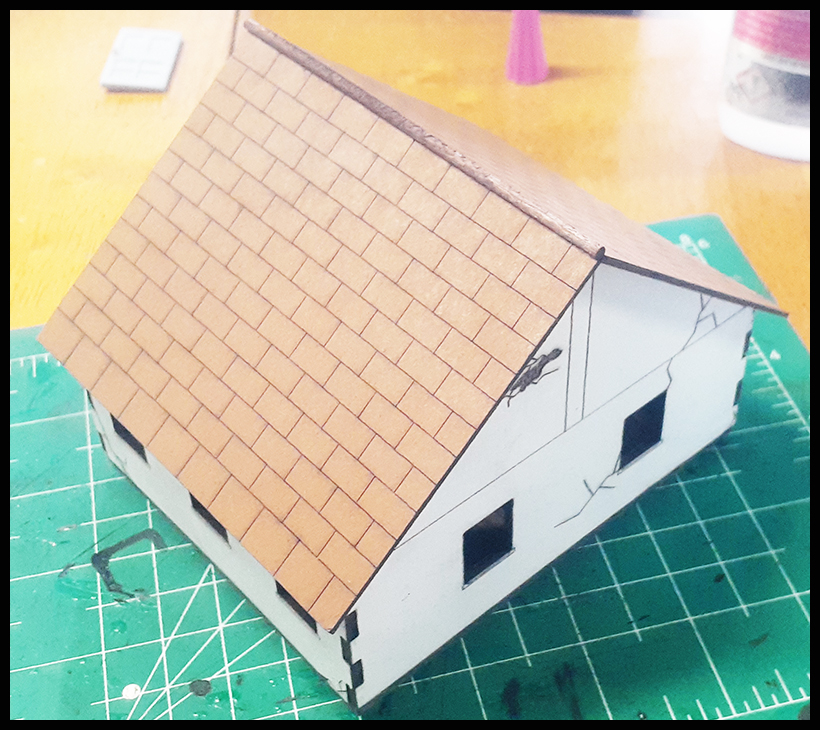
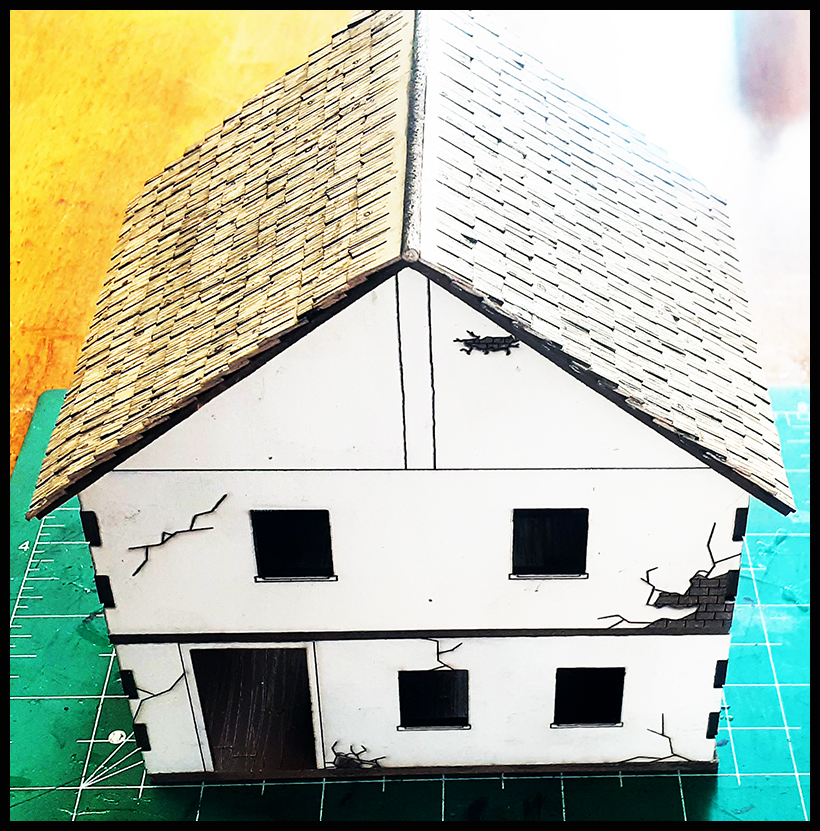
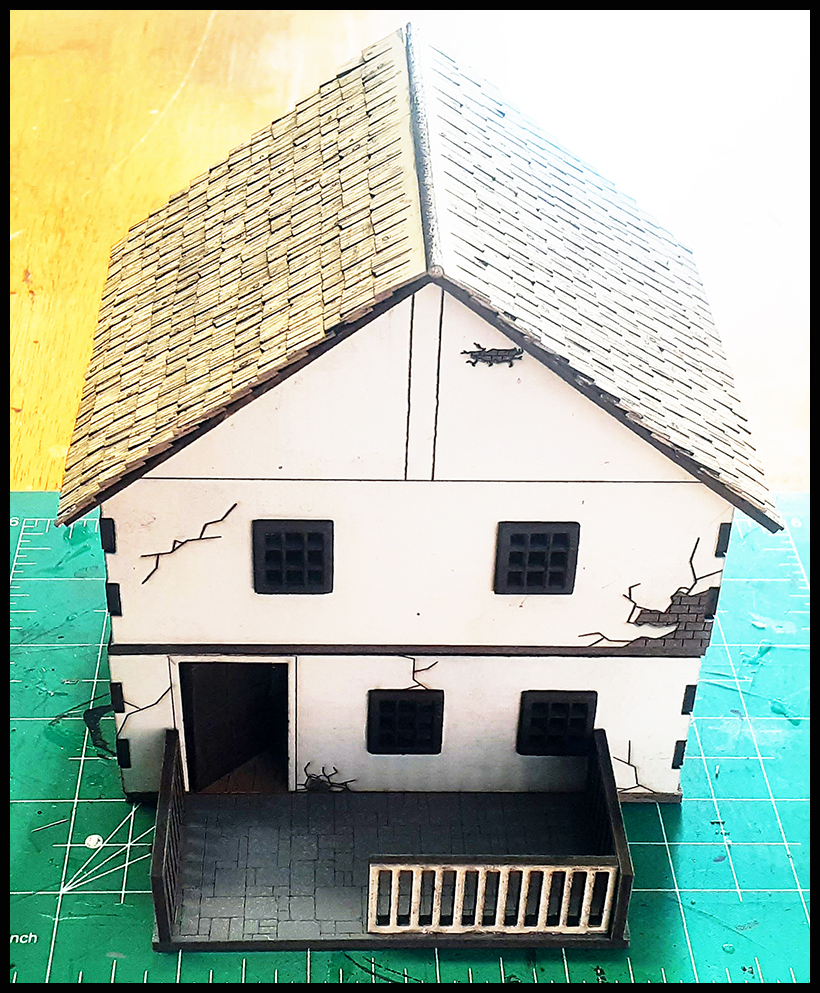
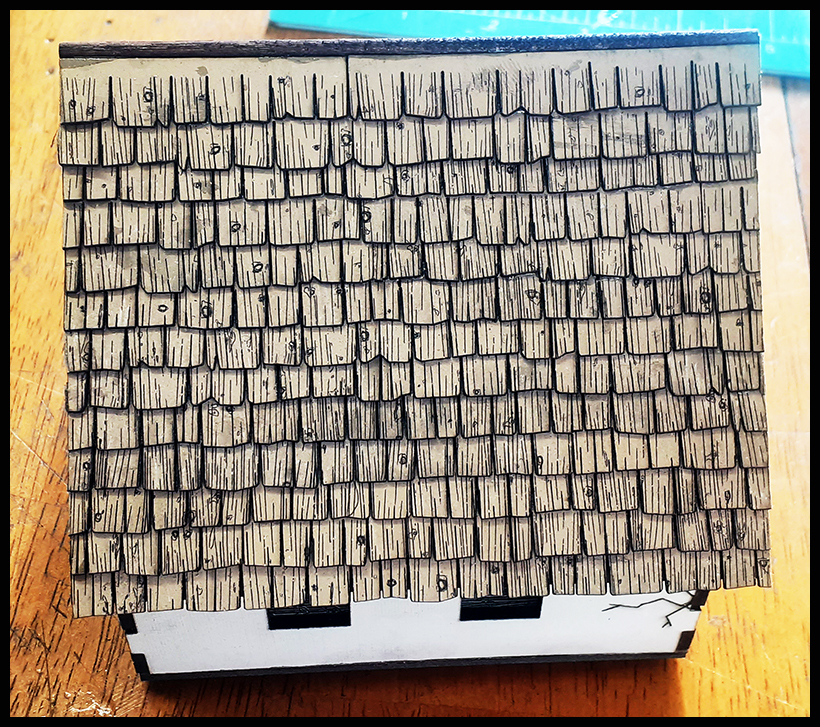
The roof is complete! |
|
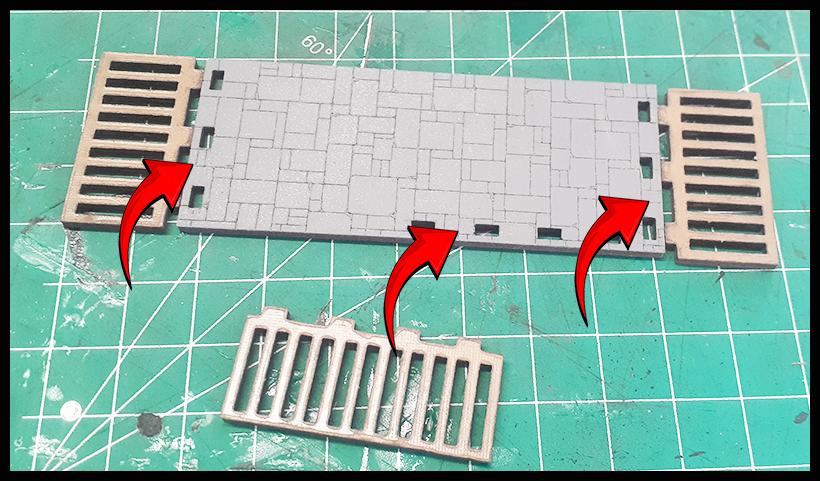
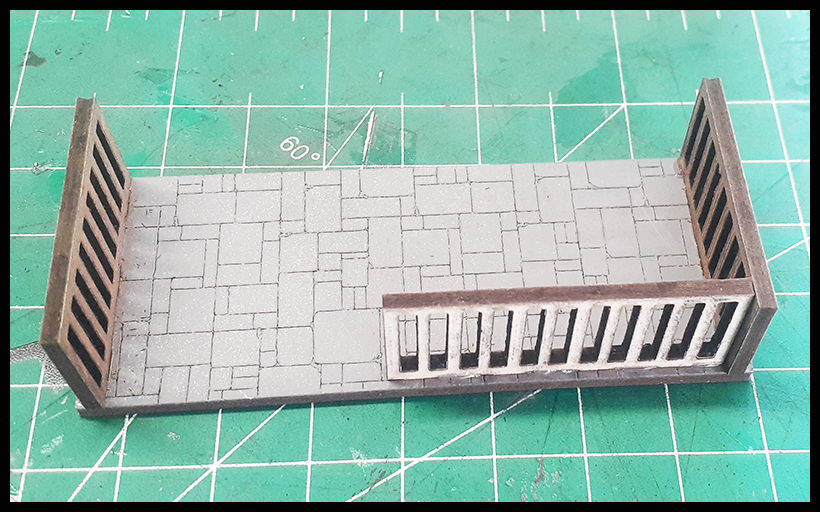
Now for the terrace (parts Q/S). The terrace has notches for each of the railings. Do a dry-run to get a feel of how these are to be attached. |
Add glue to each of the blank areas between each tab where the railings will be attached. Also run a bead of glue to the areas where the railings will connect to each other. |
|
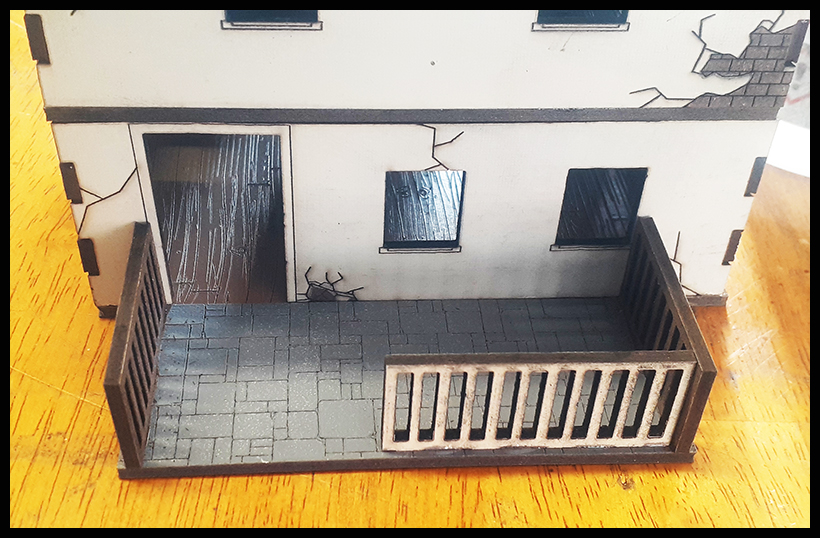
Once complete, add it to your building. |
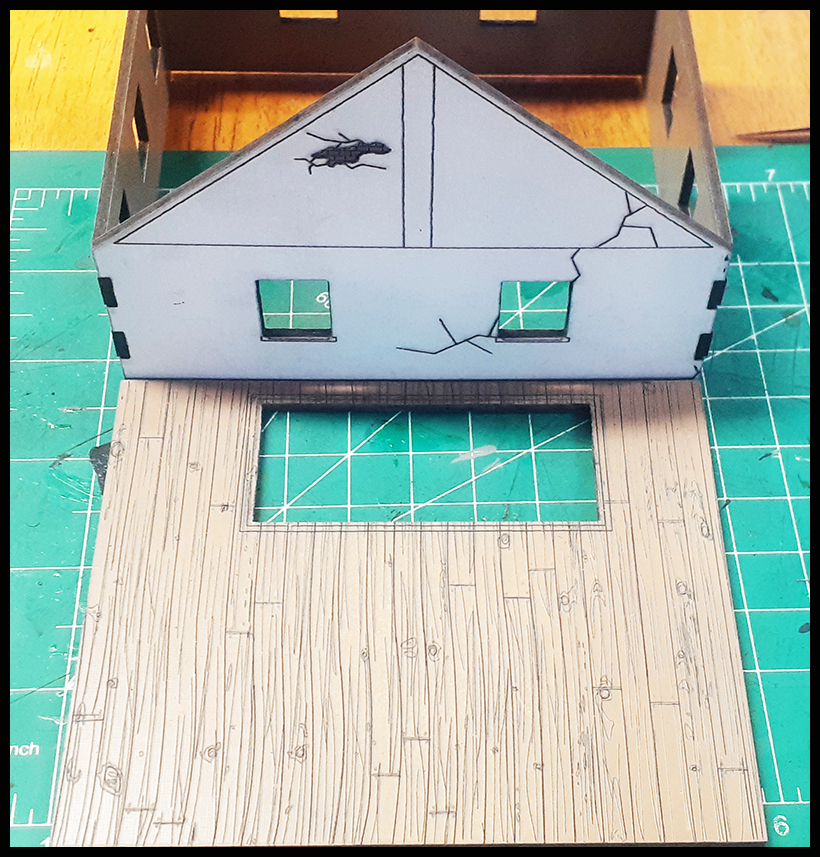
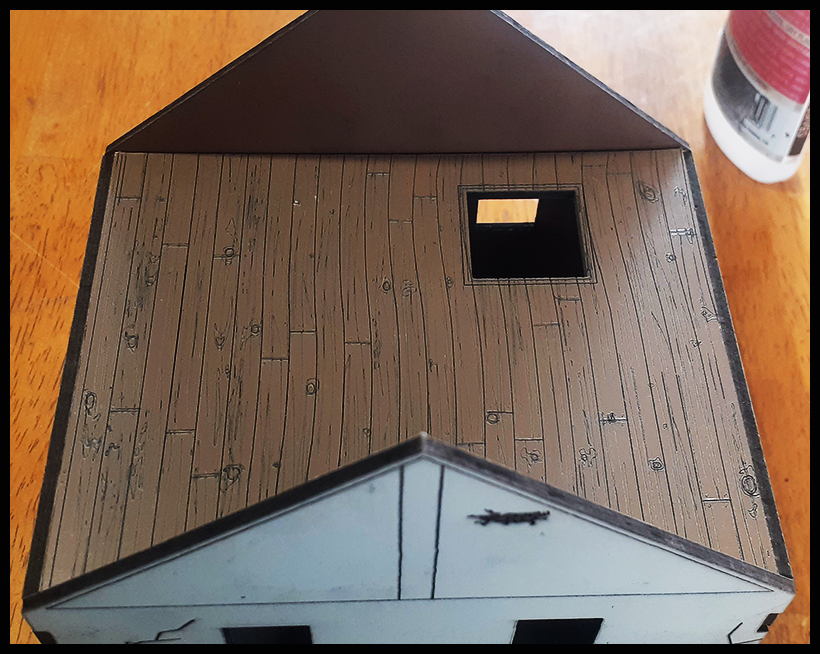
You can now add the trap door to your attic by gluing it or just placing it in position. |
|
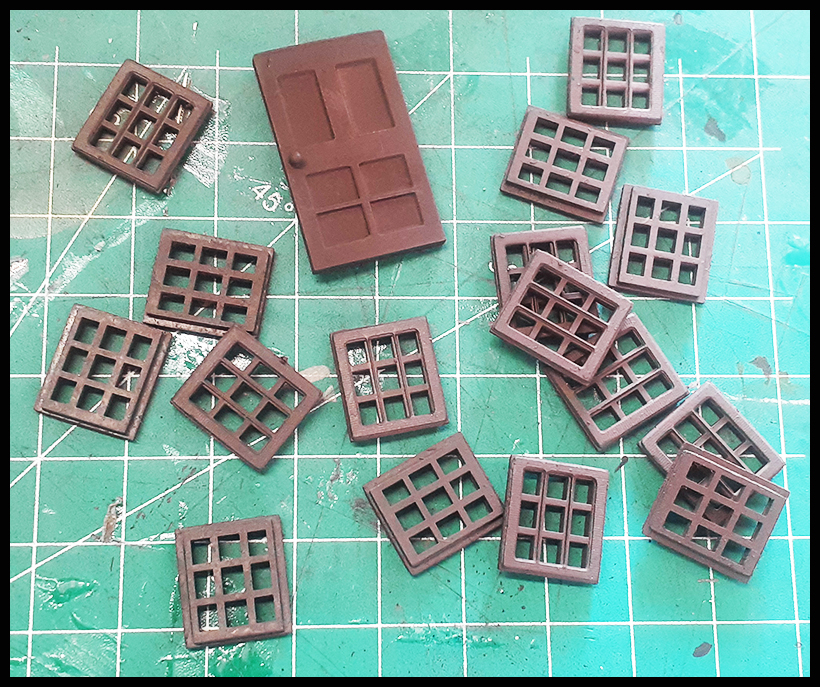
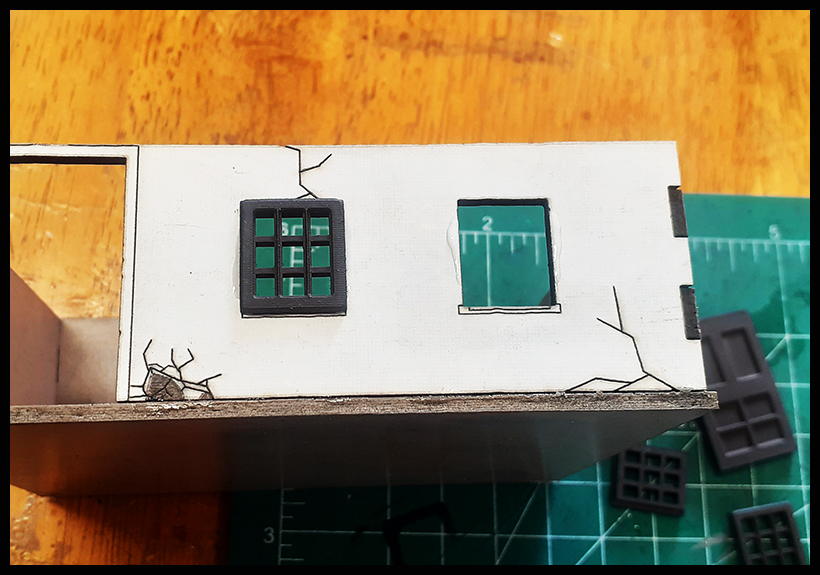
The resin windows come in a gray, but you can spray them with a different color if you wish. The ones above were sprayed with a brown. |
Simply add them to your house by gluing them into place. For more ideas concerning the resin windows, please see the RESIN WINDOWS in the instructions section on this site. |
|
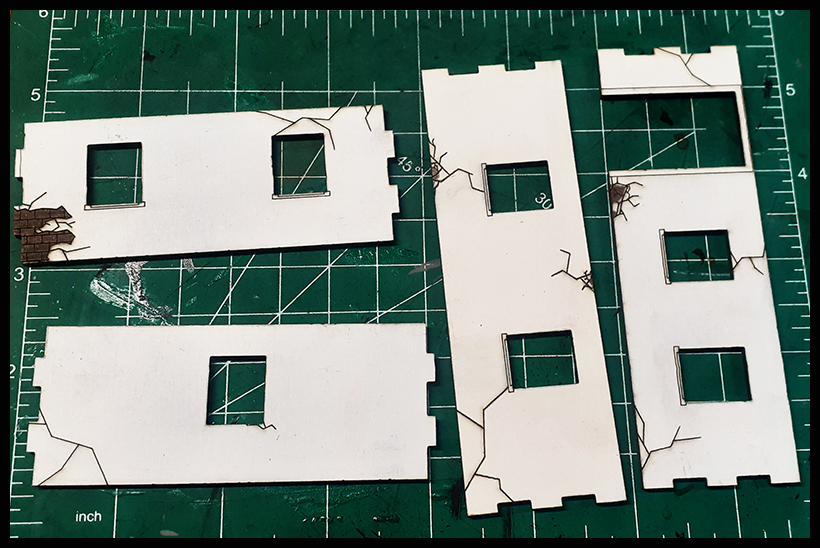
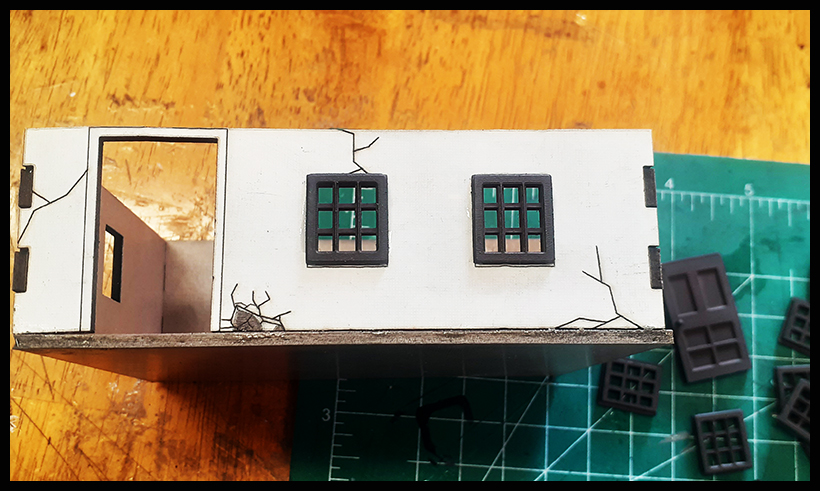
One side complete. Repeat to finish with the other walls. |
First story is nowcomplete. Repeat with the second story. You can now add your door. |
|
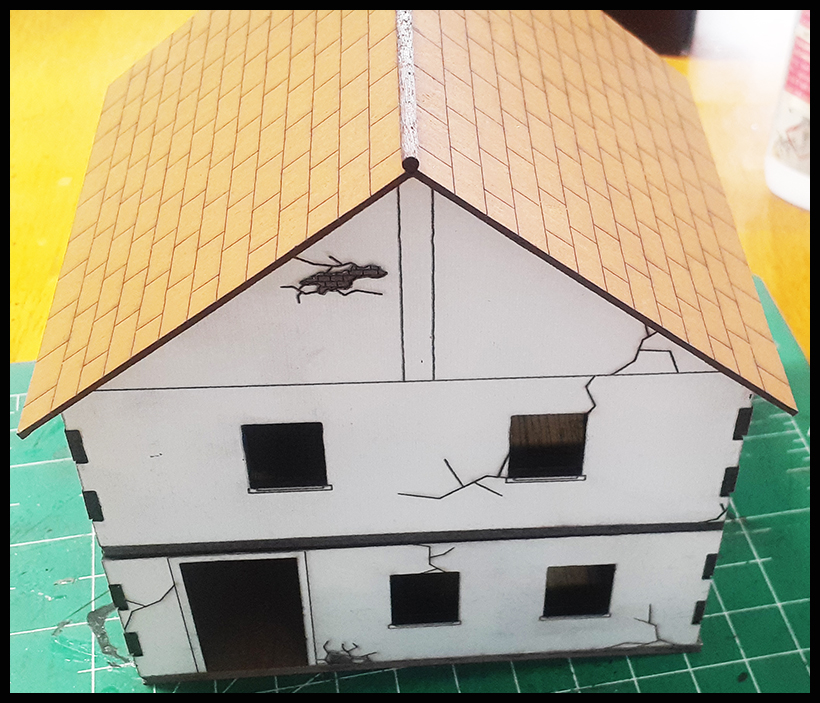
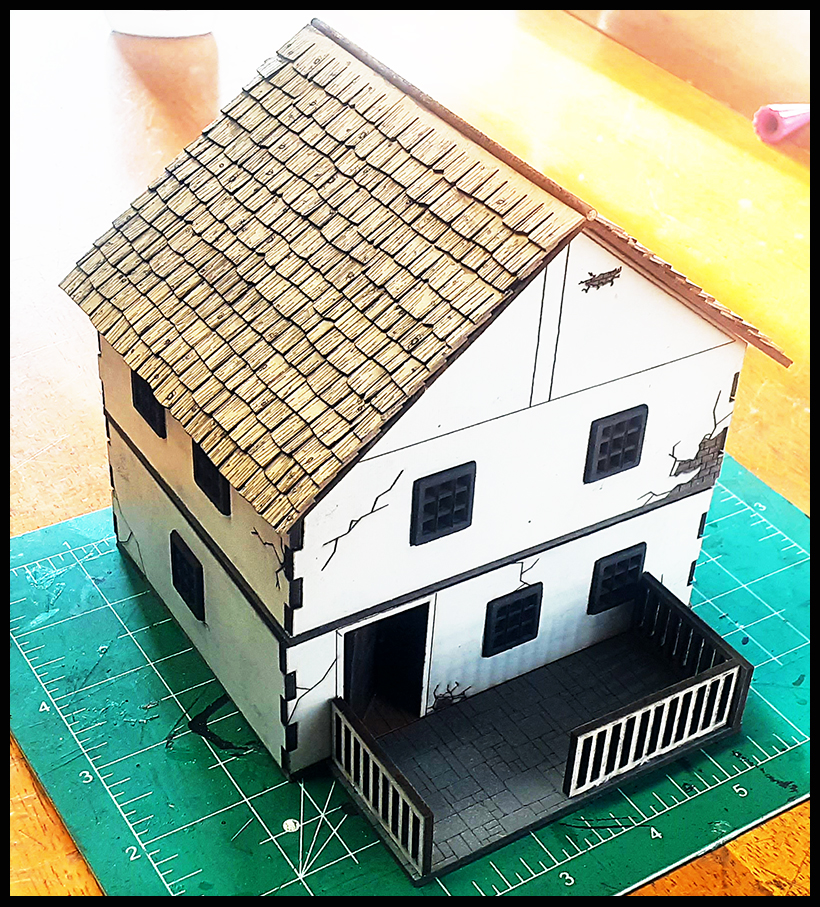
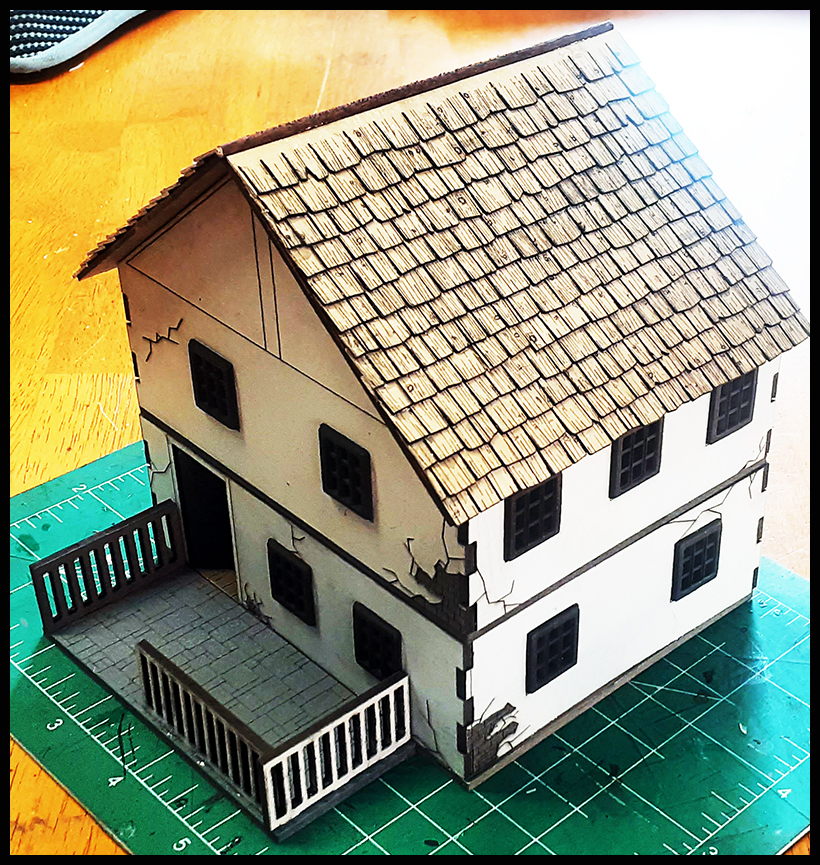
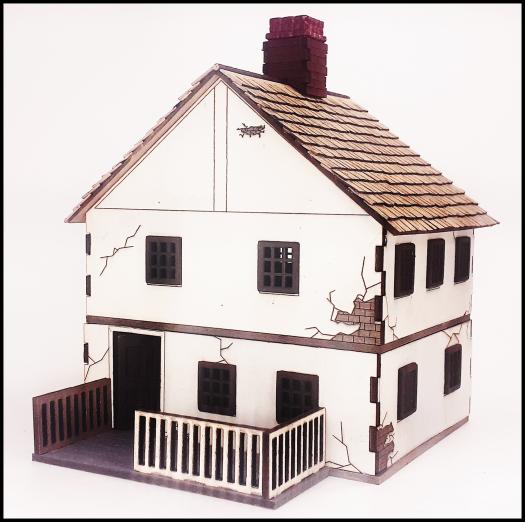
And here it is. |
Another angle. |
|
|
|
|
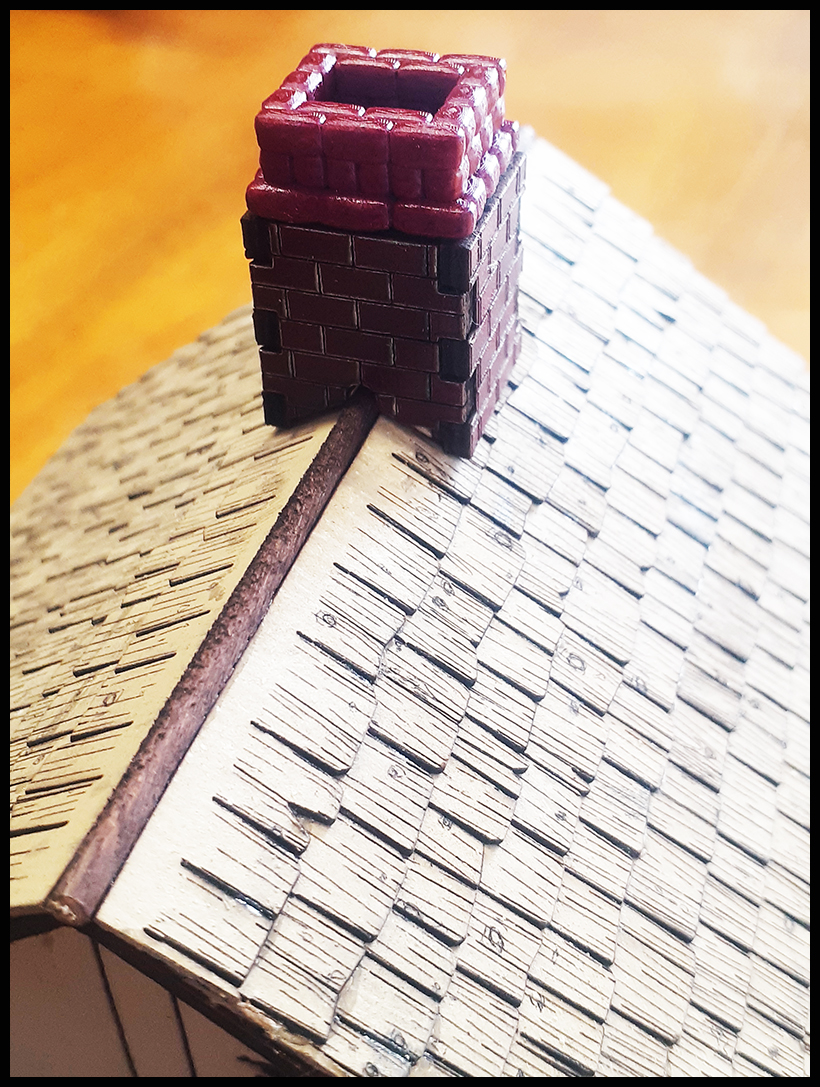
To add the chimney, see the Chimney Instructions section on our website. |
 |